Tutorial Project: Nº2
-
Edited the main post to add comments from several members of several forums, thanks for participating guys, I welcome more suggestive comments of the kind in order to add them further to the steps on this tutorial so that newcomers can use it, containing imput from more experience modders in order to create a decent first project.
Right so, update:
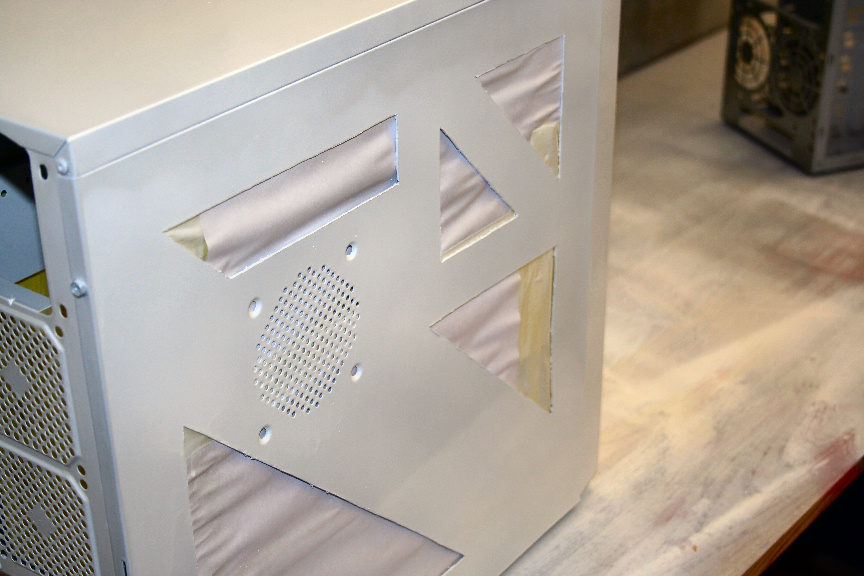
I sanded down with very fine grit and very gently the first coat of base white, this, while not entirely neccesary will give you a smoother finish on the next coat and it will make the next coat hold on tighter which in turn makes it that much resistant to scratches.
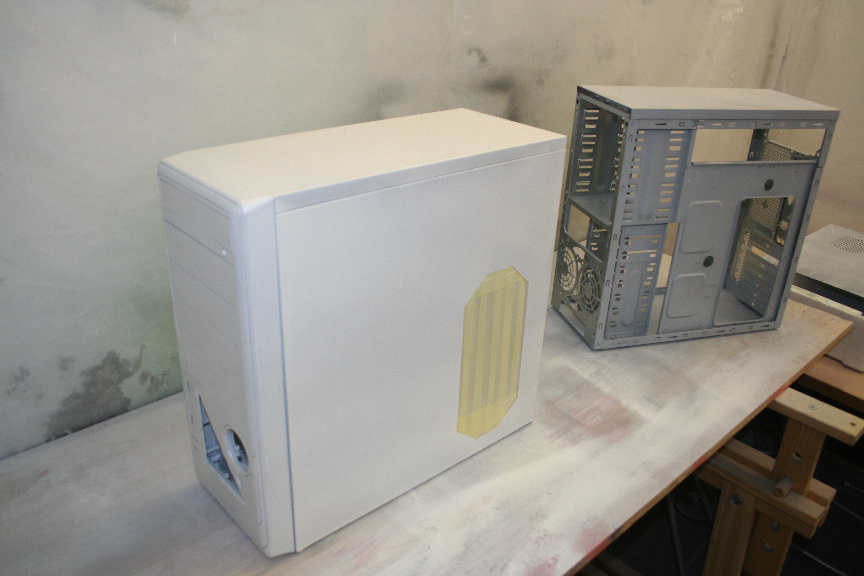
Once done, I aplied the second coat of base white:
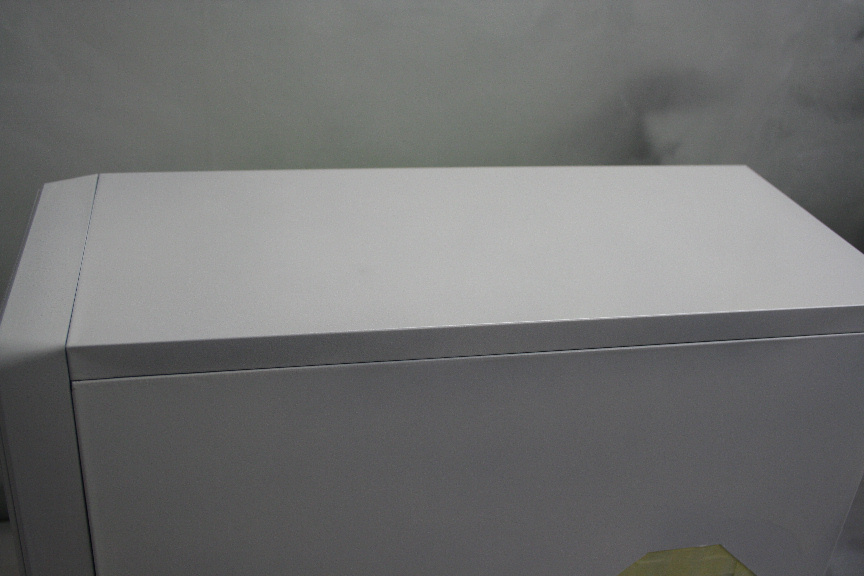
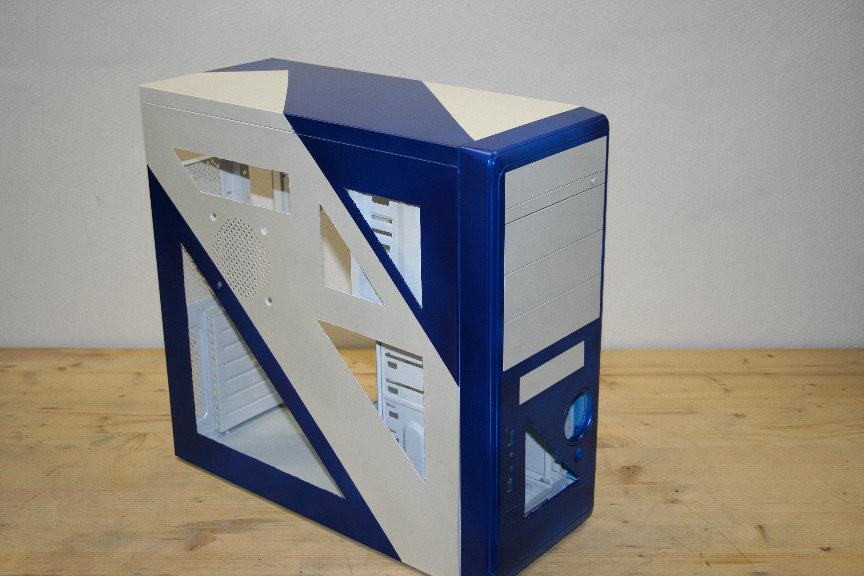
I let that to dry for about 15-20 minutes (again this only aplies to acrylic paint due to it´s quick drying properties) and sanded it down again. I then proceeded to aply the third coat, this time, of pearl white effect. It´s an almost transparent coat, like lacquer if you will, but it´s not lacquer and can be aplied to any color (of the same kind of paint). This will give a glossy pearl finish (which, while the photos don´t do it justice, it´s very different to just using glossy white which I used in the AIO AL project).
While it´s drying time is the same, I will now leave it over night to cure as I will be using tape on top of it for the next stage of color.
PS: The case next to it, is another exactly the same model case I´m preparing for a client, but that can go in another mini thread.
-
well painted withe
-
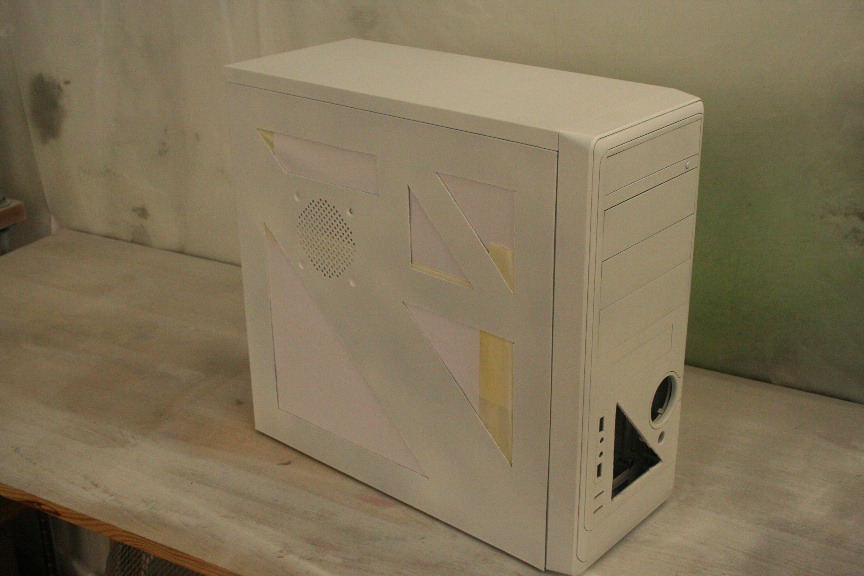
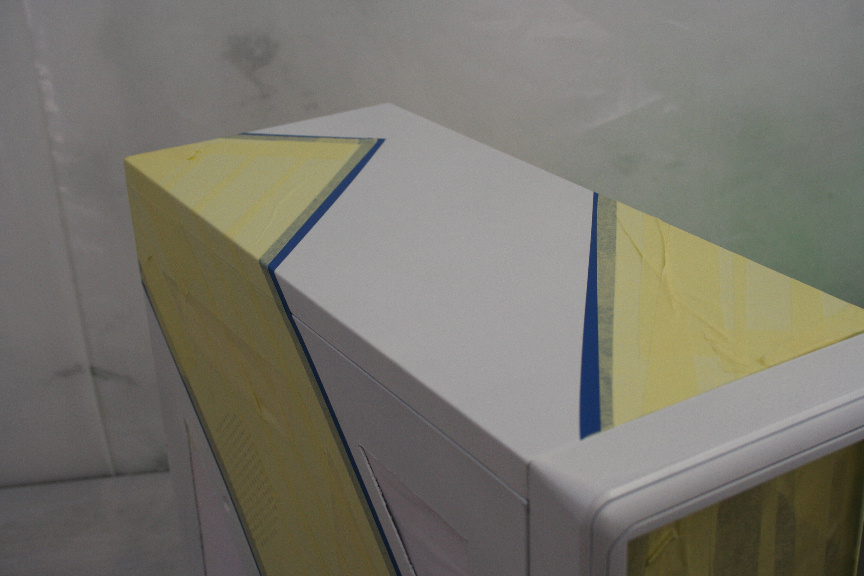
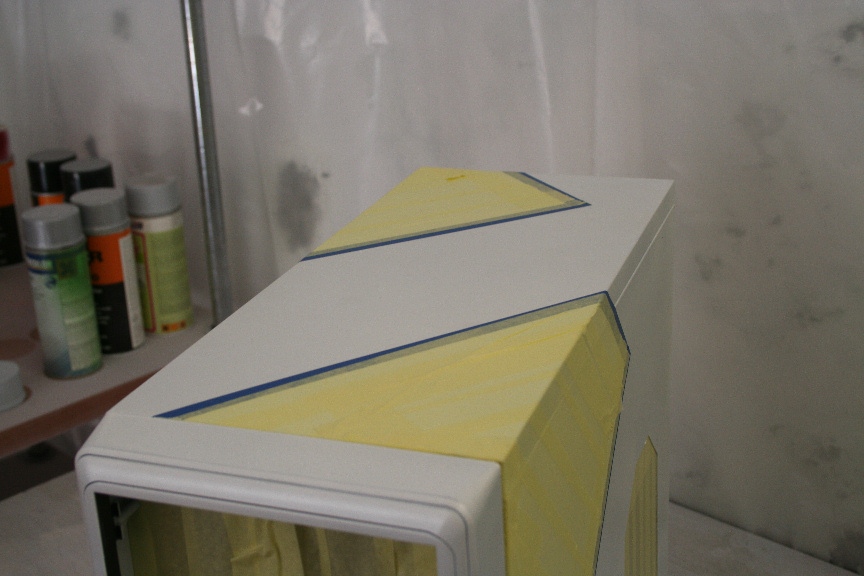
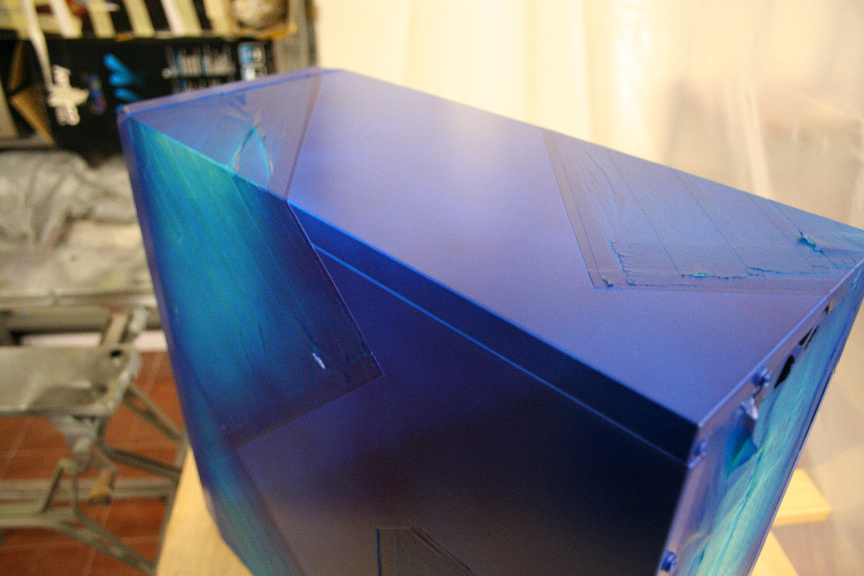
Now that the paint has cured, it´s safe for us to use tape on it, again go ahead and sand it down if it´s not smooth. I first used decal tape to mark lines (the blue tape) and then extra thick masking tape as filler (the yellow tape).
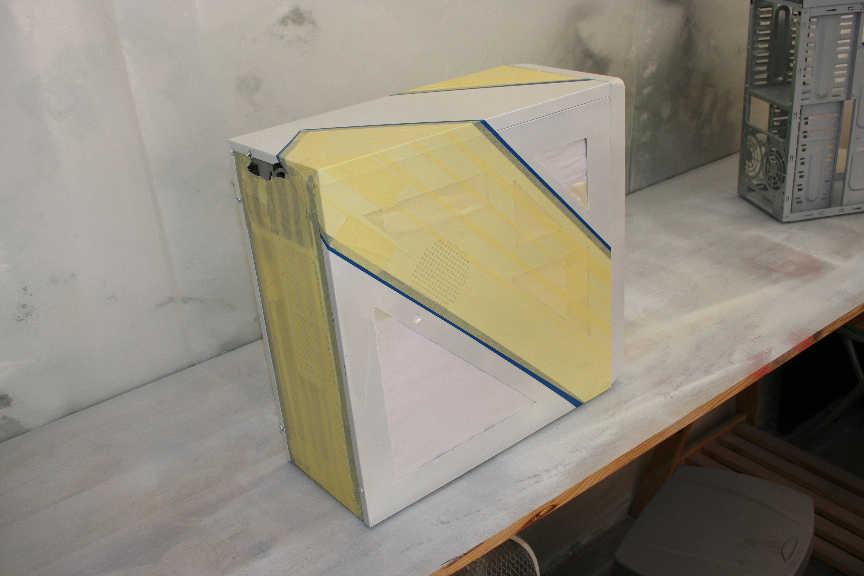

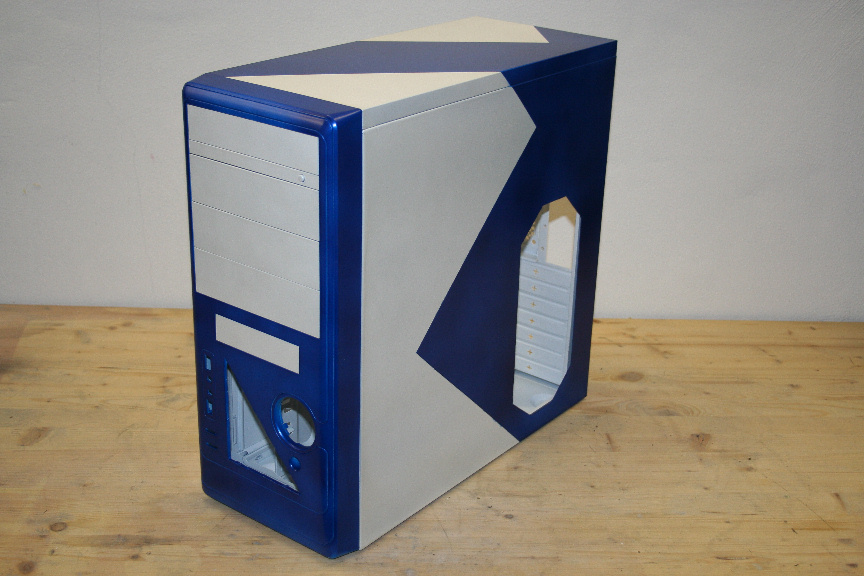
Let´s aply the first coat, of the second color. As with the white, I´ve gone with a pearl effect blue.
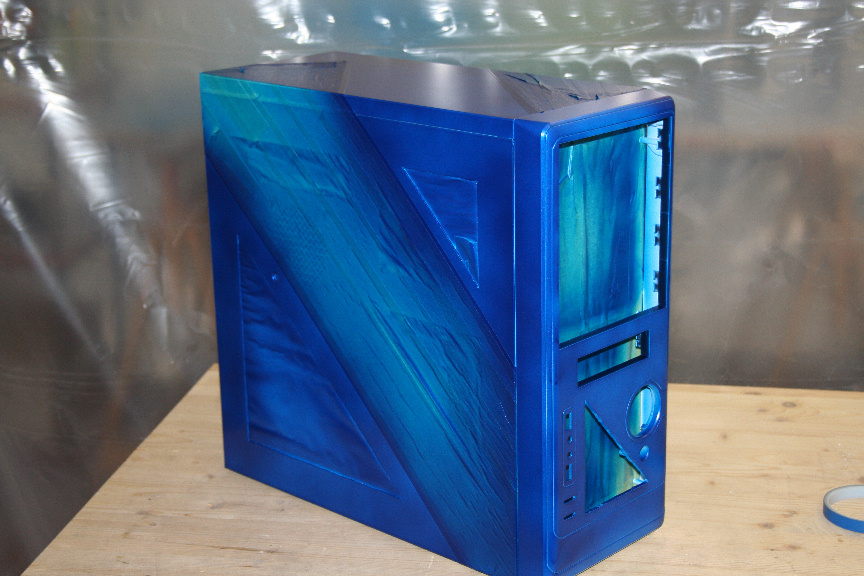
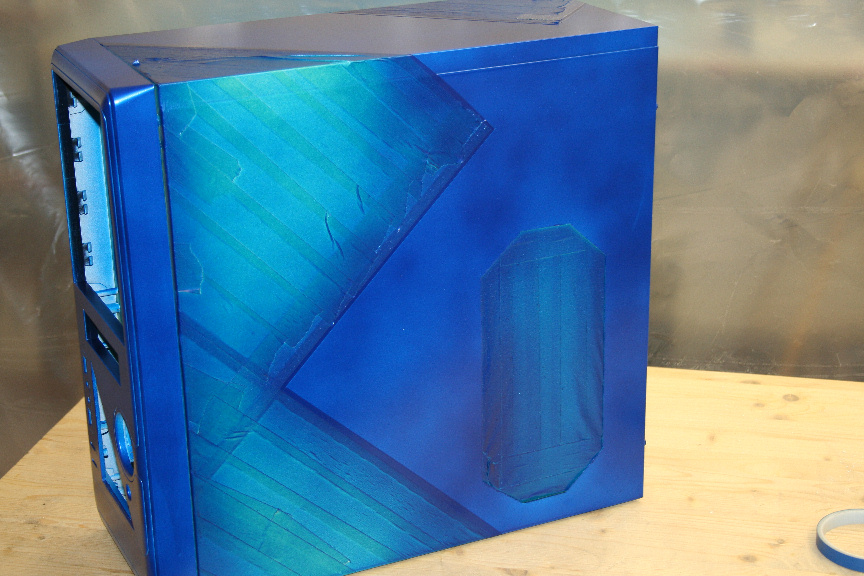
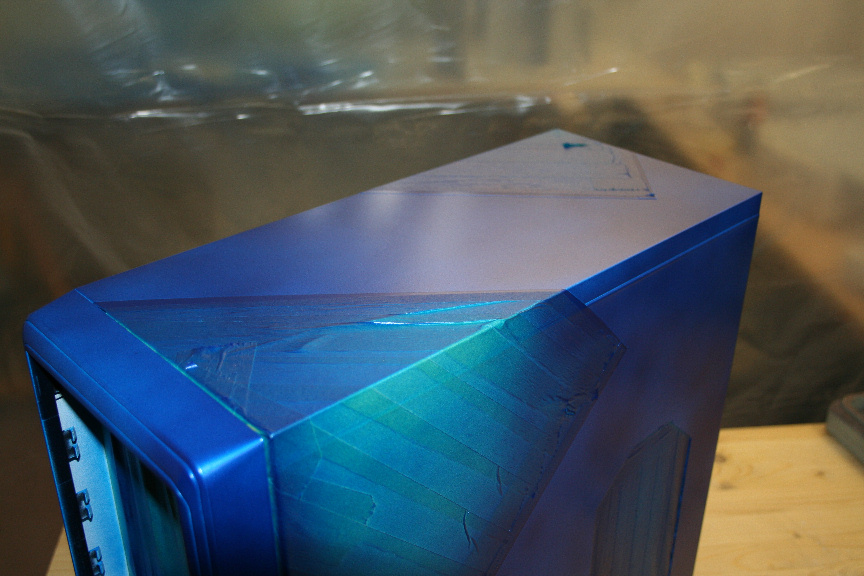
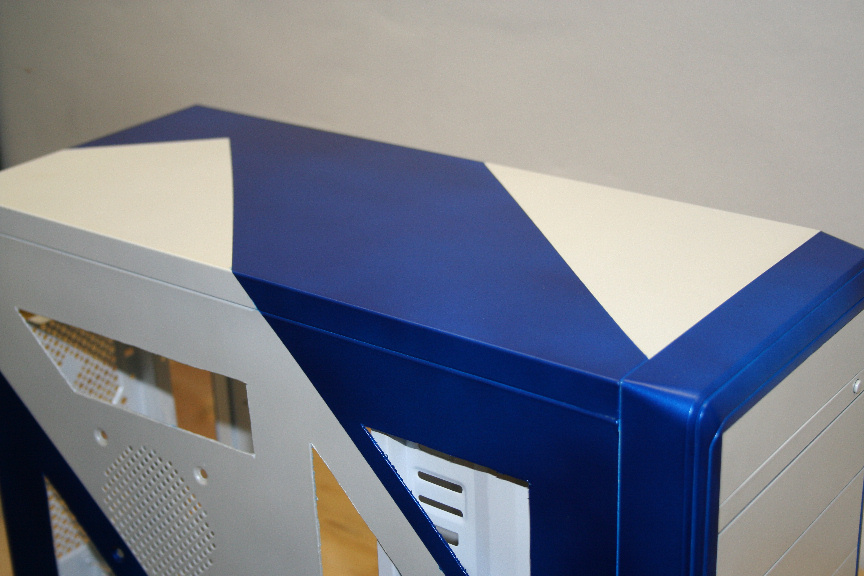
15-20 minutes later, I aplied the second and final coat of the blue. Notice how the light reflects on the pearl efect, making it look like there´s 2 tones.
I let that cure for 4 hours before remove the tape. Now it´s safe for us to remove it (gently please!). I´ve taken several pictures with and without flash, on different possitions to try and show you the pearl effect, though the pictures really don´t do it justice.
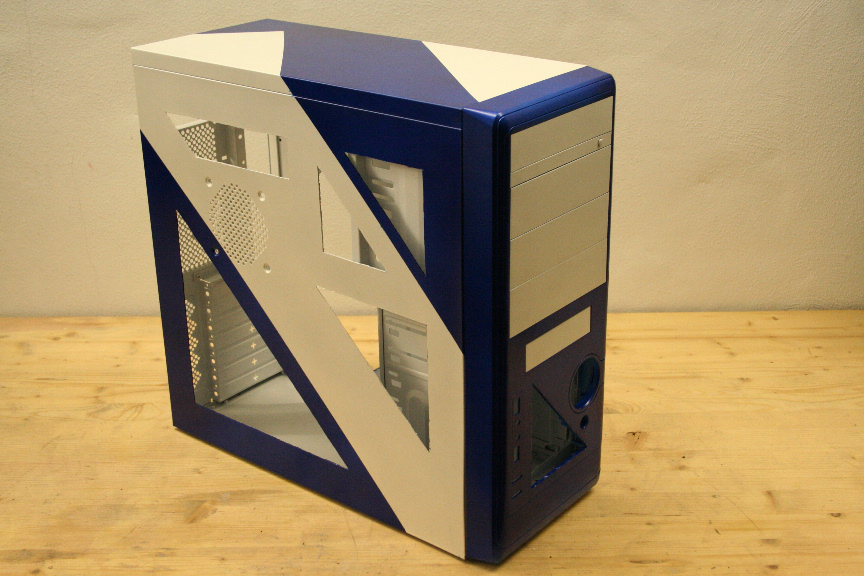
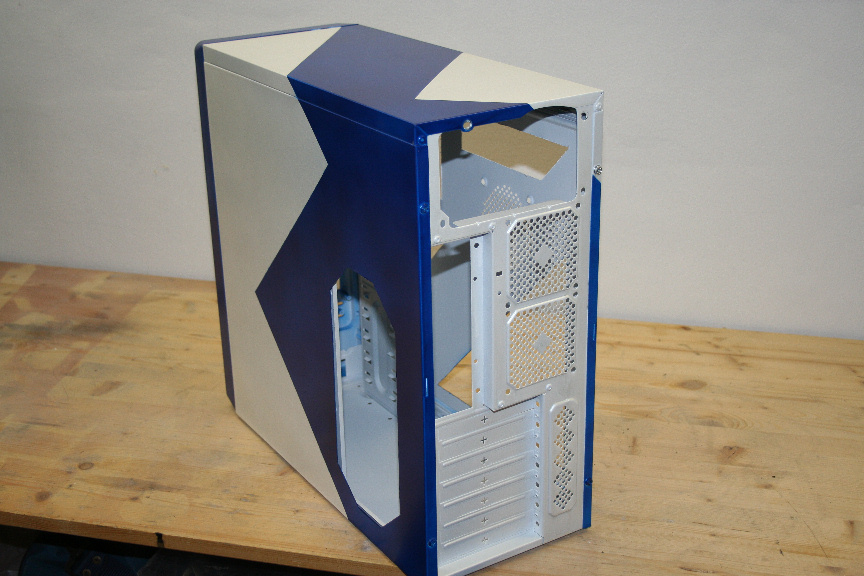
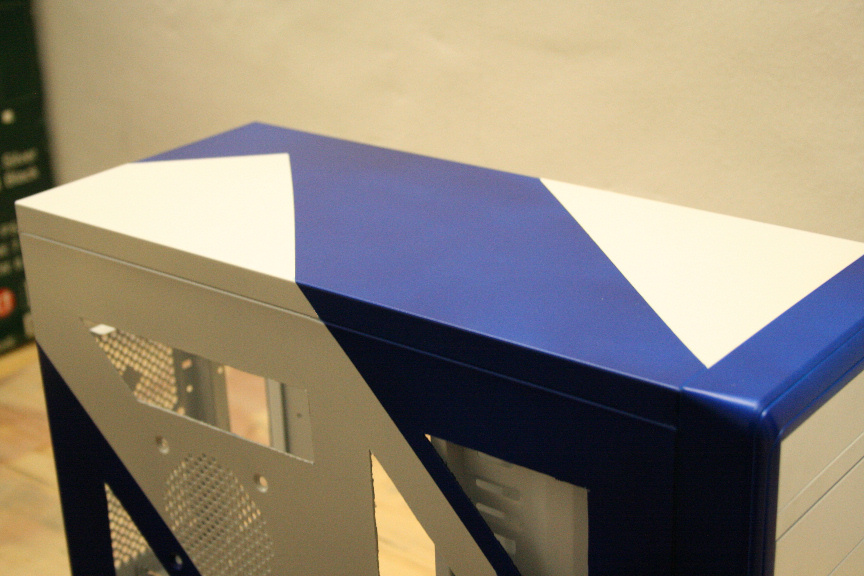
And that´s it for today really. There´s not much more to do on the case other than mounting the windows. In the next few days I´ll be posting the mini tutorials on each component and then finish it all in this thread mounting it all in the case.
Thanks for reading/watching!
-
nice color!
-
it is isn´t!? I fell in love with it at the supplies store

-
interesting idea to enclose many tutorialshow-to in a Worklog. It will be very helpful when modding, thanks for posting here, will greatly help modder's community.

-
My pleasure, I really hope it will help lonely google-ers when looking for begginers info : )
-
really interested to keep in
-
That's beautiful!

-
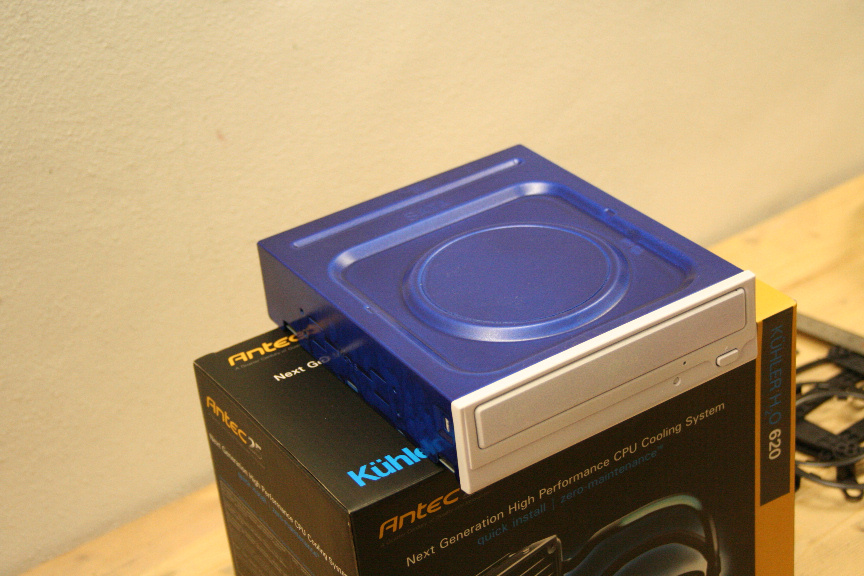
I´ve now started with the interior components, you can follow details on how to do them over at the following thread:
http://www.xtremehardware.com/forum/f51/tutorial_project_n_2_how_paint_components-31445/
Here is the finished CD/DVD drive:
-
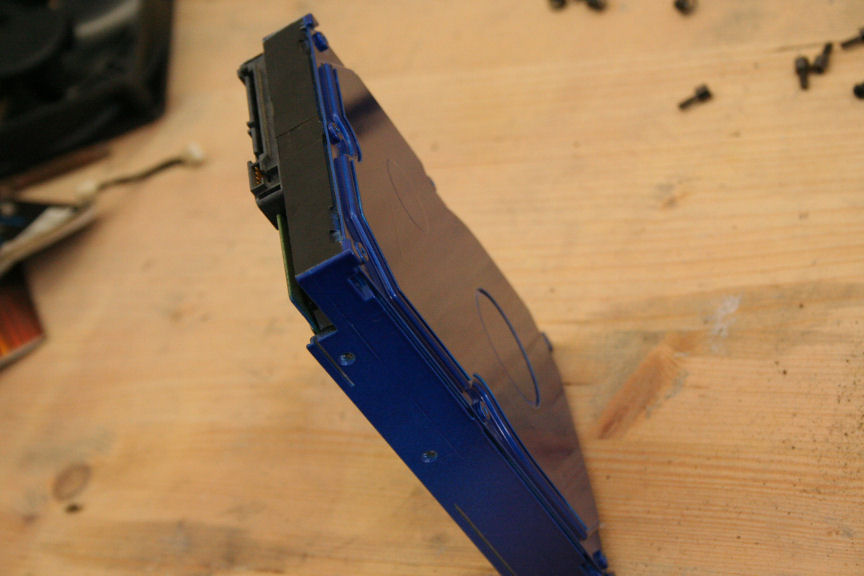
Added the hard drive tutorial to the components thread.
http://www.xtremehardware.com/forum/f51/tutorial_project_n_2_how_paint_components-31445/
Here is the finished HDD:
-
-
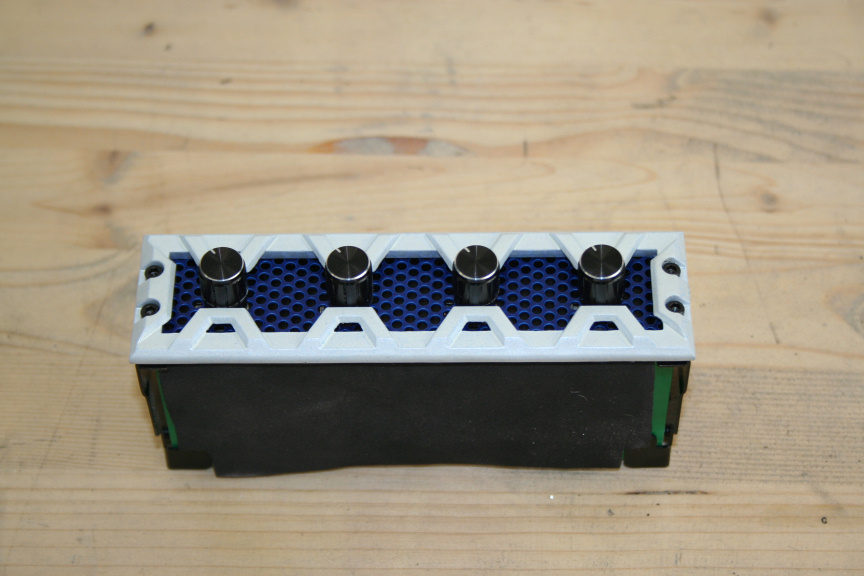
Added the fan controller tutorial to the components thread:
http://www.xtremehardware.com/forum/f51/tutorial_project_n_2_how_paint_components-31445/
Here´s the finished look:
-
nice choice
-
In deed, I think it´s the best one in a value/quality comparison : )
-
yep , and nice choice of coluors
-
Thanks Tom1
I always wanted to use pearl colors before, it just never suited any of my projects -
what is the next step ?
-
Graphics Card, an old school 9800 GTX by XFX, after that, power suply, after that, liquid cooler (one of those all in one solutions) and after that, assembly of everything : )
-
yeahhhh come on luciel
Ciao! Sembra che tu sia interessato a questa conversazione, ma non hai ancora un account.
Stanco di dover scorrere gli stessi post a ogni visita? Quando registri un account, tornerai sempre esattamente dove eri rimasto e potrai scegliere di essere avvisato delle nuove risposte (tramite email o notifica push). Potrai anche salvare segnalibri e votare i post per mostrare il tuo apprezzamento agli altri membri della comunità.
Con il tuo contributo, questo post potrebbe essere ancora migliore 💗
Registrati Accedi