Mod’n Roll 2012: The Theory of Everything.
-
tom1 ha scritto:
hohoho , two pumps
Yup!

I got a good deal on those pumps, so unfortunately it means that I'm not going to be making my own this time...
2 pumps are neccesary for 2 reasons:
1. I really want both red and blue liquid in the system.
2. The waterblock I made for the CPU is really bad for flow, so I'm not sure there would be enough pressure to do both CPU, NB and GFX.
But there is no doubt that it's an expensive sollution. I now have 2 of those pumps for that pc, and 2 more for my own setup. That's like 400 Euro worth of pumps in my appartment! :lol:
-
ahhaha or right. And about 2.000 dollar in rig
-
tom1 ha scritto:
ahhaha or right. And about 2.000 dollar in rig
Heh... Honestly, I have no idea how much money I have put into computers, the Wii, and my PS3... And I actually don't want to know! :lol:
I just did a quick calculation, and there is around $4-500 in my girlfriends case and 80-120 hours of work... And that is without hardware! So I guess this kind of proves that modding is not about the money, but about the love!
-
but about the love!
of course
Modding = Soul
-
Angel OD ha scritto:
1. I really want both red and blue liquid in the system.
Why?
-
tom1 ha scritto:
of courseModding = Soul

One1ros ha scritto:
Why?Why not? I have red and blue fans, I have red and blue LED's and I also want red and blue water.
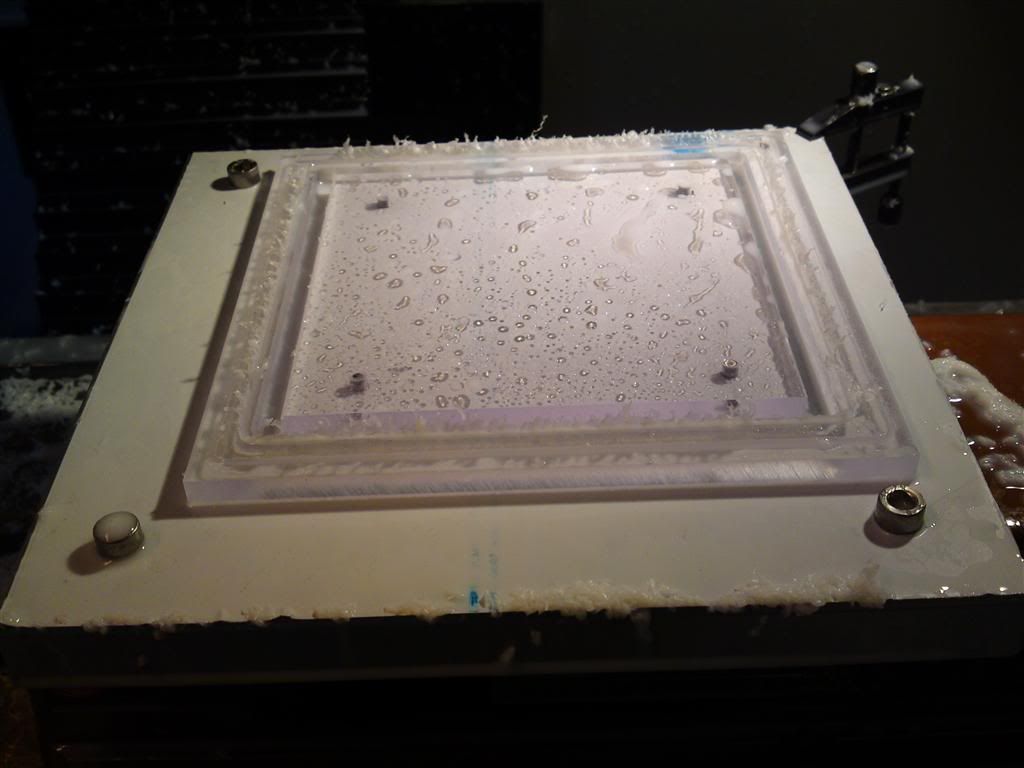
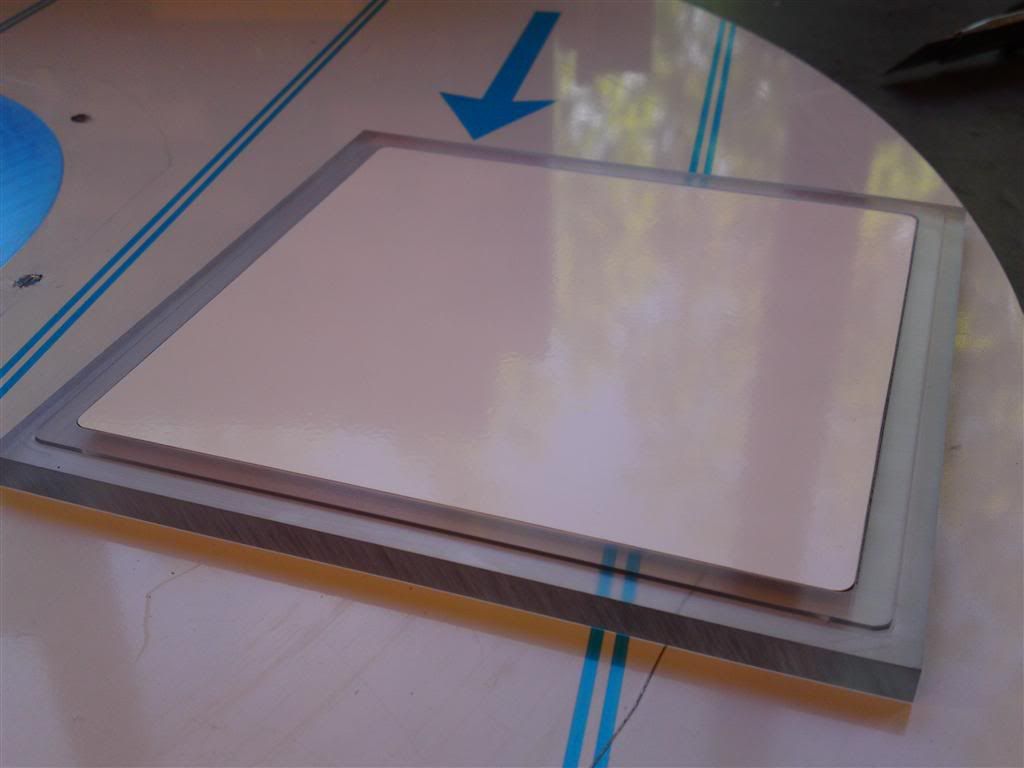
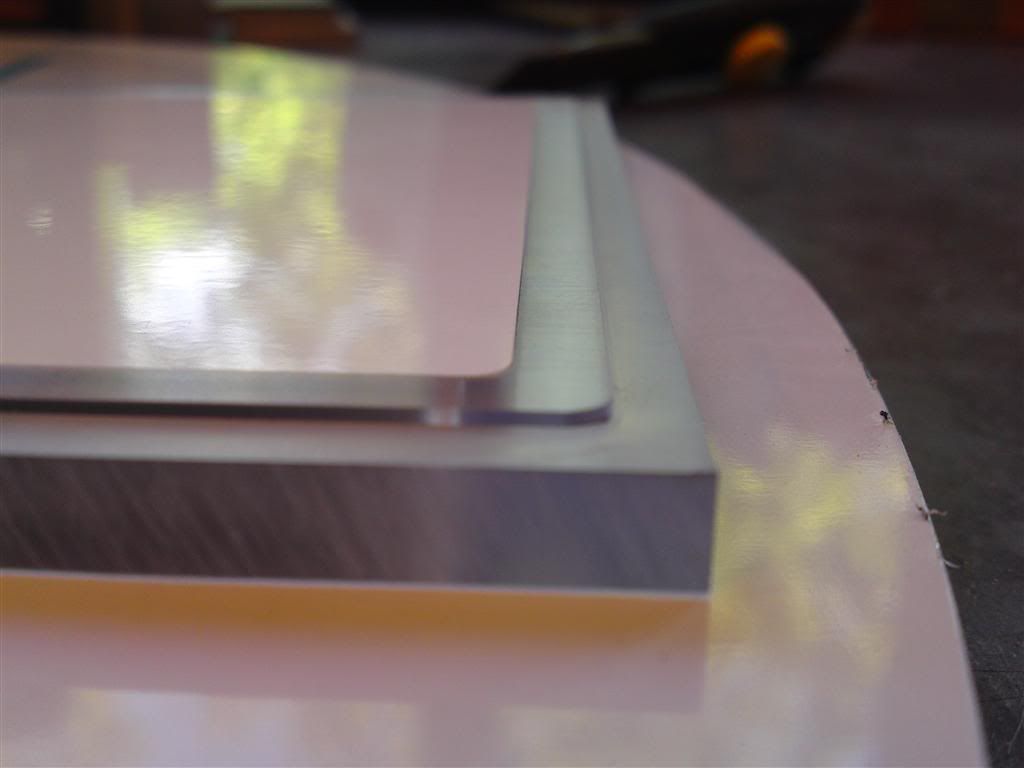
Small update:
Finally got around to making another thread in an angle fitting so the CPU block is now completely done!
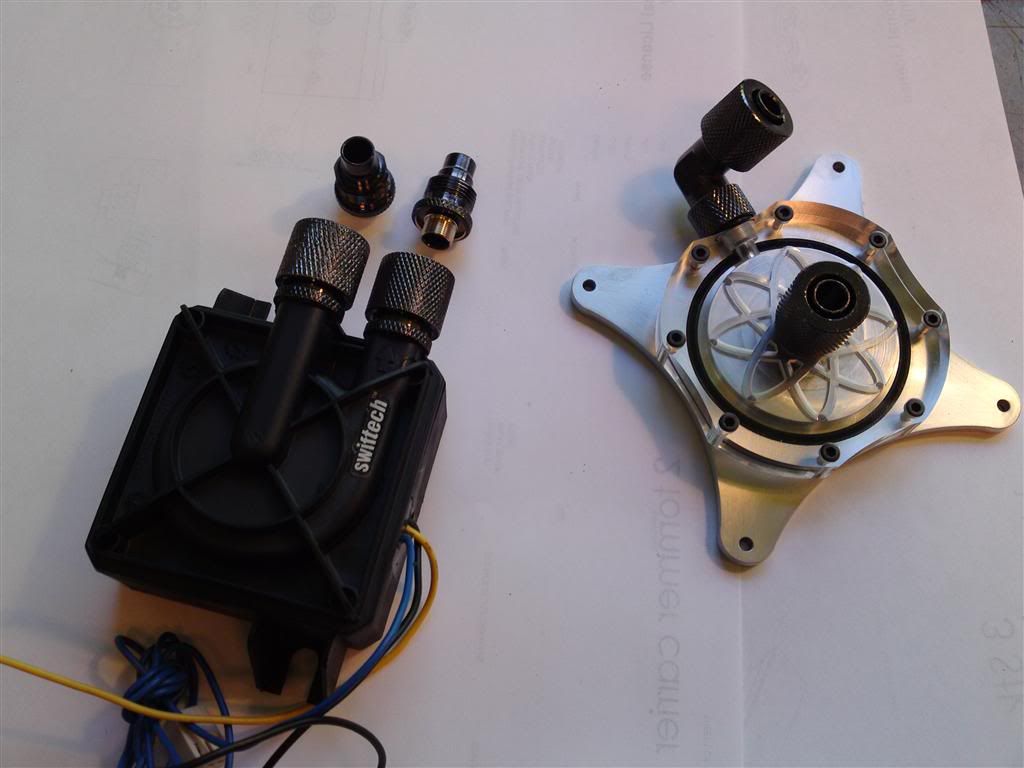
Also as you see, I made the first pump top. Don't really care about looks and acrylic tops as they will be hidden. But it actually looks pretty cool!
That's it for now. I'm ready to go on, so the updates should be coming at a steady flow from now on.
-
I like it!
-
One1ros ha scritto:
I like it!
Thanks a lot man!
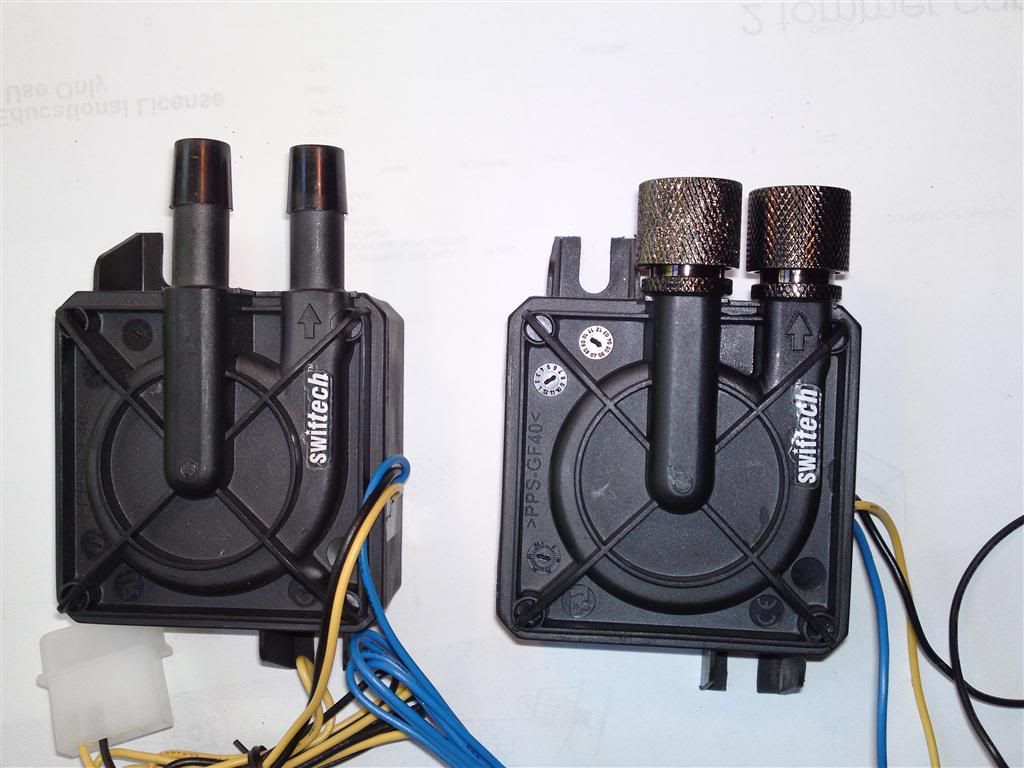
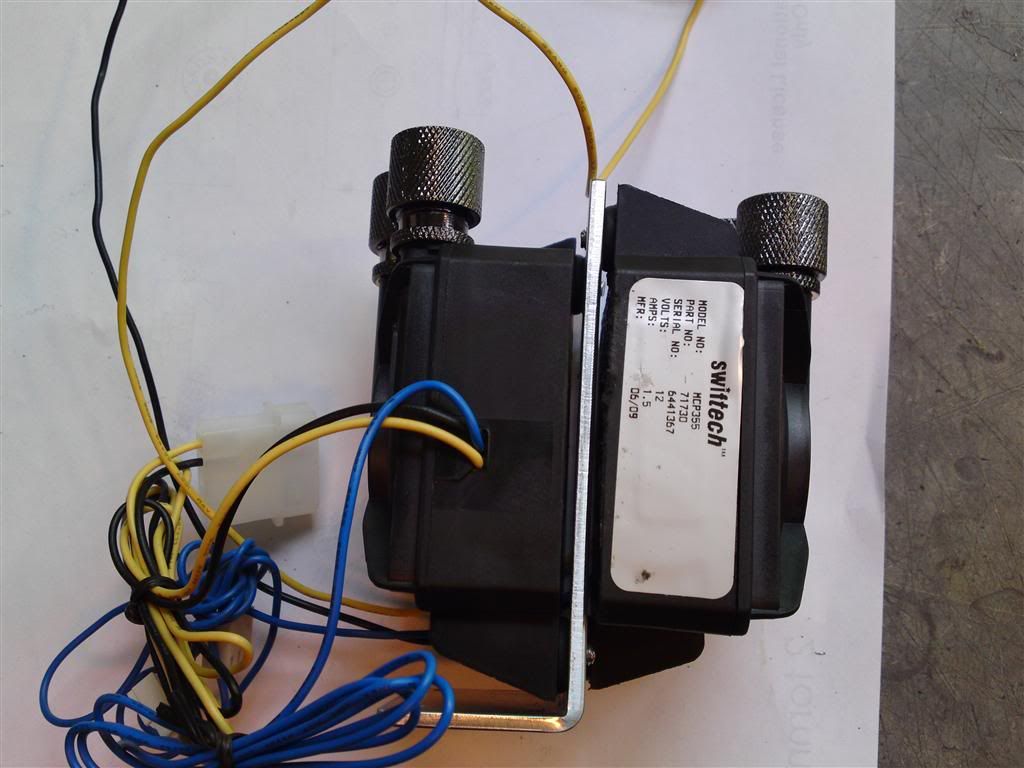
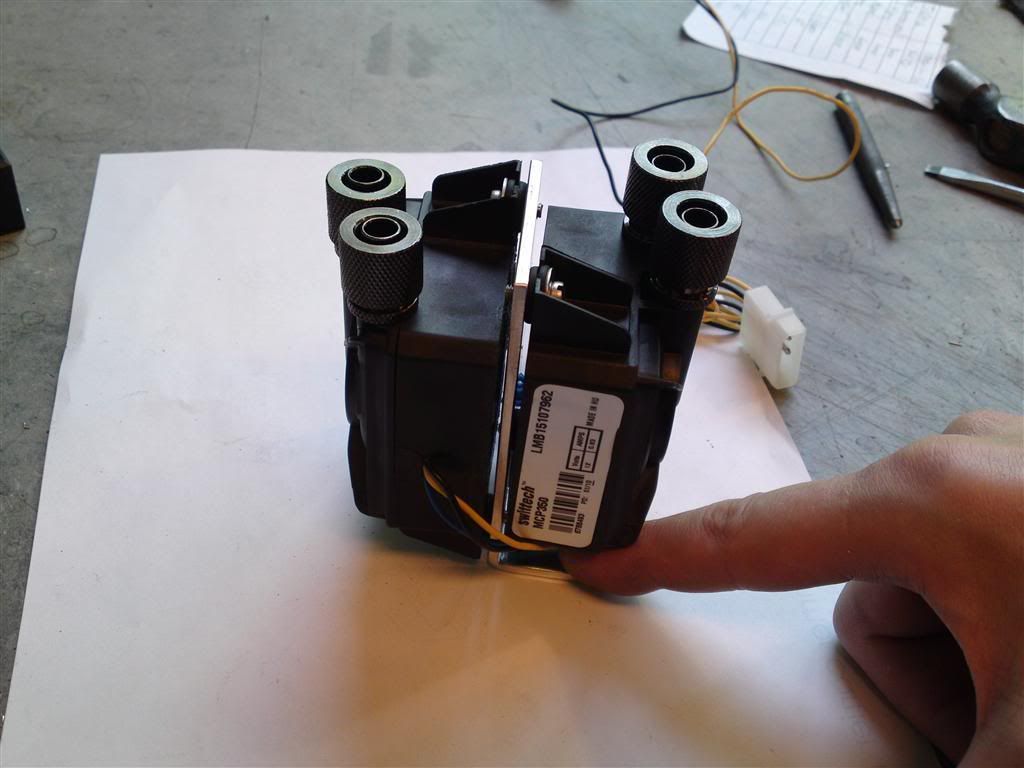
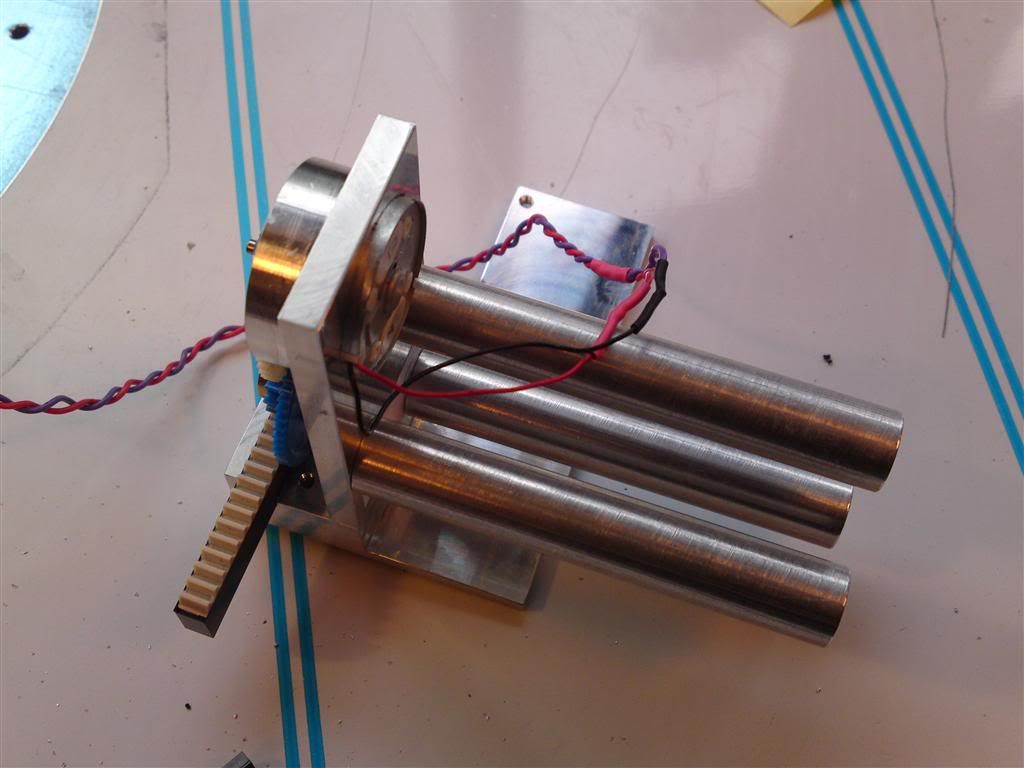
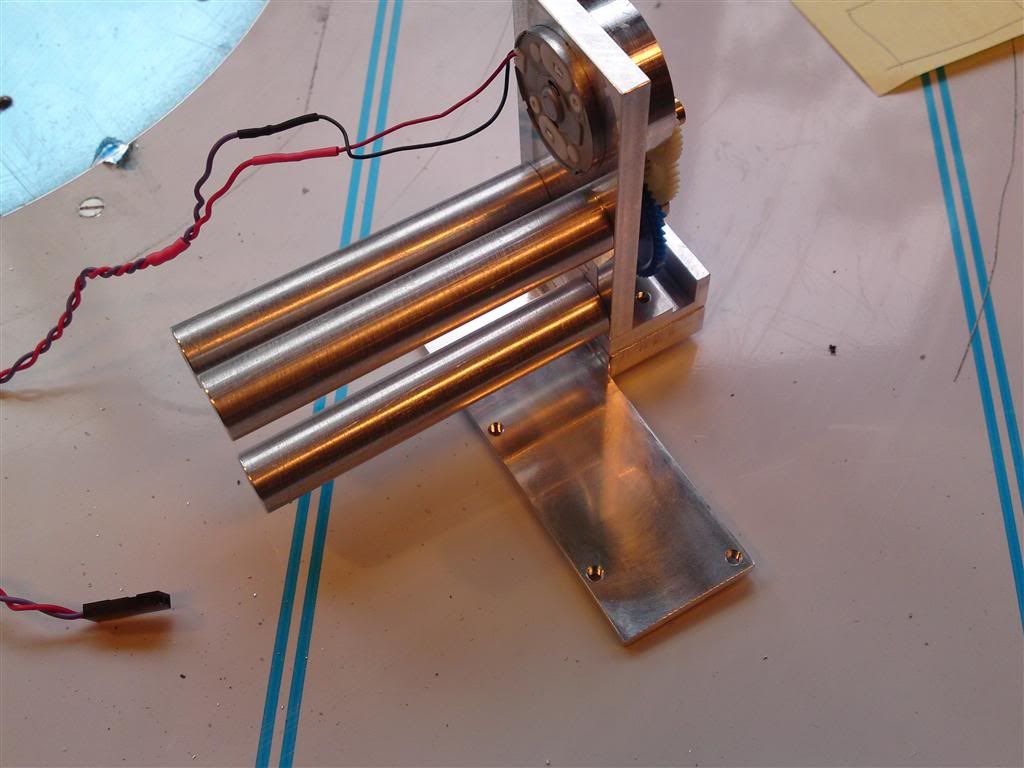
Yet another very small update:
I made a bracket to hold the pumps today. It seems like it's going to fit it pretty well, but time will tell.
I guess the next thing is to go head on with the dvd-drive. Mounting the drive, the peripherals, and all that stuff.
-
want to use two swiftech to match a sanso ?
-
tom1 ha scritto:
want to use two swiftech to match a sanso ?
I just googled the sanso... Damn that thing is bad!
But since I need 2 loops, I need 2 pumps!
-
yes is the queen and beast of the pumps
-
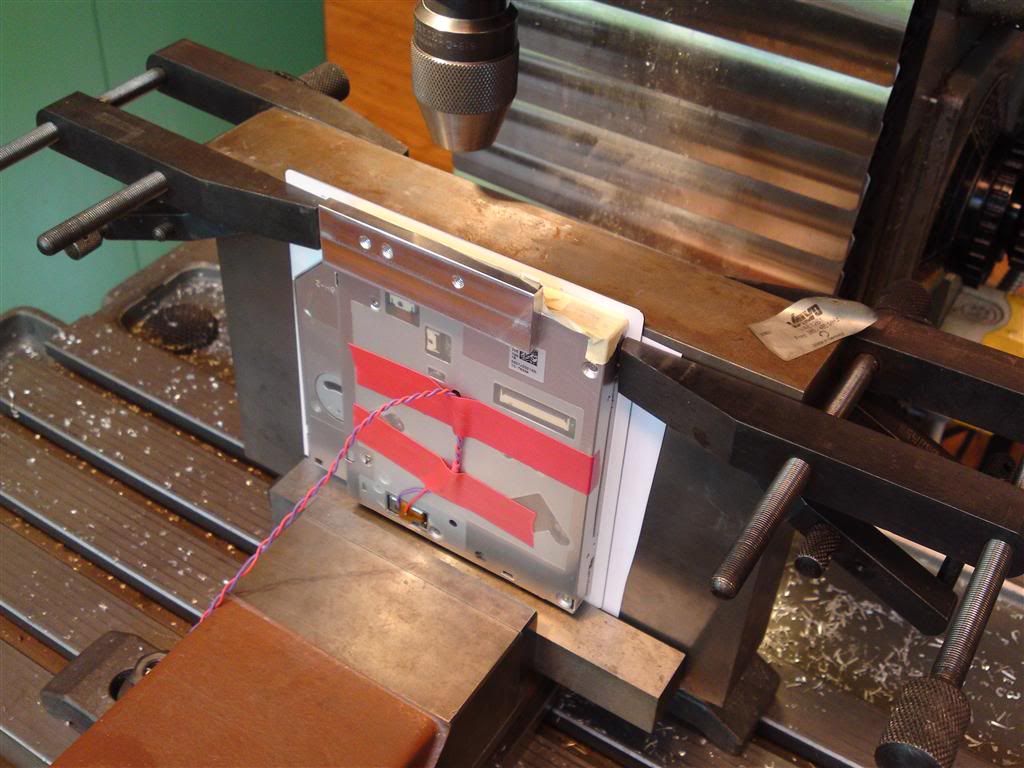
Progress time.
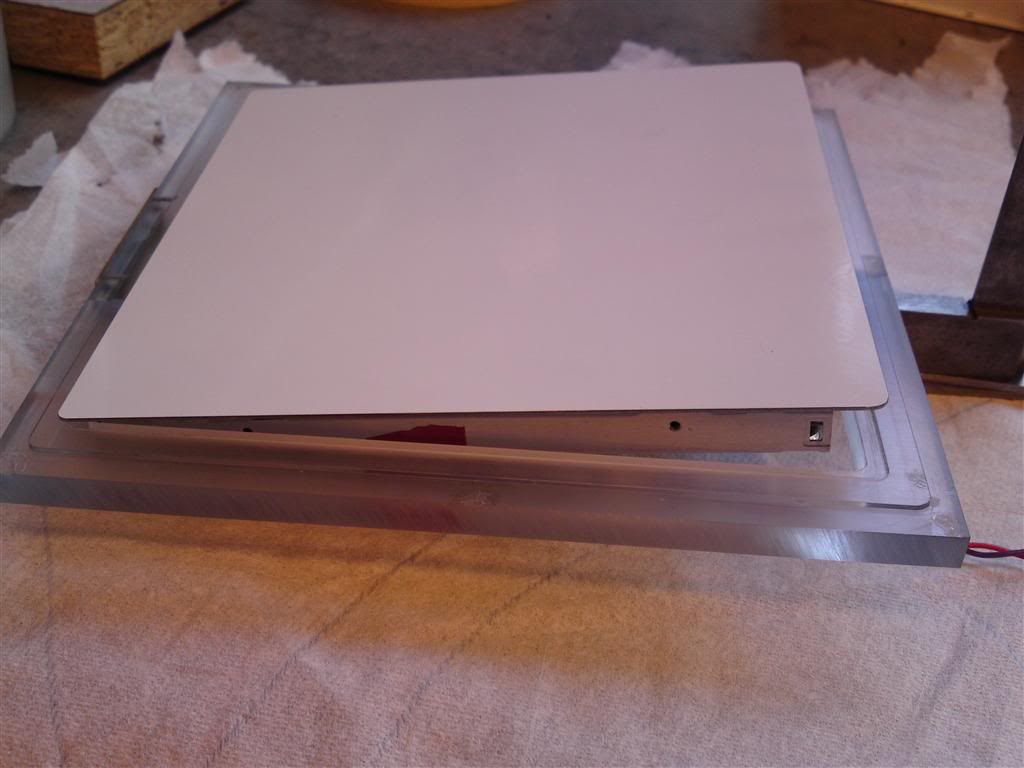
I got started on the top for the dvd-drive. Lexan part setup in the mill:
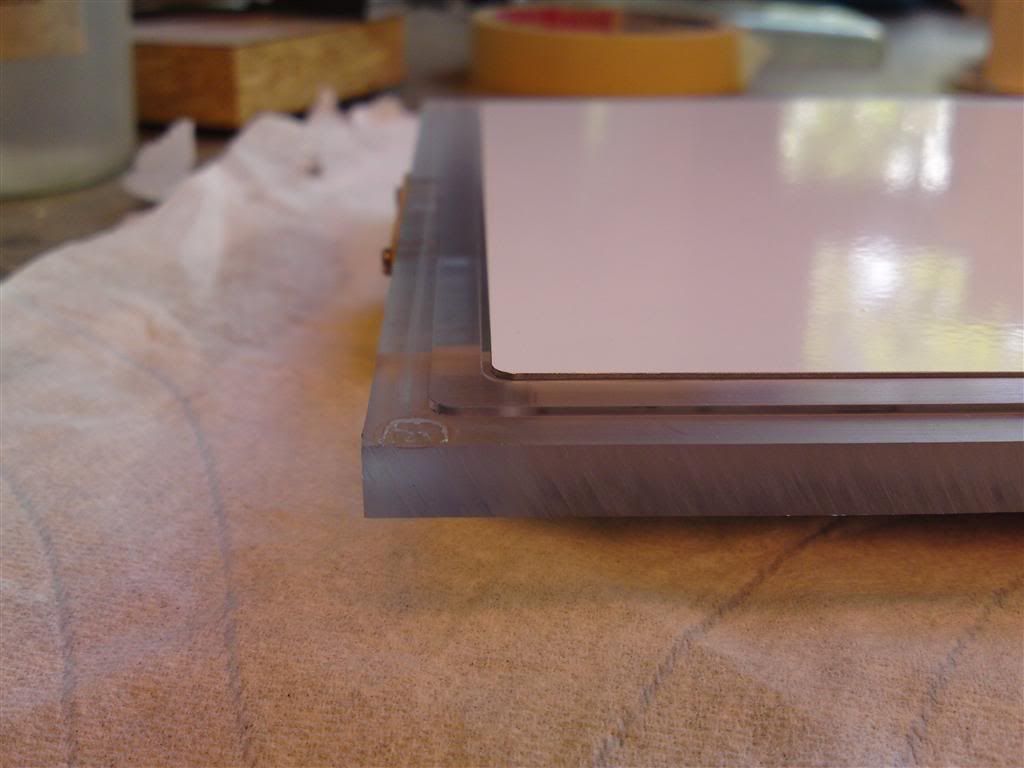
Lexan done, and I also milled the piece I had left over from cutting out the top of the case:

Put together:
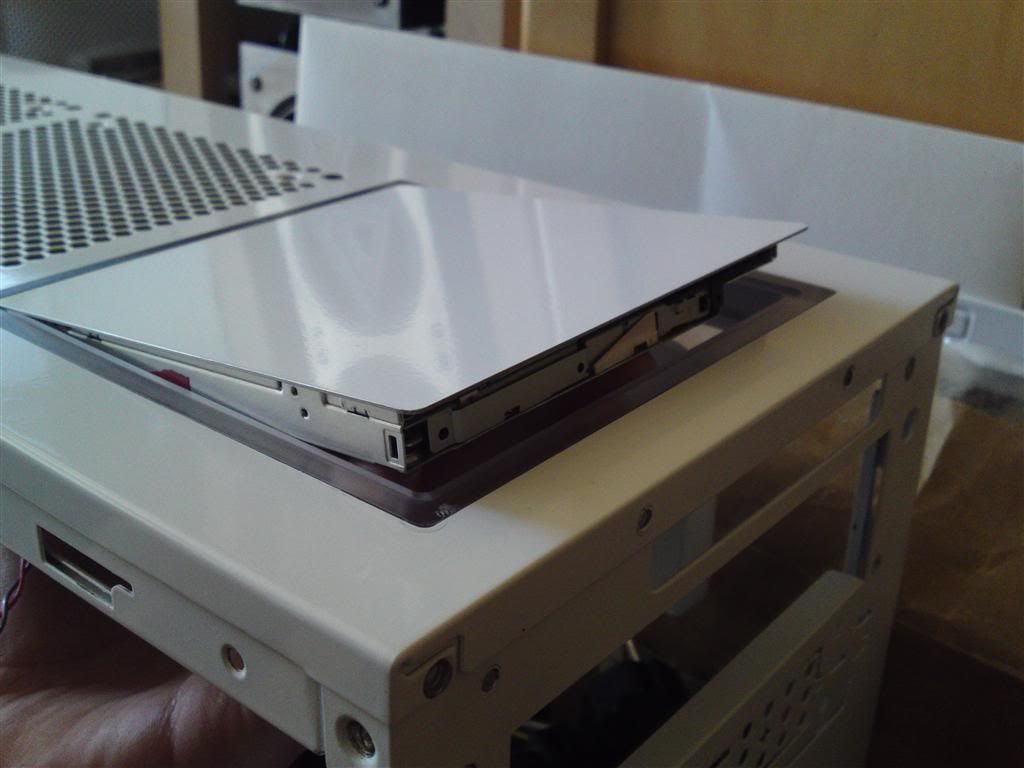
Test fit in the case:
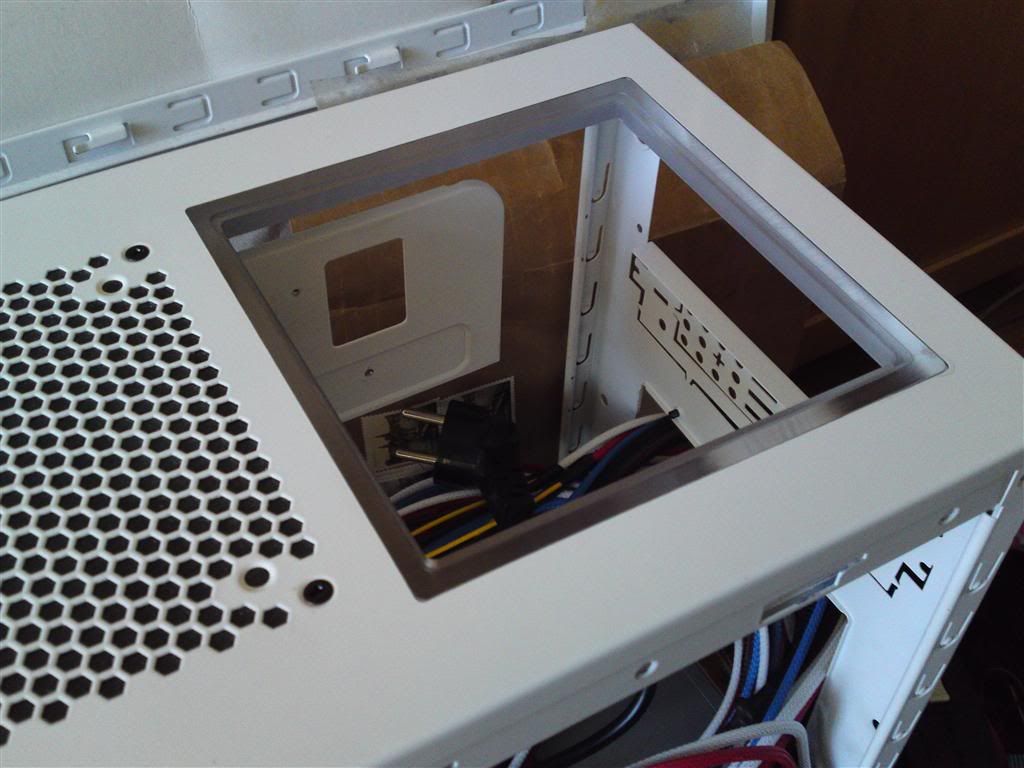
Top in:
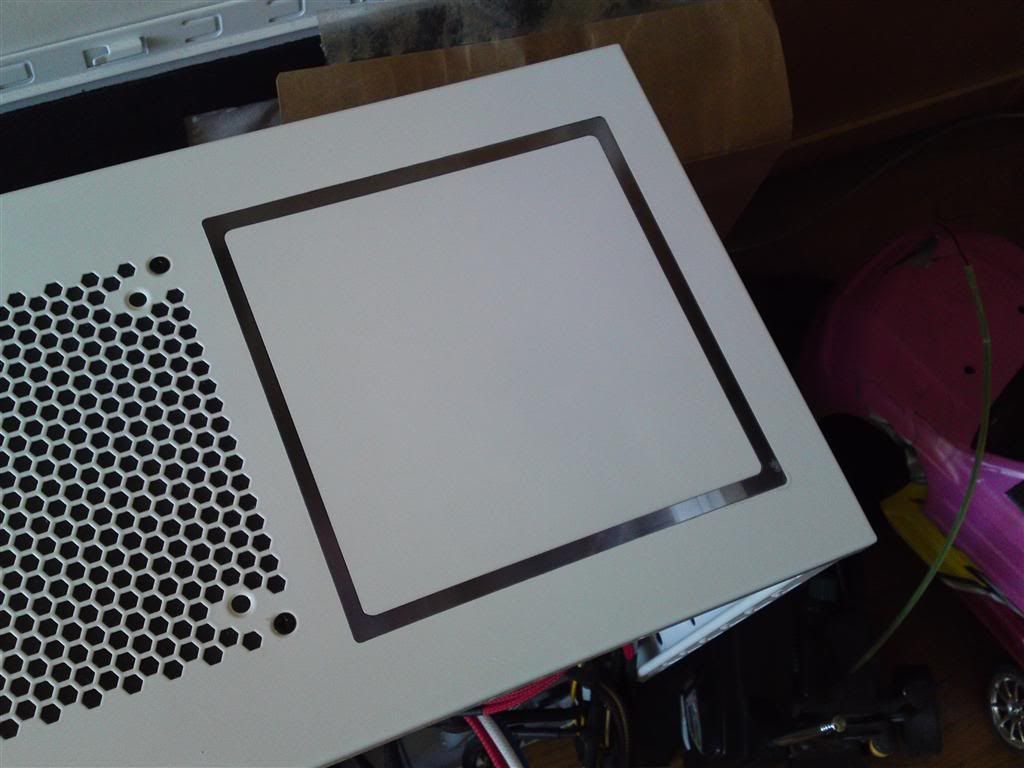
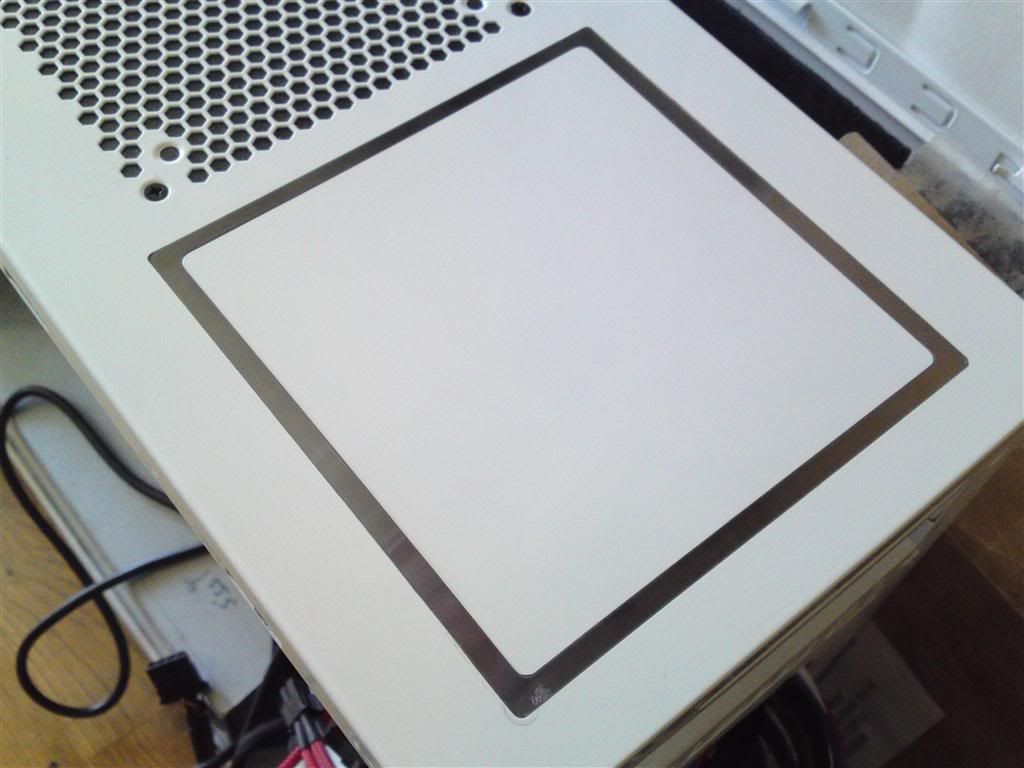
Now that could have been a lot worse!
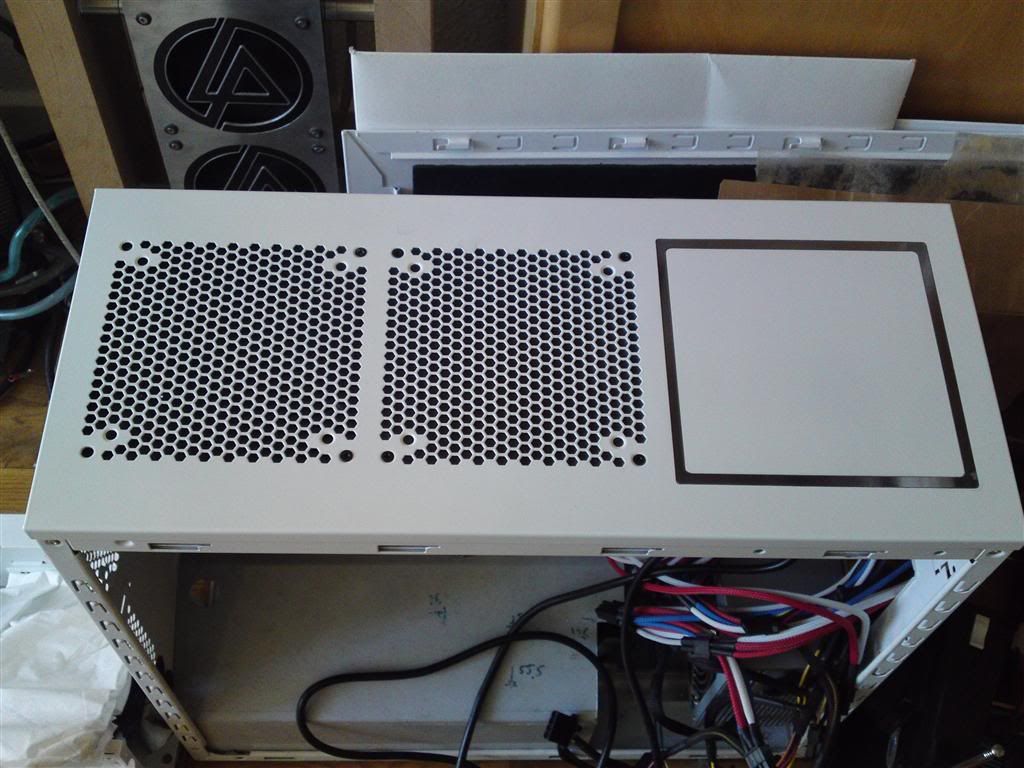
The position of the dvd-drive:
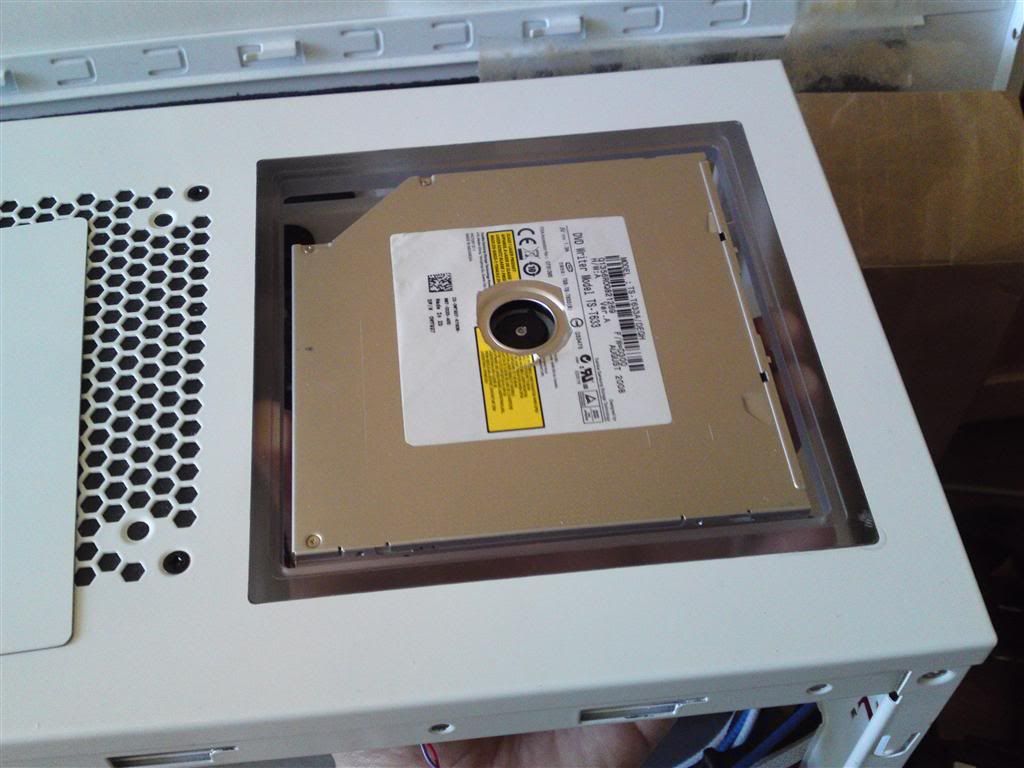
With the top:
Now I have to get everything put together, it should be somewhat easy now that I have all the parts.
Until next time!
-
The optical drive bay is fantastic!
How does the mechanism work?
-
One1ros ha scritto:
The optical drive bay is fantastic!How does the mechanism work?
Thanks man!
How it works, you will find out later.
-
Damn... Things always take more time than you imagine them, don't they?
I was hoping to get a lot further today than I did, but there are only so many hours in a day!
Here's what I got for you:
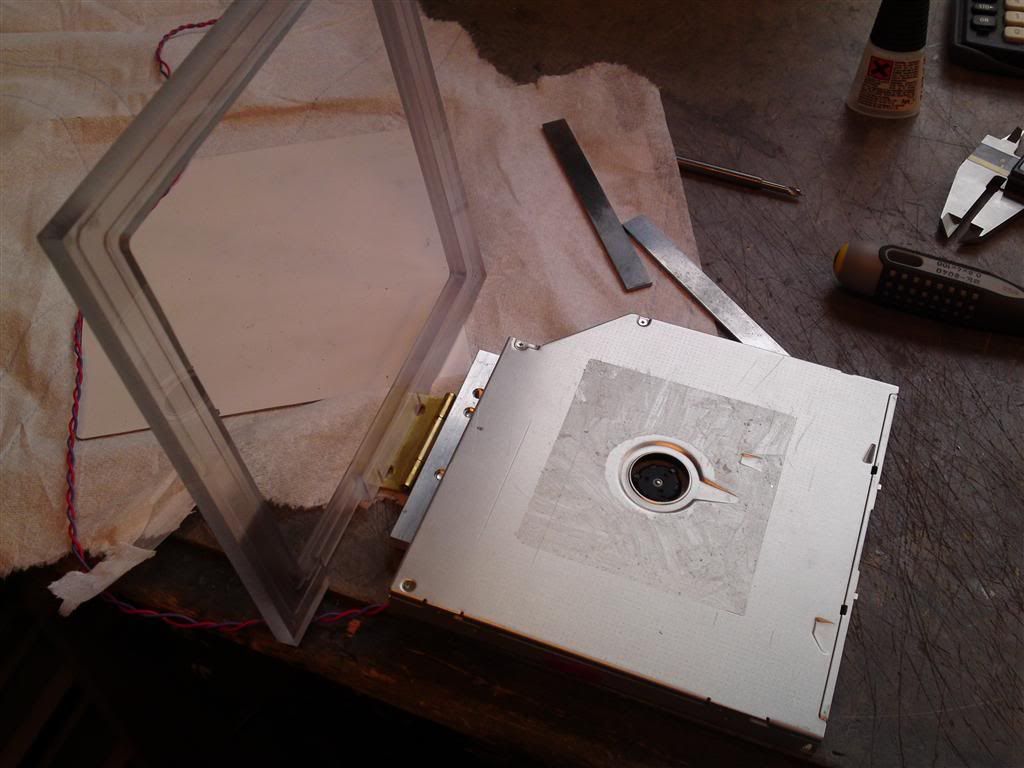
I had to mill a small channel in the lexan top to make room for the slimline adapter for the dvd:
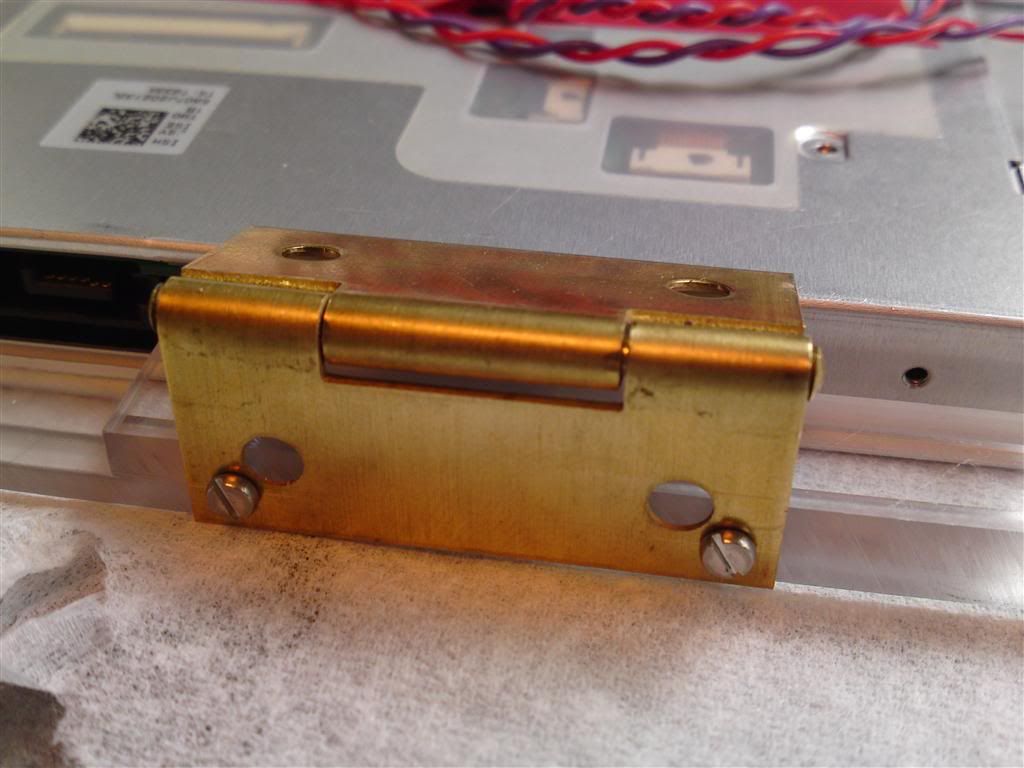
I also found a hinge that worked great, with almost no play. I know it's brass, but it'll be painted white. Mounted on the lexan top:
Milled a piece of aluminum that I glued onto the back of the dvd drive, to mount on the hinge:

Spent 15 minutes removing the damn label on top of the drive:
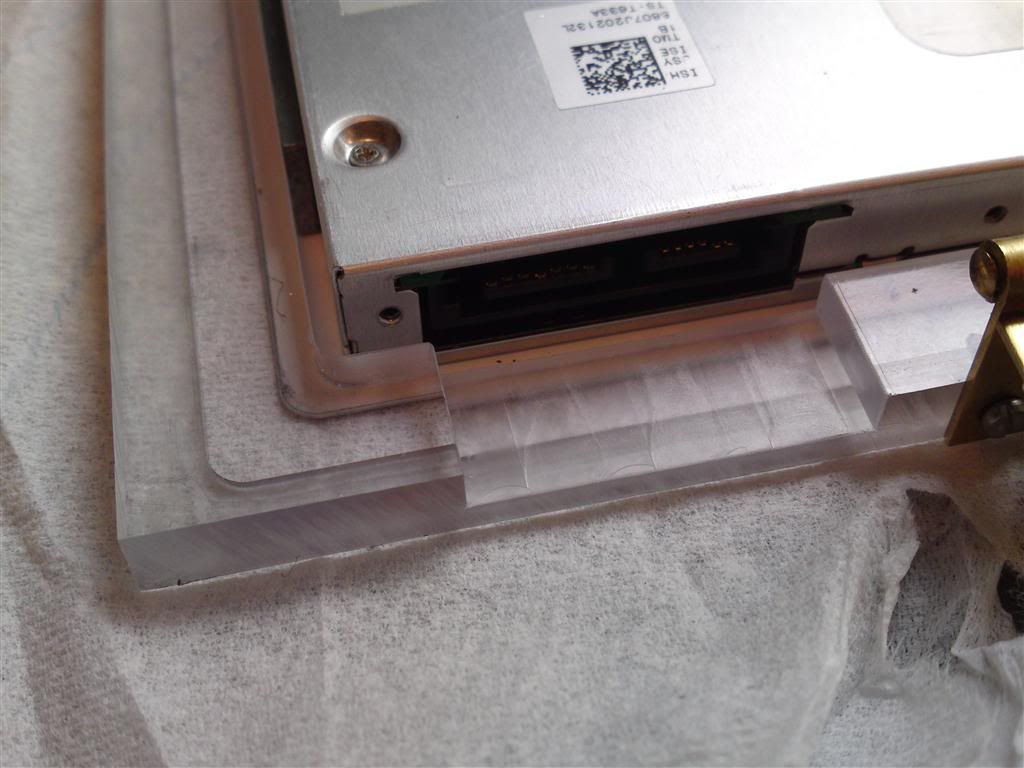
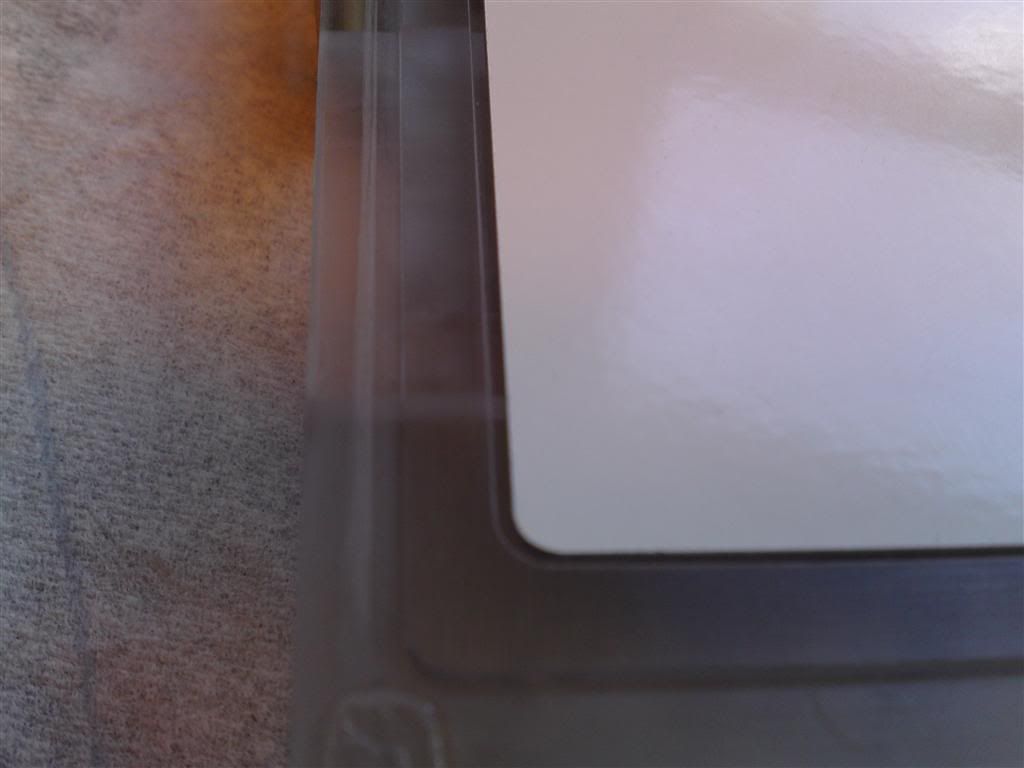
In my happiness of everything going great, I completely forgot one important thing: When the top pivots around the hinge it moves up AND back at the same time. At this point I had glued the drive to the white top, and since there was no way I was trying to take it off, I had to figure out somehow to remove 0.5 mm off of the back edge:

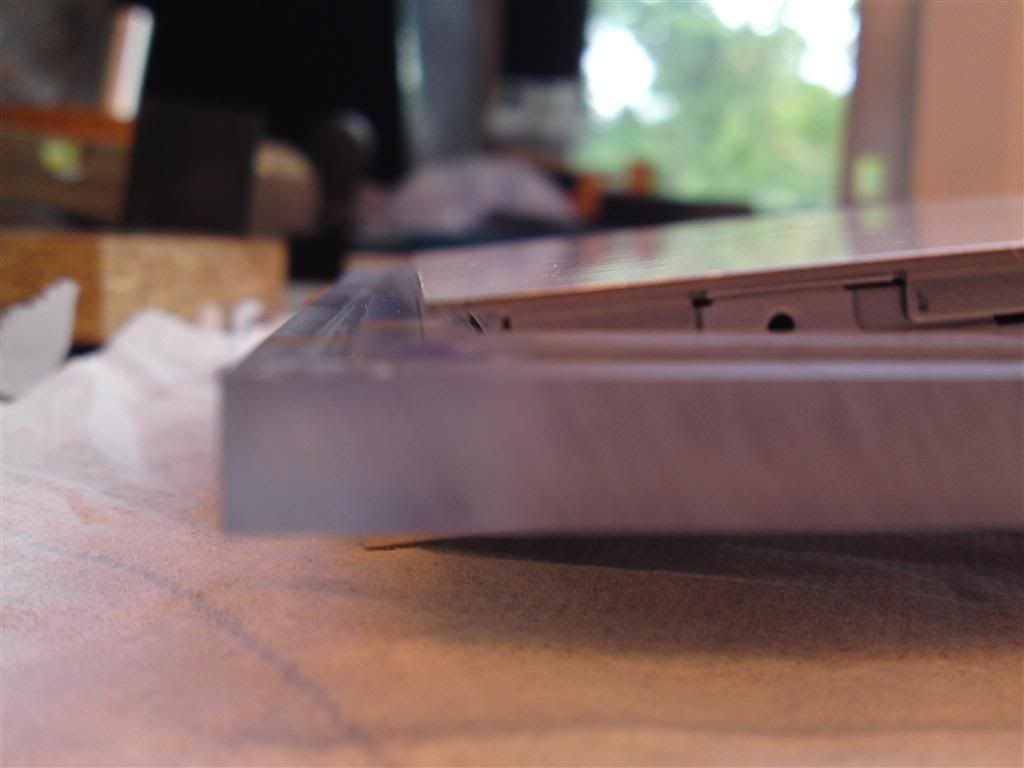
It worked perfectly, but the height of the drive is a bit off. It sticks out around 0.7 mm. Gonna get that fixed tomorrow.
Here you see the back. No way around the 0.6-0.7 mm gap:
In the up position:
That's it for today. I should get the last small querks fixed tomorrow, and then get started on the part that holds the mechanical part that will lift the drive.
-
What a perfectionist!
-
quote
-
One1ros ha scritto:
What a perfectionist!tom1 ha scritto:
quoteThanks guys! I try my best!
I mounted the dvd drive in the case. It still needs a little bit of tweaking, a couple of 10th's of milimeters filed off here and there. But this is how it looks from the inside:
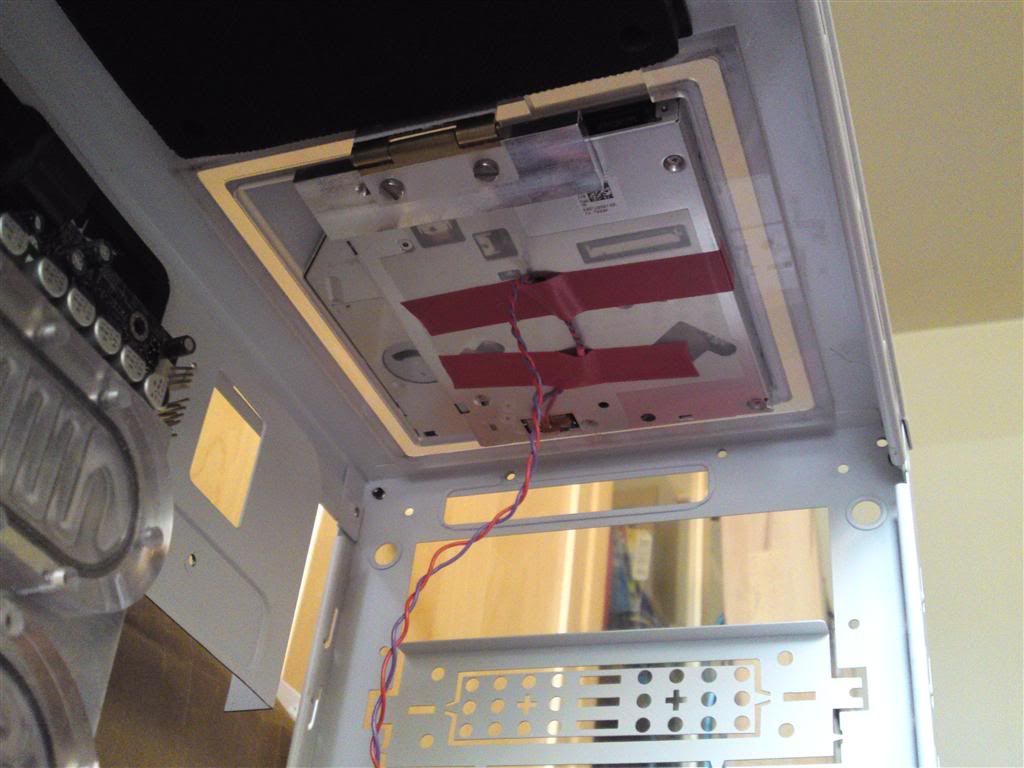
Then I went on to making a bracket to keep the motherboard tray in place as well to mount the mechanical parts that moves the drive. I pulled the drive bay, and gonna replace with a piece of 3mm aluminum:
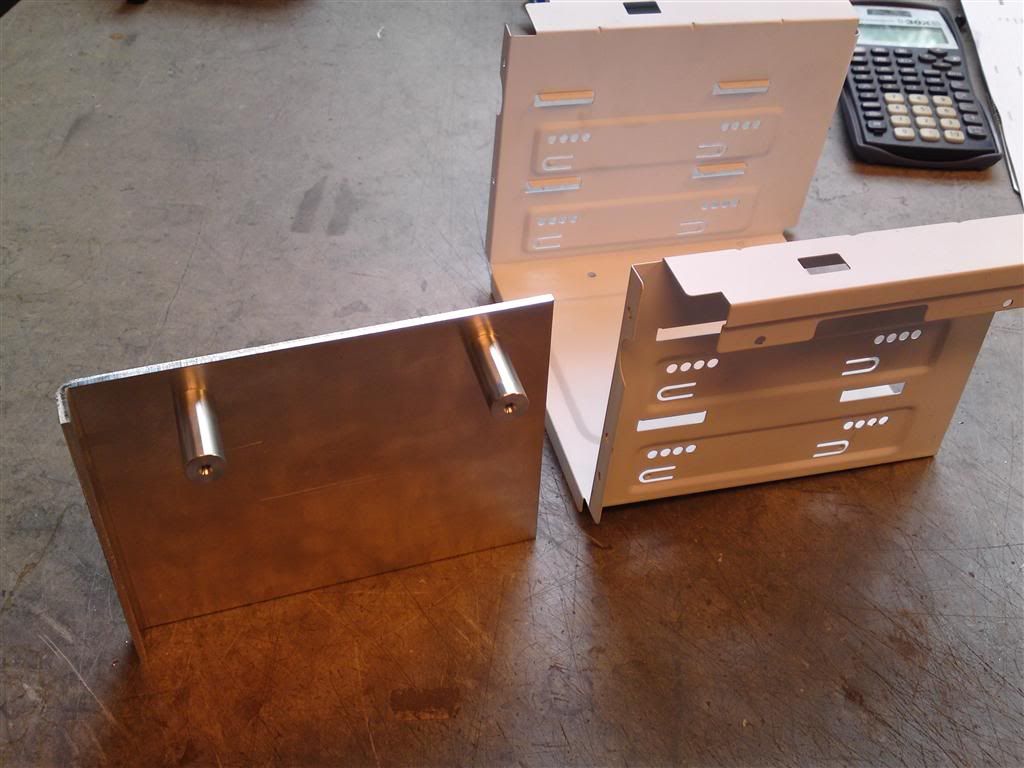
This will also allow (fingers crossed) room for the reservoirs...
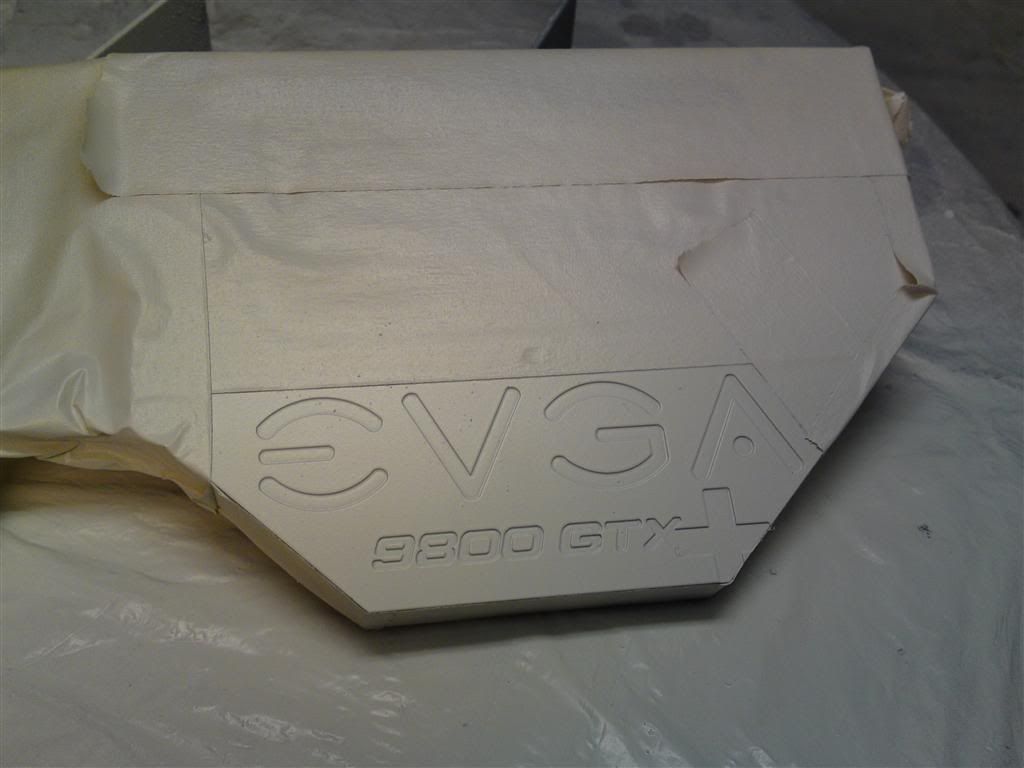
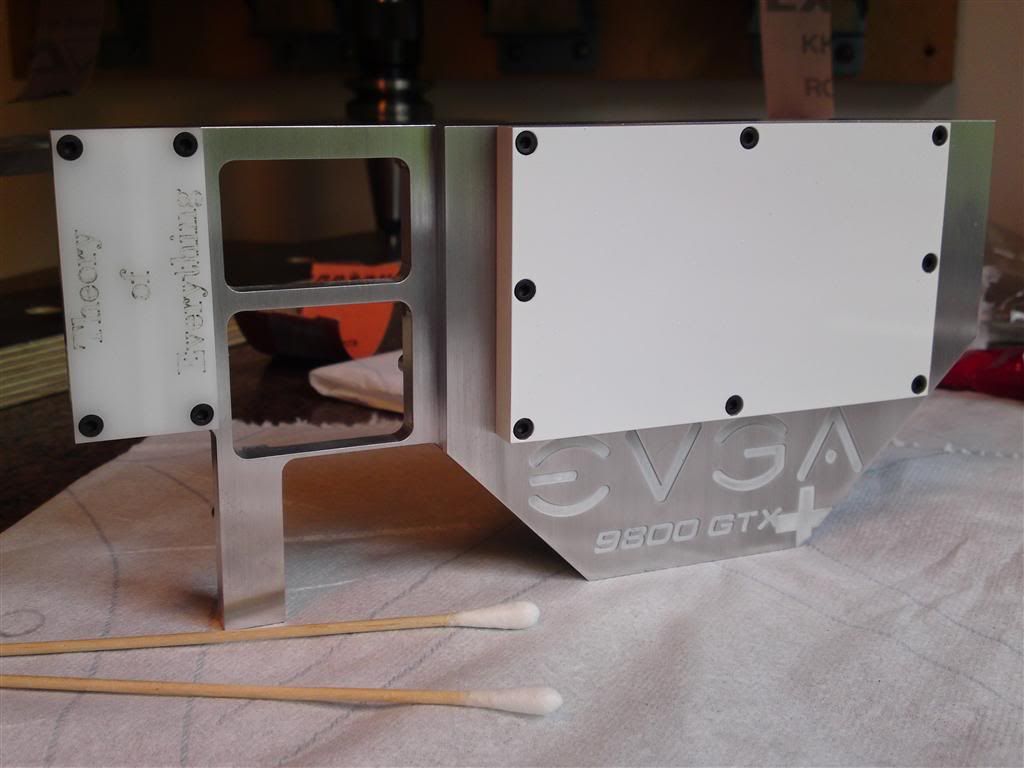
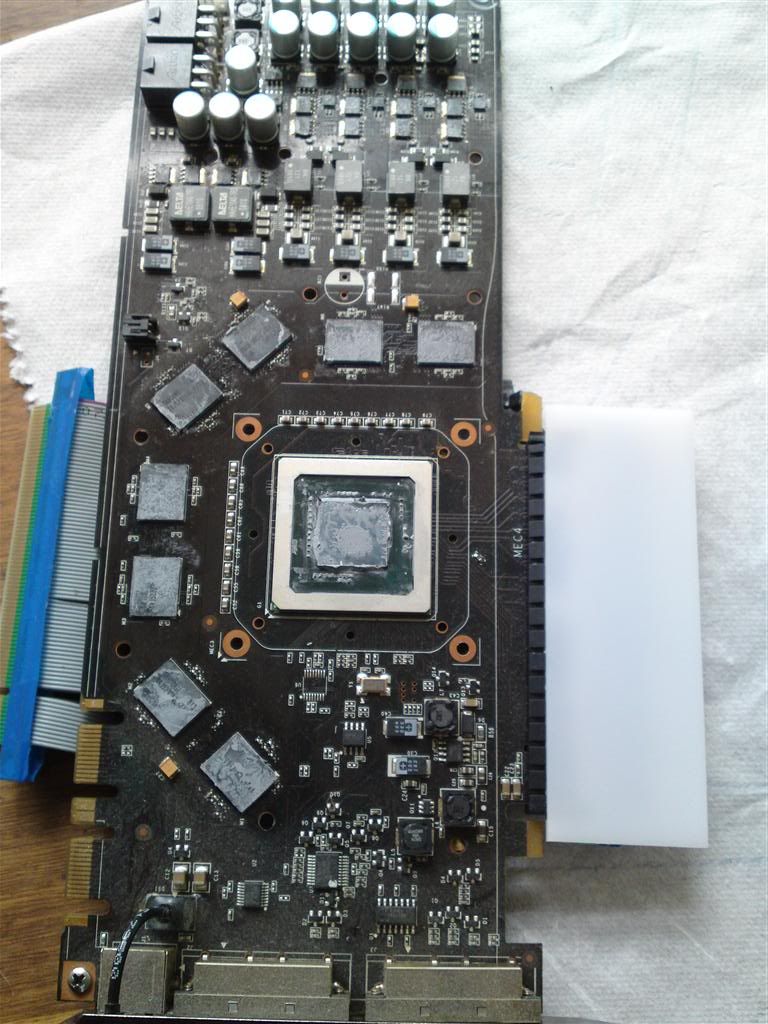
Onto the waterblock for the gfx. I have decided to re use on of my 9800 gtx+ cards for this build. I admit there's not a lot of OOMPH in it anymore, but it's quite enough for my gf right now. Also I would need to make a new waterblock if I bought a new card, since I can't get myself to use a factory waterblock!
It was made for my old G5 case, so I had to do a bit to get it nice for this build.
There was some galvanic corrosion in it, so I decided to go with a white top instead of a see through.
But here goes:
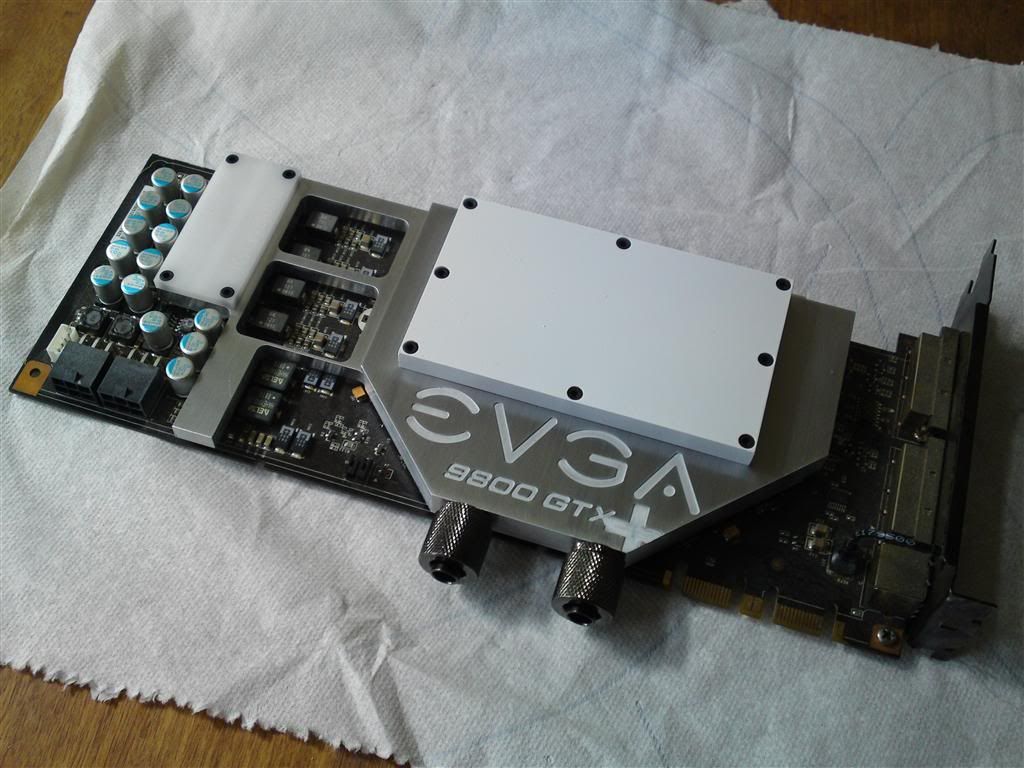
Removed the black paint from the evga logo, and did it in white:
Then I had to do something about the CYC inscription. Decided to make a small white plate with "Theory of Everything" written in it. I made it dirty so you could see it, but once I cleaned it you can't hardly see it.

White top and plate mounted:
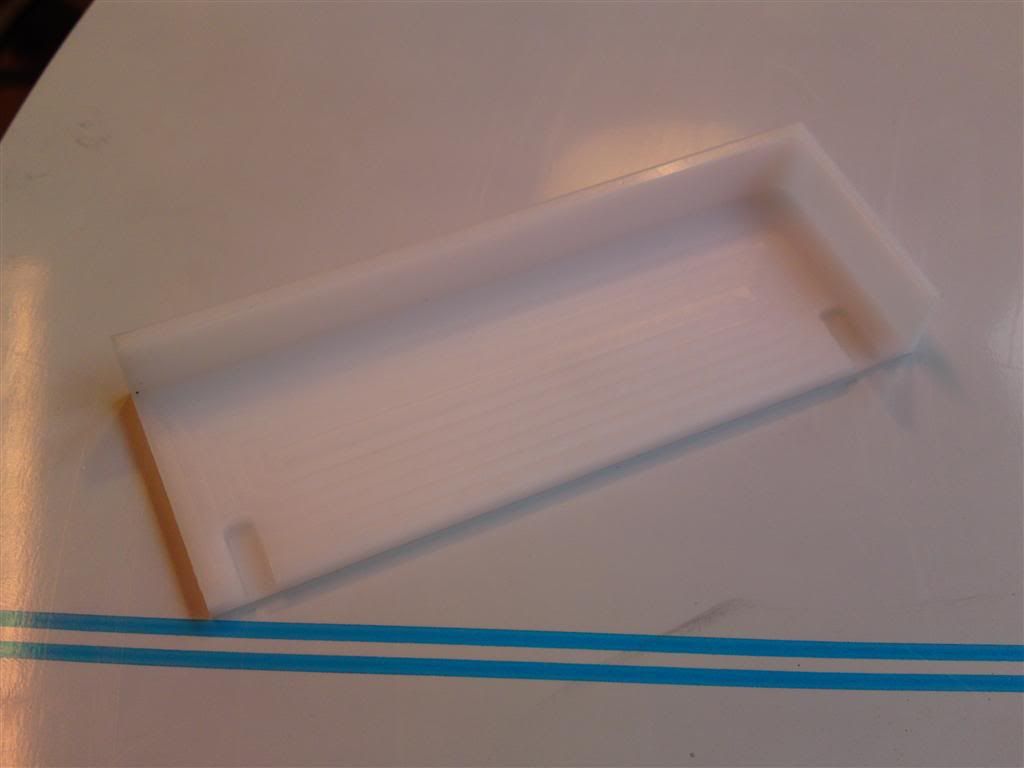
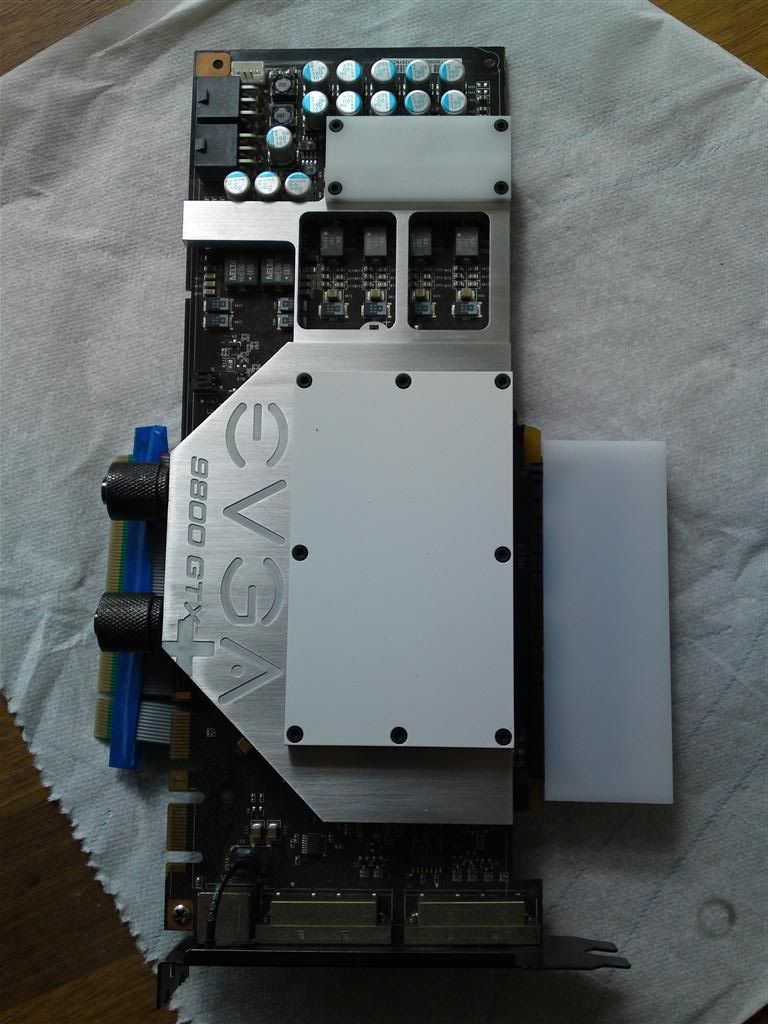
My biggest concern was the PCI-E riser. It looks like crap and I decided to make a piece that hides the worst. It's not really beautiful, but it sure beats looking at the cable and print:
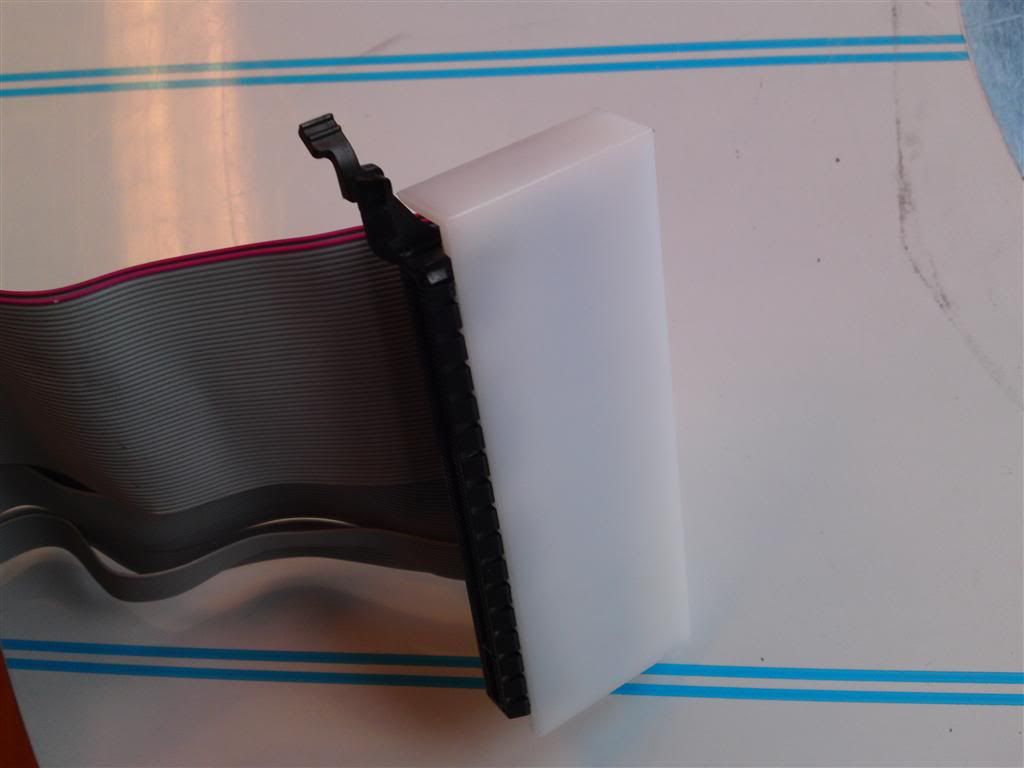
Mounted on the riser:
From the back:
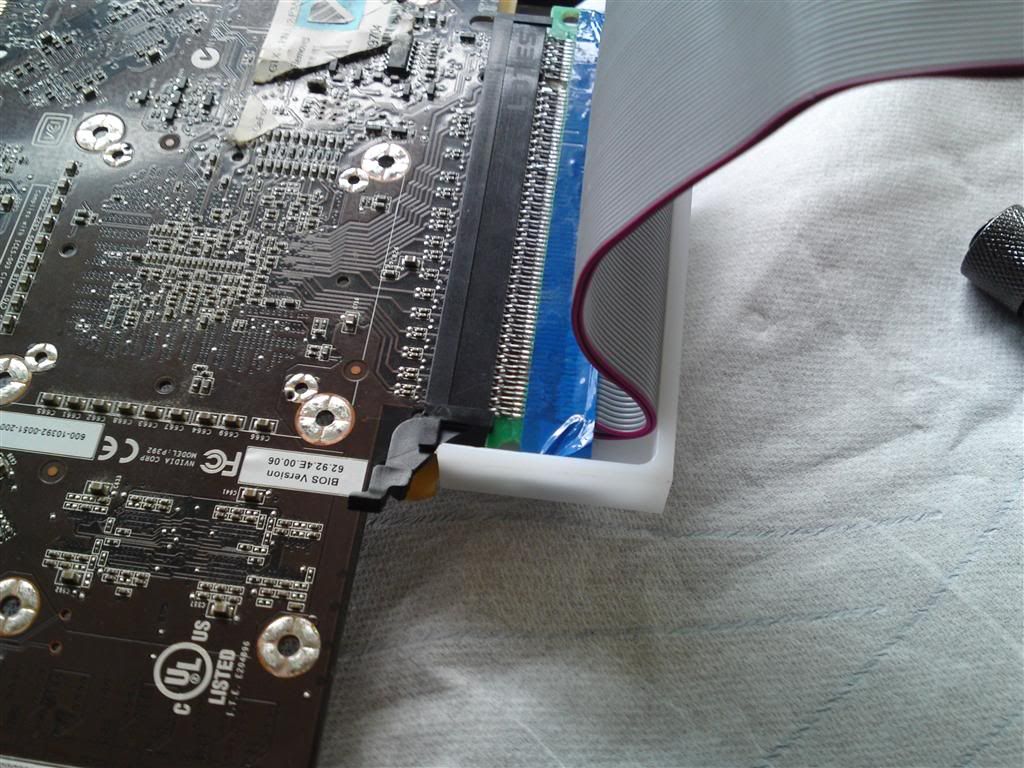
On the card:
And with the block on:
Not too bad for a couple of looong nights at the workshop.
I'll be back soon with more!
-
That's awesome!
Moaaaaaaaaaaaaaaaaaaaar!!!
-
One1ros ha scritto:
That's awesome!Moaaaaaaaaaaaaaaaaaaaar!!!
Relax, I'm working as fast as I can! :lol:
Small update, a little here and a little there!
First I mounted the gfx to see how it looked:
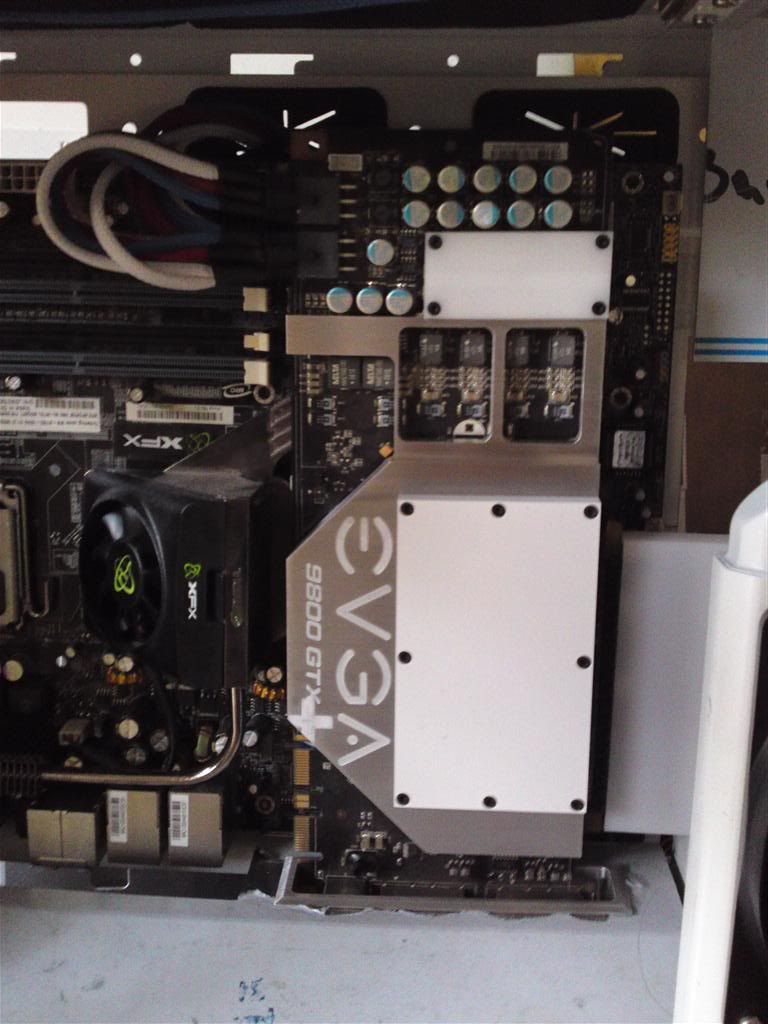
Good enough for me!
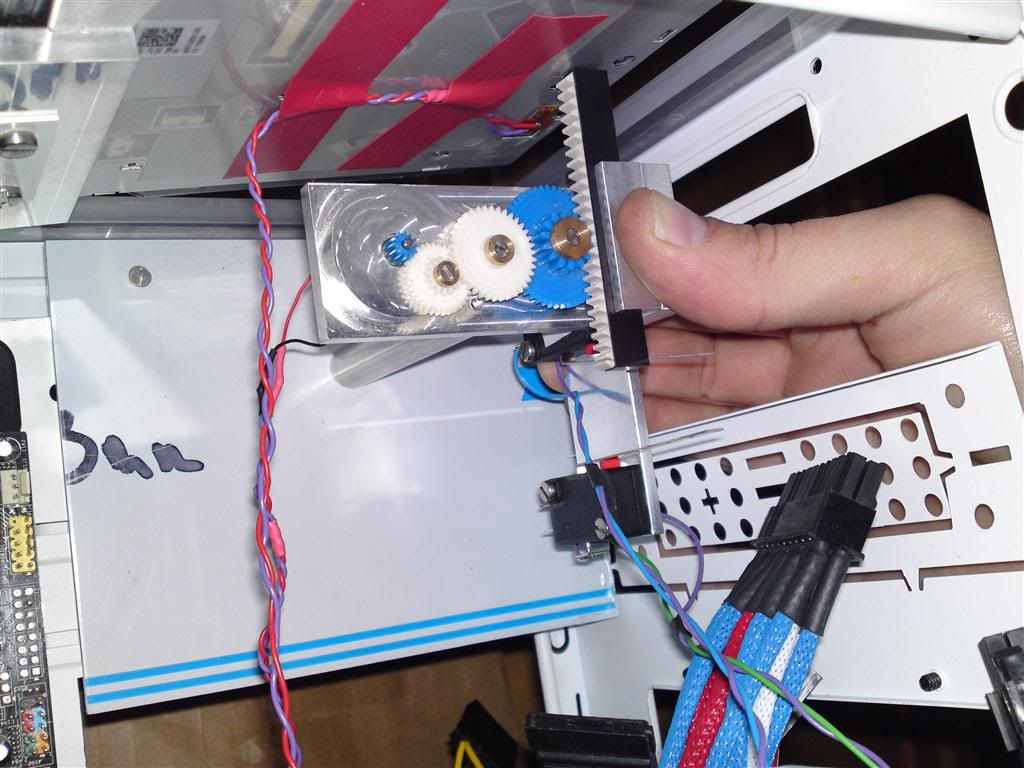
Then I got going on a bracket for the mechanics for the dvd drive:
Switches mounted:
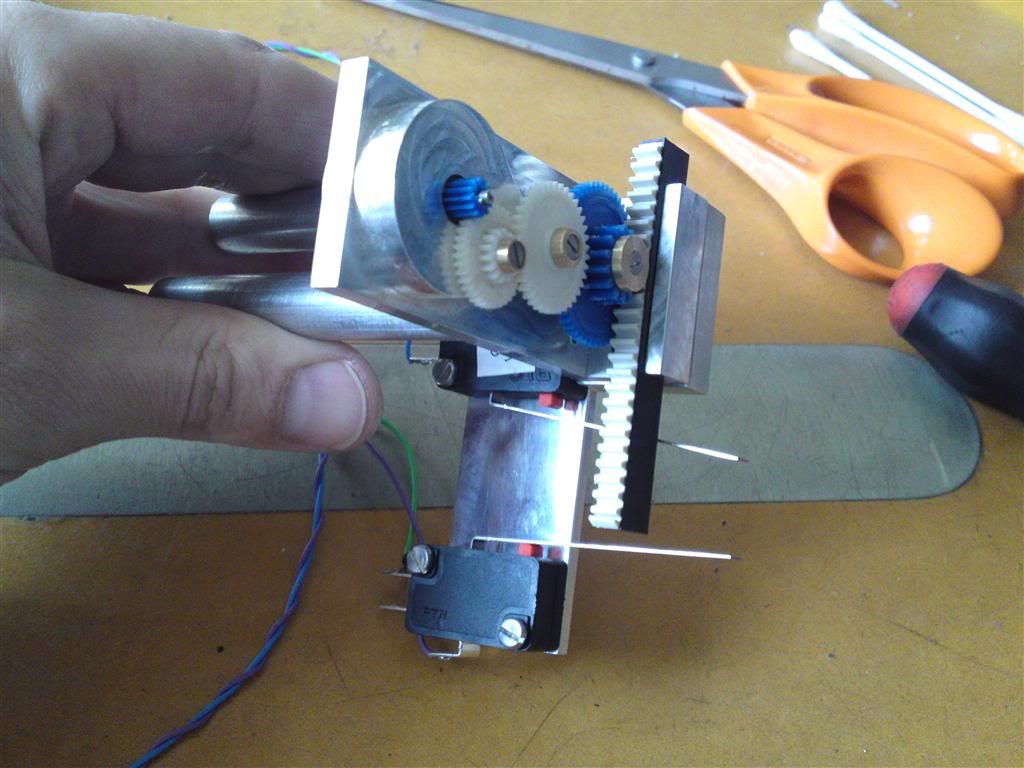
Goes somewhere around here:
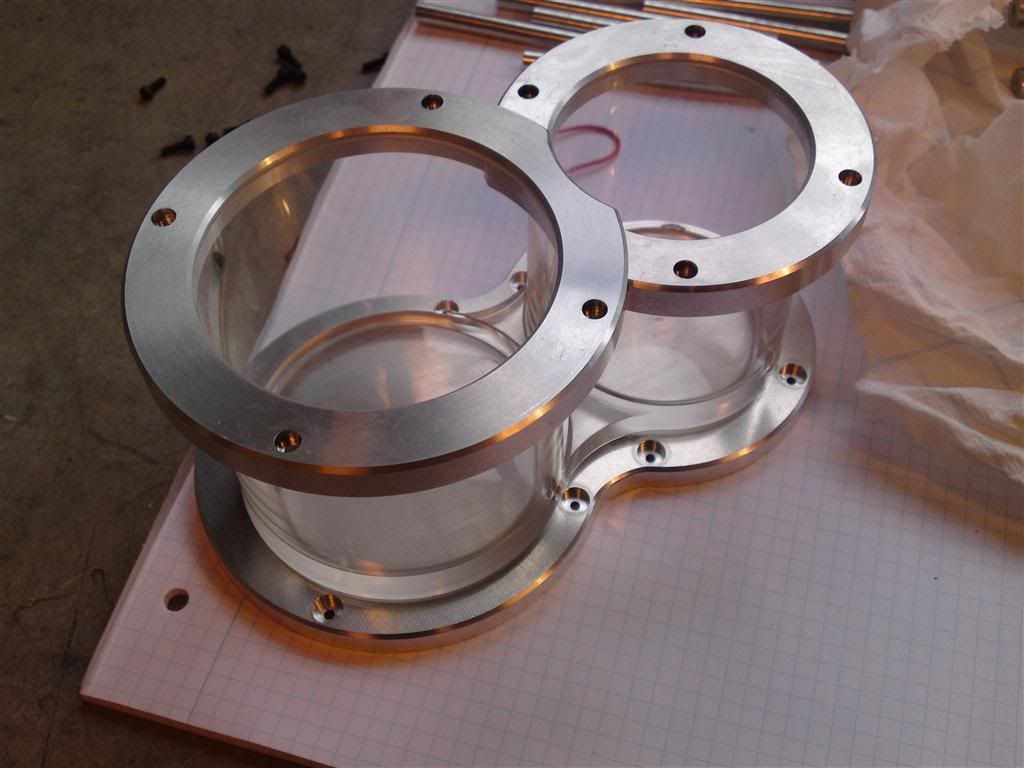
Then a small "DAMN" moment... There will not be enough room for the reservoirs, so I had to cut 30mm's off of them... Gonna look a bit beefy, but I think it's gonna work out.
Tomorrow is a national holiday, so I'm going to work!
I don't have that much time though, as my gf gave me a gift certificate for a body flight in a wind tunnel, so I'm cashing in on that tomorrow as well!
C ya soon!
Ciao! Sembra che tu sia interessato a questa conversazione, ma non hai ancora un account.
Stanco di dover scorrere gli stessi post a ogni visita? Quando registri un account, tornerai sempre esattamente dove eri rimasto e potrai scegliere di essere avvisato delle nuove risposte (tramite email o notifica push). Potrai anche salvare segnalibri e votare i post per mostrare il tuo apprezzamento agli altri membri della comunità.
Con il tuo contributo, questo post potrebbe essere ancora migliore 💗
Registrati Accedi