Project: Mod in a Week // Giving new life to an old mod (Completed)
-
As the title says, I have decided to do a full project (mostly painting) in a week. I will be using my first ever non-beige computer case that recently came back to my possesion. (I had given the pc to my sister around 8 years ago and she finally got a new one). I originally bought the case around 10 years ago and was my first self built PC.
You might be asking, But Luciel, why use that old piece of crap when you could be using an awesome modern case? Well, I would say nostalgia and a way of getting back to my roots and "upgrading" them to my current skills.
I have no idea of what the case´s brand or model is, I bought it in a computer fair in the UK back then when the whole pre-modded case market was starting.
The idea came to me last night (or, this night if you´re picky about it technically being the same day) when I was lying in bed from 3am till 7am with no success in sleeping (Spain) is bloody hot right now at nights. So I decided to get up, get down to my workbench and start it up.
I will continue the log as soon as I upload the pictures (on a rather embarrasingly slow connection here) and detail everything I´ve been doing. Enough to say I have dismantled the old crappy hardware inside it (although the ASUS A7N8X-E was pretty epic bac then) and the case itself, cleaned it as best I could (the age really shows) and will proceed to sand it as soon as the shops open ( it´´s 8.45am here) and I can get some sanding paper! and prepare it for paint which hopefully I will start today.
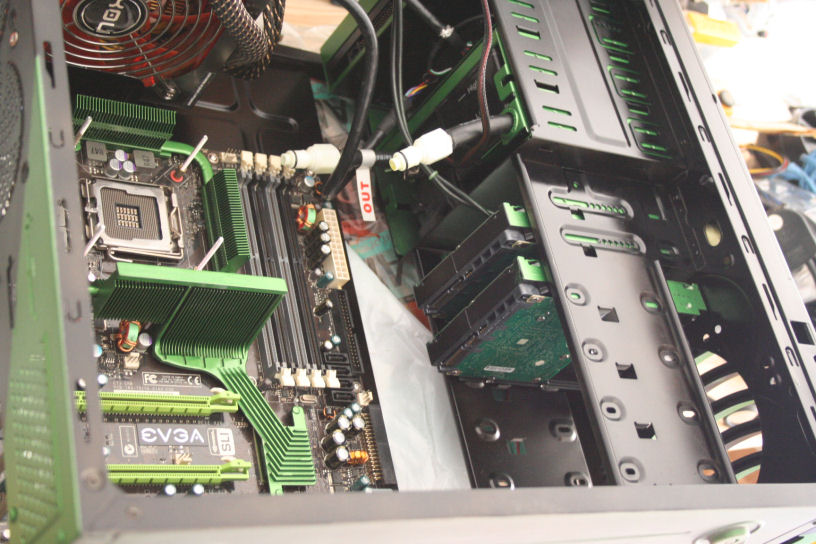
The hardware that´s going to be used in this build is the following:
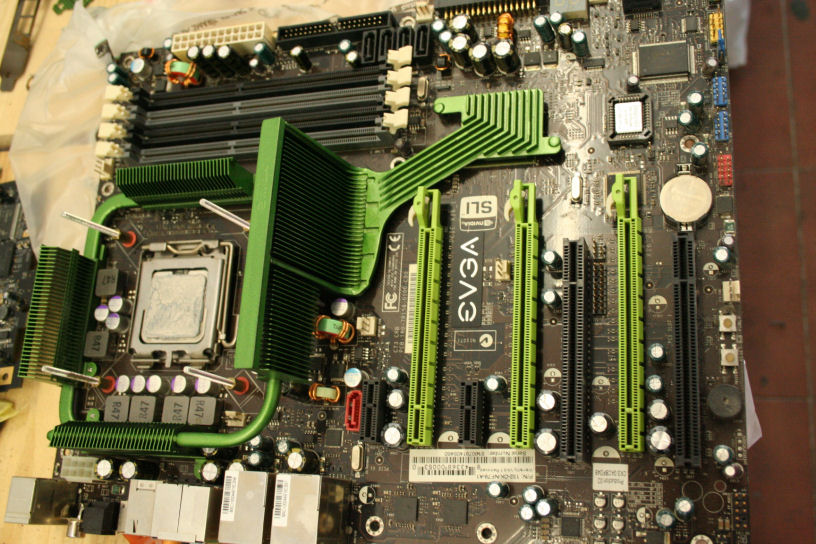
eVGA 790i Ultra SLI
Q6600
4x2 DDR3 1600 Corsair ram (yes I know it will create a bottleneck, but this are second hand parts I have laying about).
2x GTX275
3x Seagate SATA2 750Gb
1x dvd rewriter
1x memory card reader
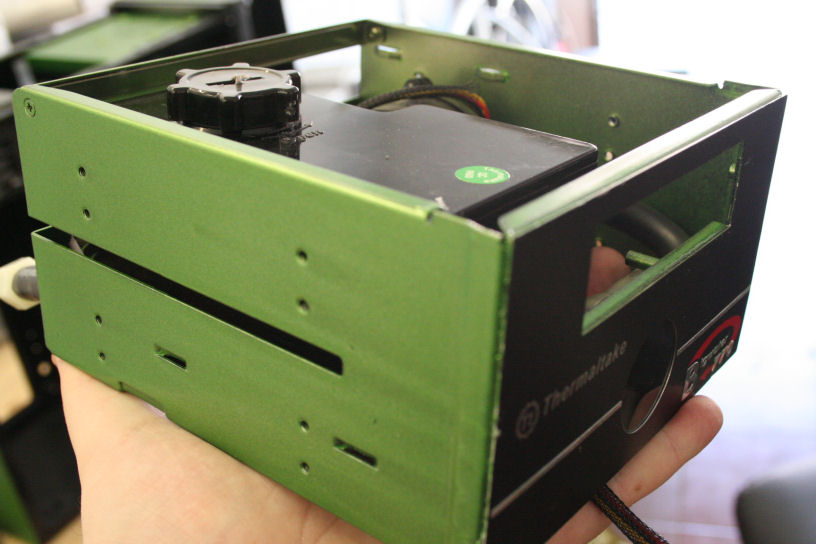
Thermaltake bigwater b770 CPU wc system
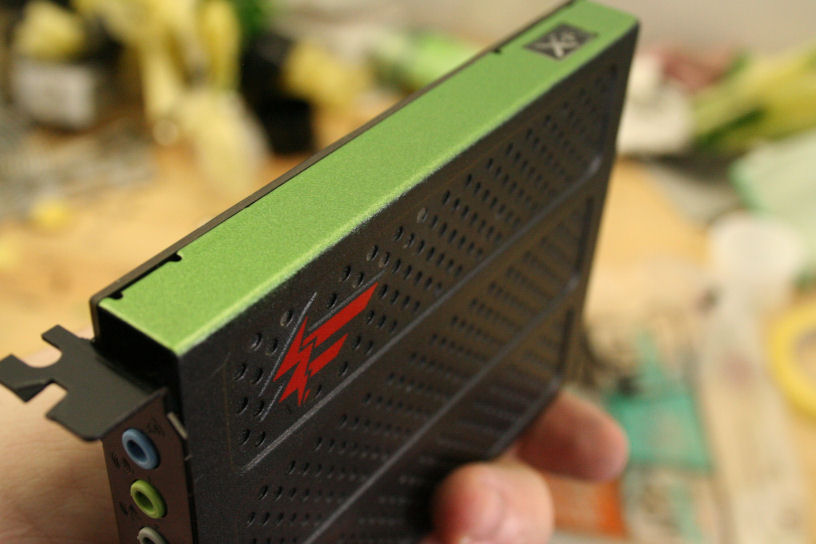
SB X-FI platinum pro
I will also be ordering an MCP water block as the mcp in this board gets notoriously hot in SLI configs (right under one of the cards)
I will also be painting the gpus, sound card, hdds, and dvd drive casing to go with the design.
This system will be replacing my current main PC (the fallout case project shown in this sites case gallery, which, if anyone´s interested I´ll be selling, just the case) As my P67 asus board is being RMA´d so will be using the LGA 775 for now, and I will sorely miss my i5 2500k).
Again, I will be updating this thread with info and pictures of the whole process as the day goes by (I need to buy everything needed this morning as my car will be in the garage for a week getting fixed and re-sprayed).
As a last message for now, I encourage anyone to try the one week mod challenge, It´s not my first time and it can be a lot of fun : ) (even if its just to ebay it afterwards).
Thanks in advanced for all comments and suggestions :
")
//
It´s now 11am, I just got back from leaving the car at the garage, and apparently I may get it back before the end of the week (awesome)! But more importantly, I got back from buying the paint, and other supplies I needed for this project.
So, here it goes (excuse the crappy camera, I have already asked a friend for his much better camera that he will bring down tomorrow):
I went down to my work-area and, admitedly, I hadn´t been down there for a while, as most computer related work I´ve done in my room recently as I´ve had nothing major. Problem with this kind of thing is that, if you need to store something, you end up putting it there and thing, ah I´ll sort it out when I need space to work (lol, yeah right).
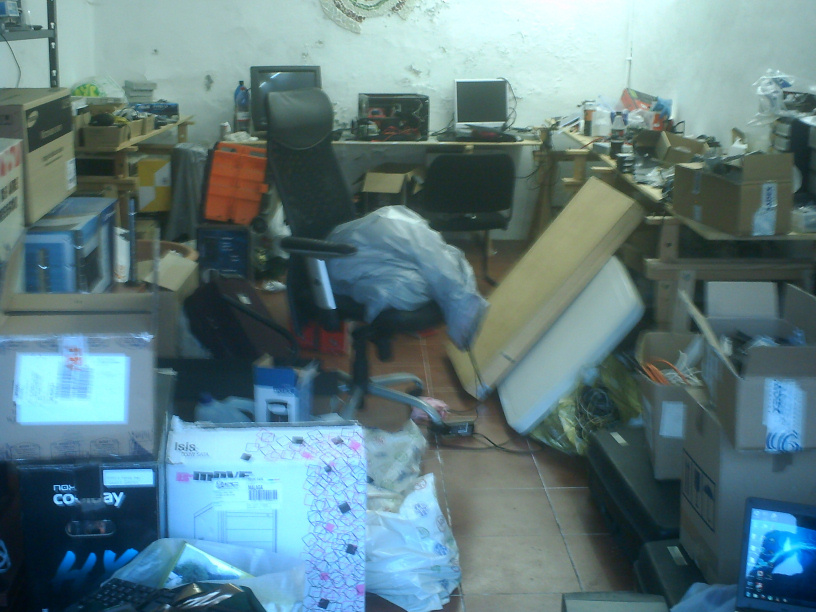

So, rather than actually try and sort things out (it´s 7.30am!!!!!!!!) I figured I´d just "relocate" stuff off the workbench.
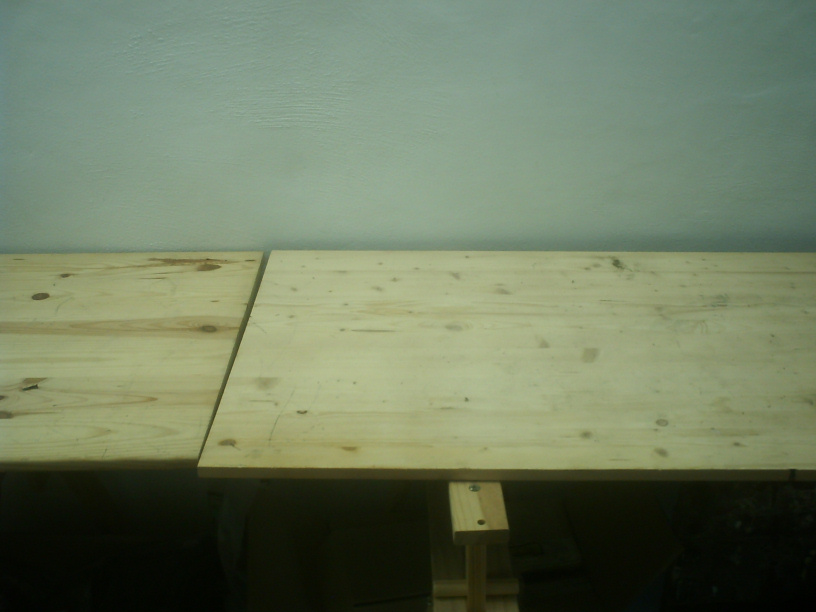
Sorted...
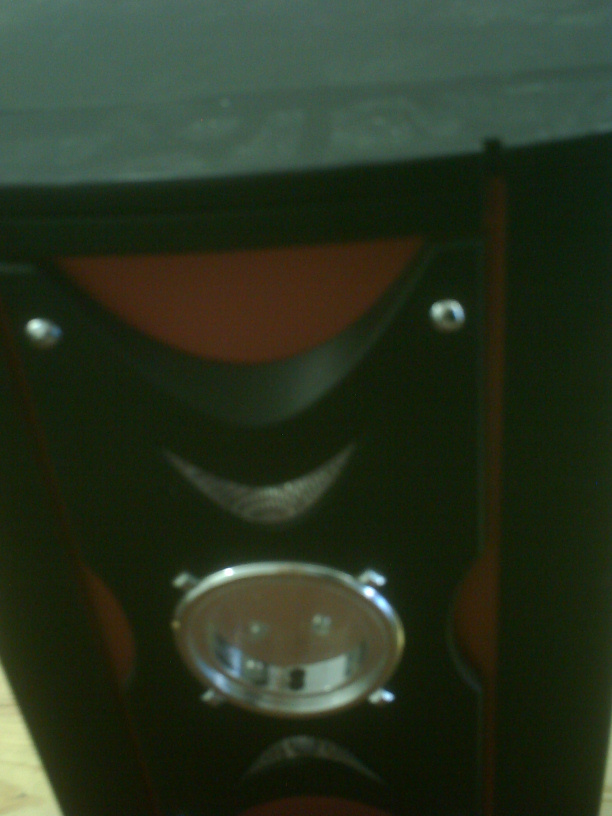
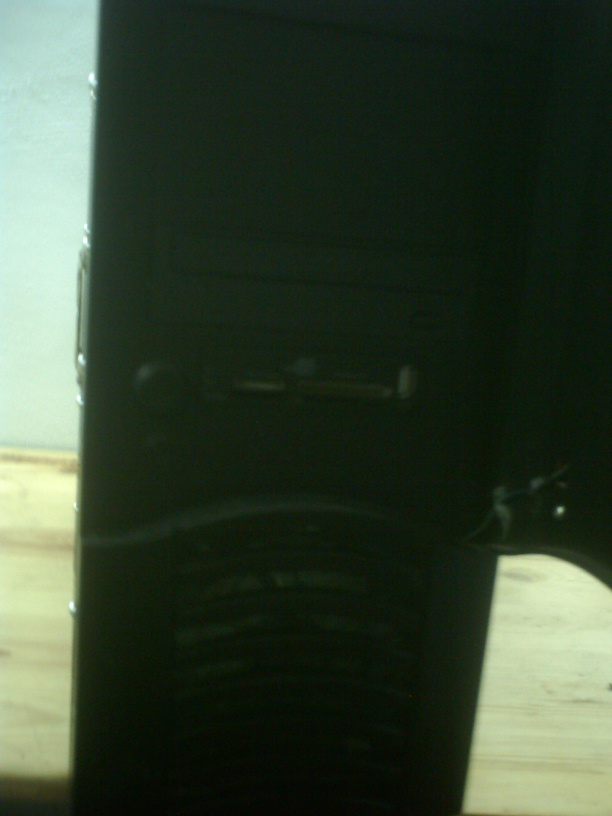
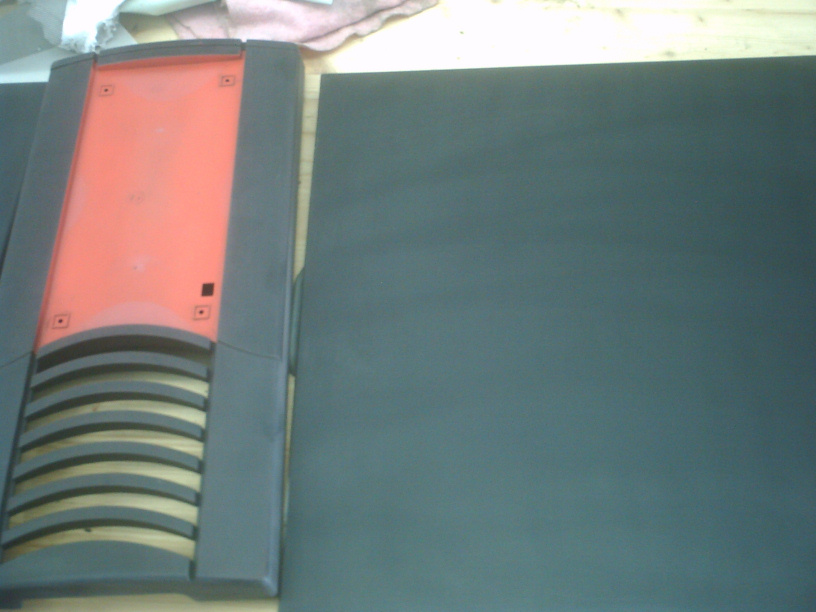
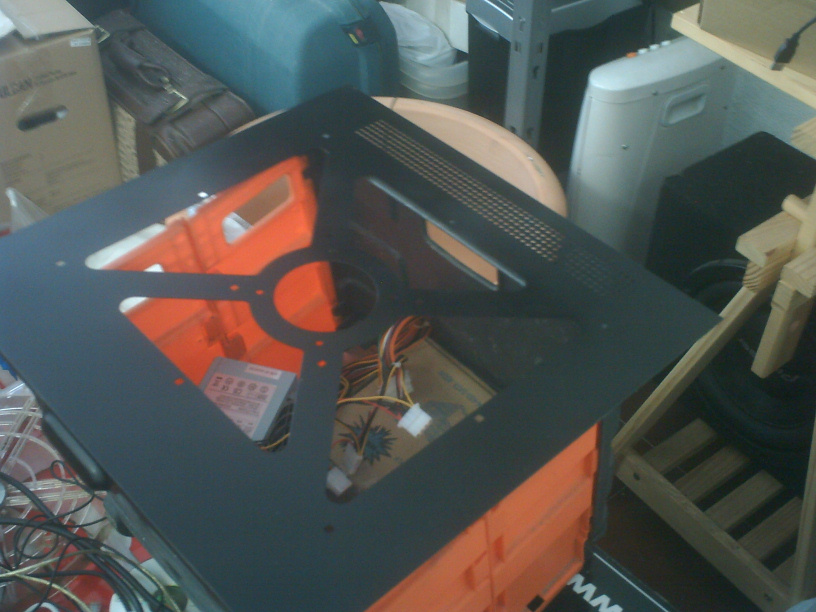
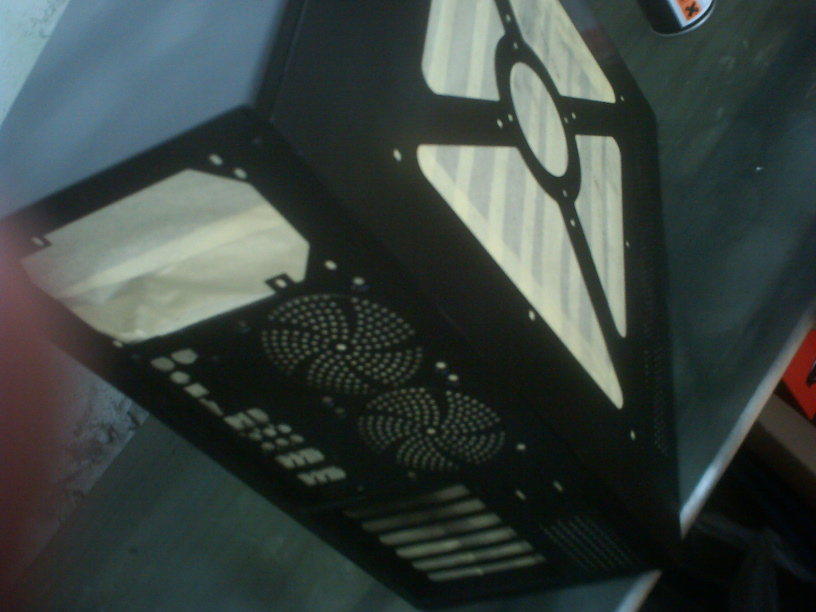
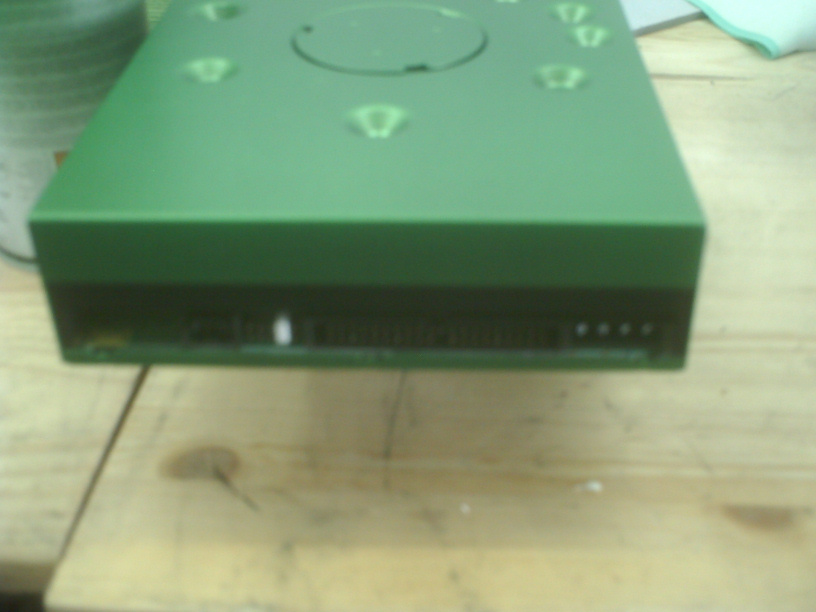
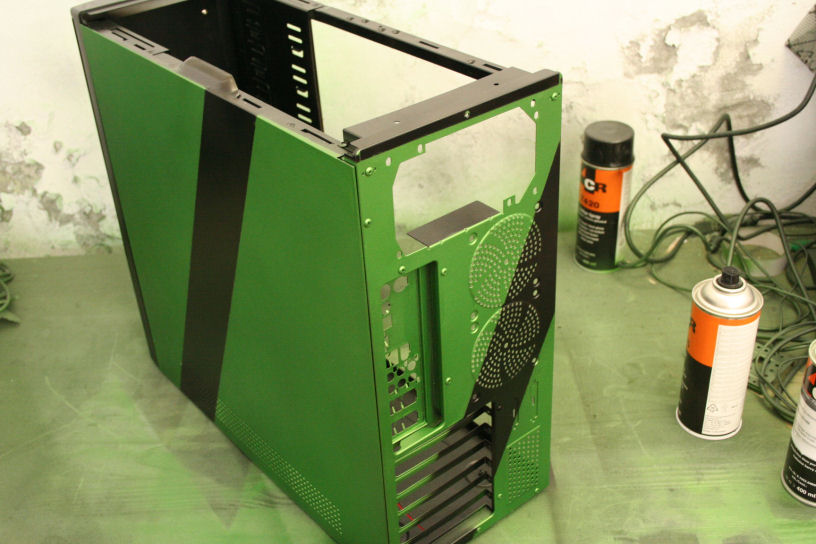
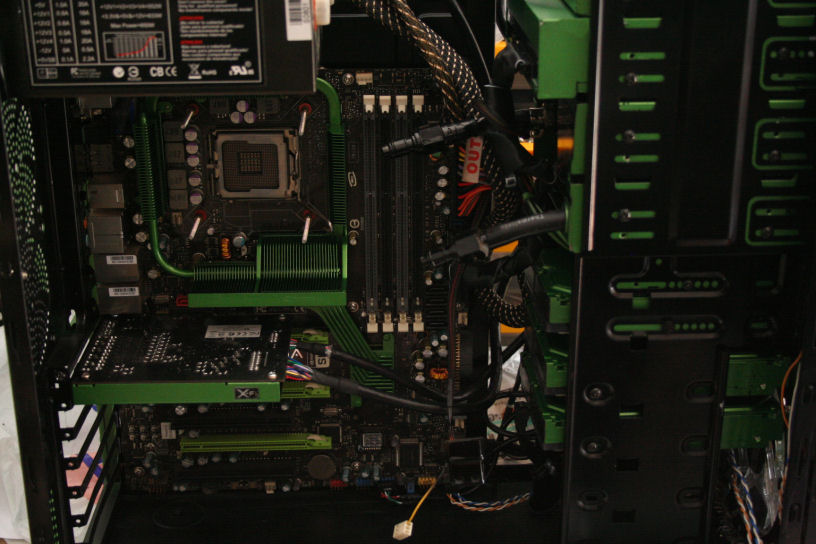
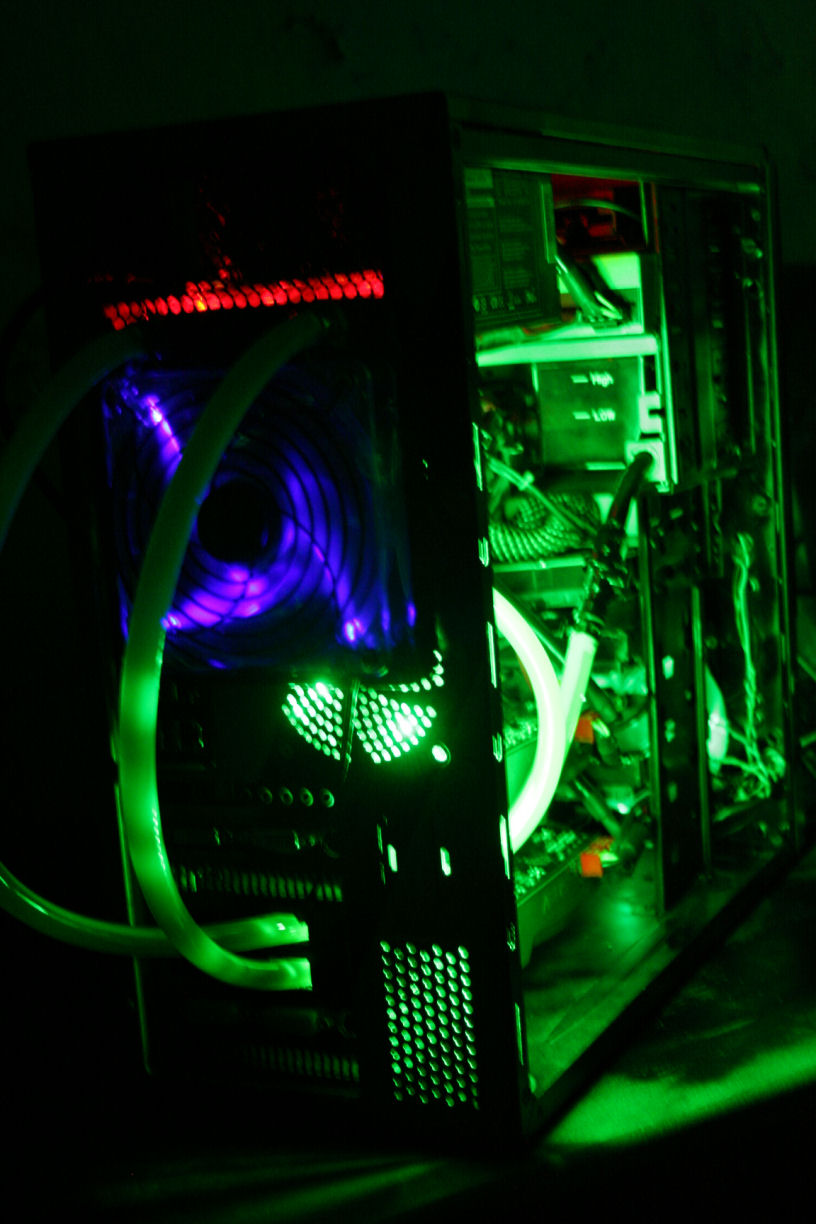
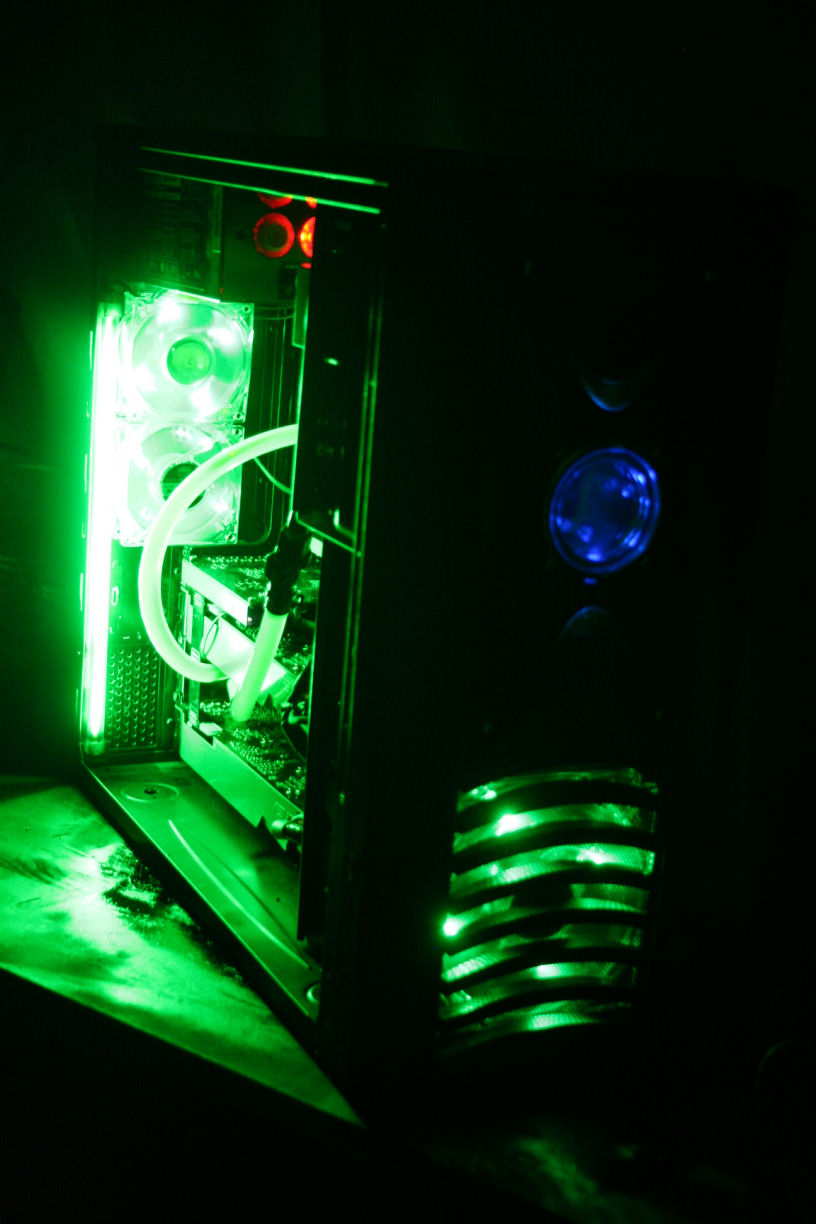
So here is the case, with the original pc still in it, now, as you can see, it´s not in the best of shapes and it´s had a hell of a lot of use and while it has been taken more or less care off, 10 years doesn´t do any favours to a pc tower.
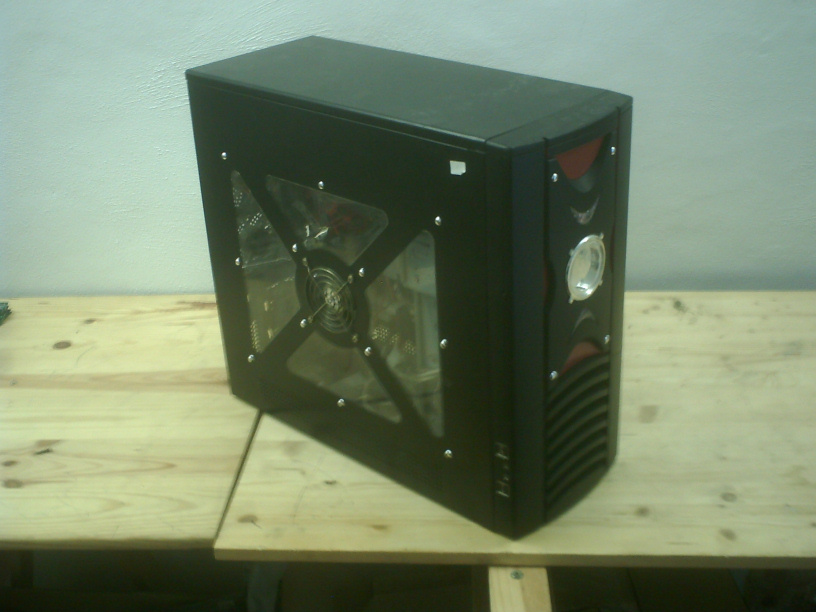
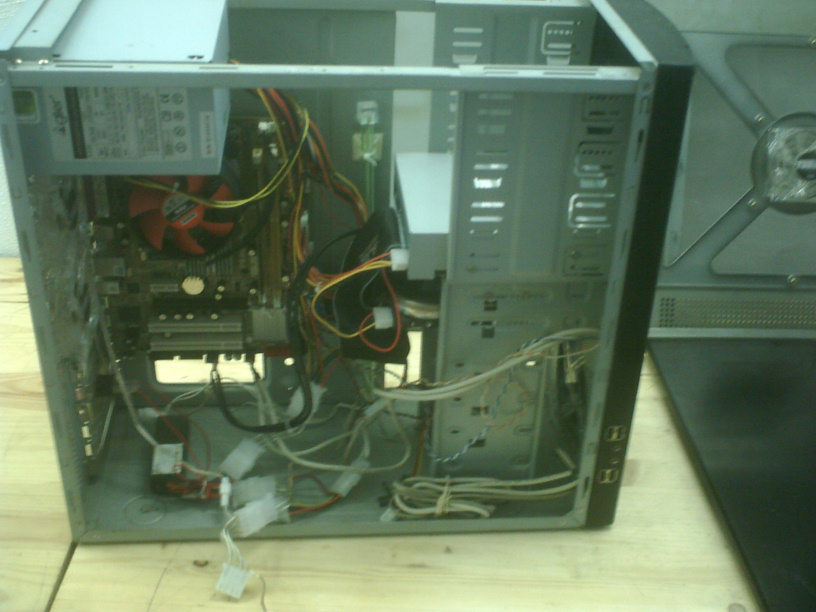
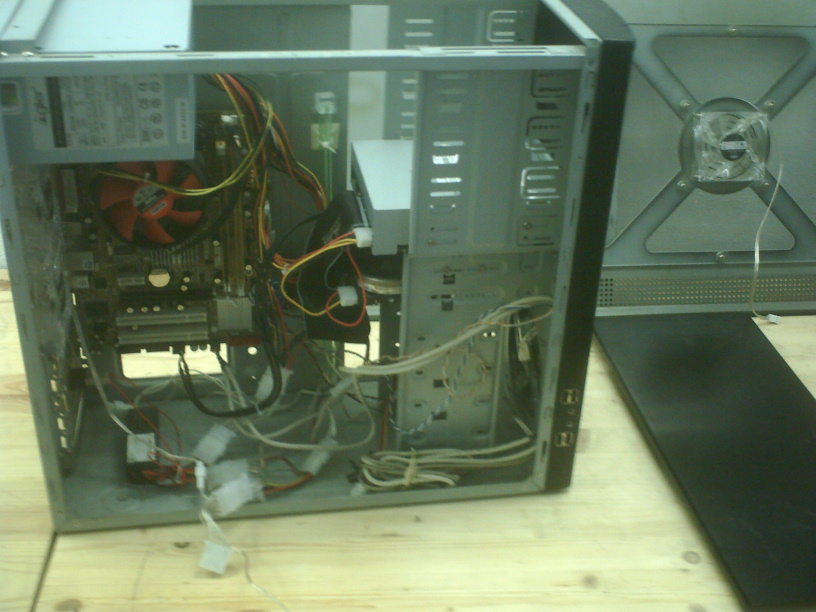
So, first thing, dismantle the whole thing and... most likely throw away that old hardware, most of it is on it´s way out aniway.
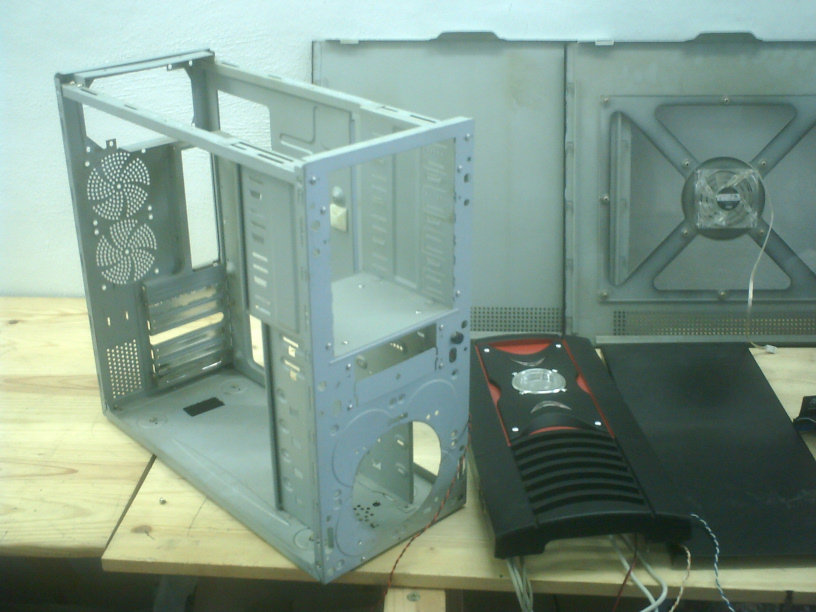
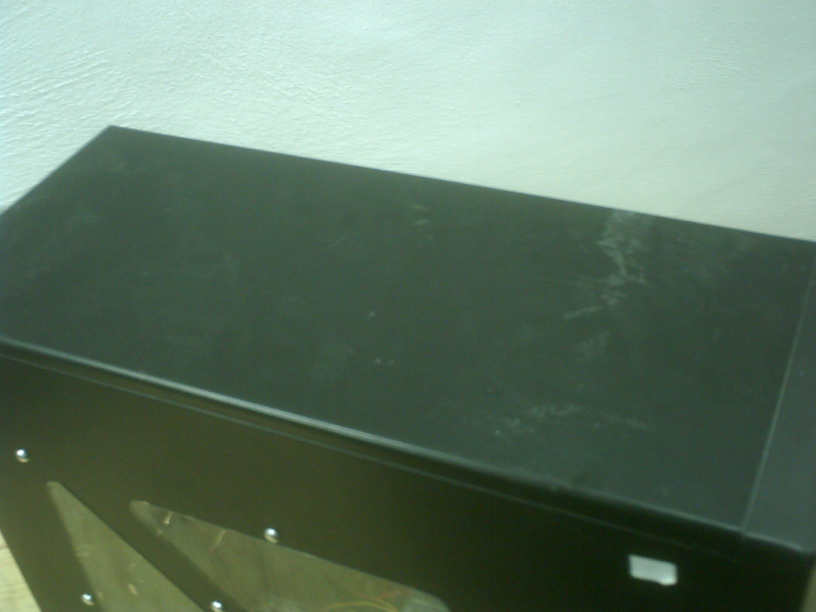
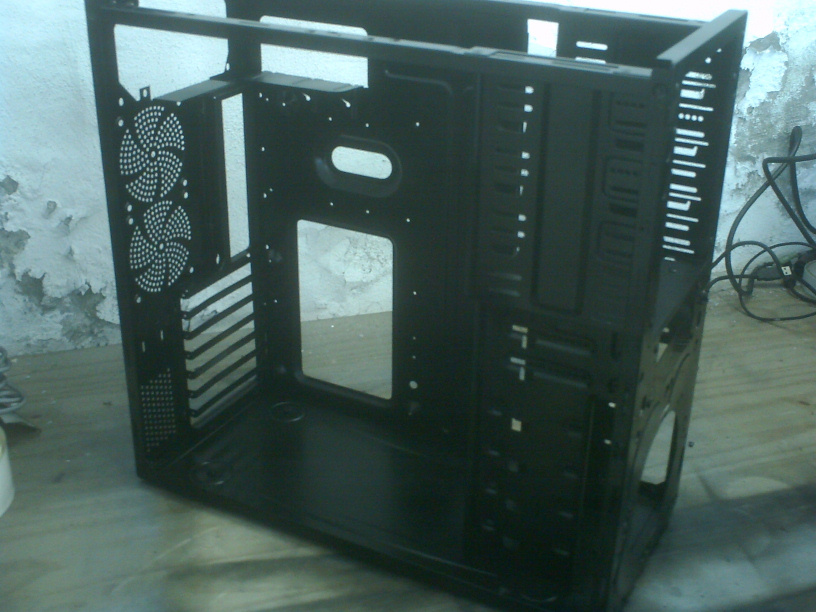
Dirty, let´s clean the whole thing up.
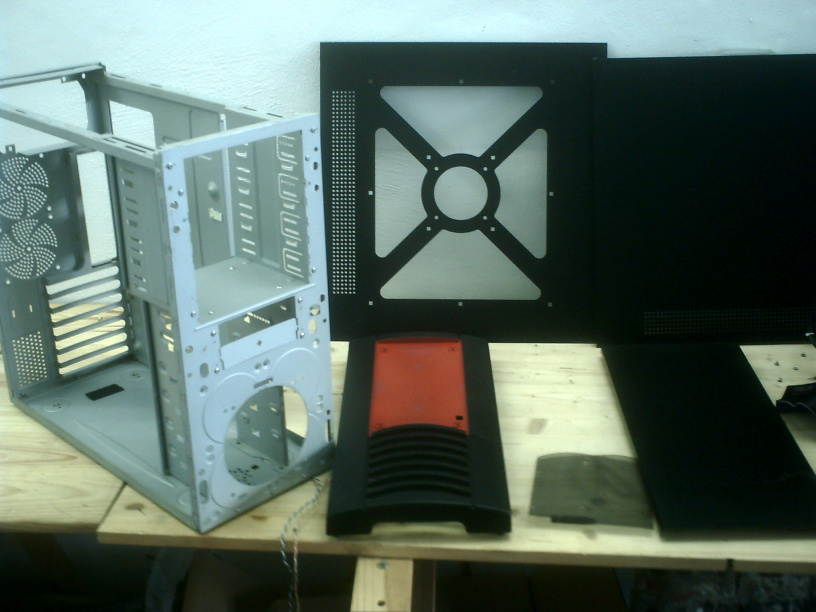
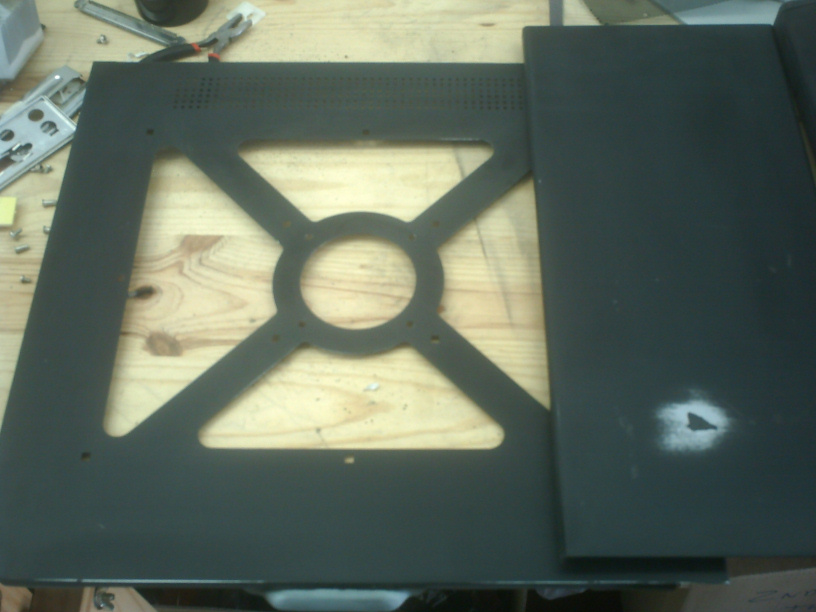
Well, that´s as clean as it´s going to get, at least the chasis, I will be sanding (is that the right word?) down all the panels and getting them ready for painting. I shall be doing this as soon as I press submit reply on this post.
On the side window I have opted to get rid of the acrylic, which is in really bad shape (brown with smoke and scratched to hell). I could replace it with some left over acrylic I had from another project, but I´m really liking the idea of mesh (i´ve used it before for a sidepanel and loved the look, the only downside is that the insides aren´t as visible as with acrylic, although I guess I could try and find some really fine mesh, any suggestions on this?
Until later!
//
It´s 11.45am,
I have finished sanding all the parts, I hate sanding, plus I could never get it quite right when there where imperfections in the original paint to begin with ¬¬ (removing them), I had to use some dissolvant to remove the sticky pads left behind the original neons (back when they where actually neons, as opposed to cold cathodes or leds). The fumes... weeeeeeeeeeeee

Ok, it´s 13.30pm, nearly time for lunch here, and I have now given the 3 coats of the base color (in this case, black) to all the parts of the case (a big thanks go to whoever invented fast drying acrylic car paint, a bit more expensive than normal acrylic, but totally worthied if you don´t like waiting for paint to dry, and let´s face it, who does).
Right well, I think I deserved lunch, plus, I really needed fresh air after that, awfull fumessssssssssss, plus, stake for lunch,

After lunch I will proceed with the next stage of painting.
//
It´s 15.00pm,
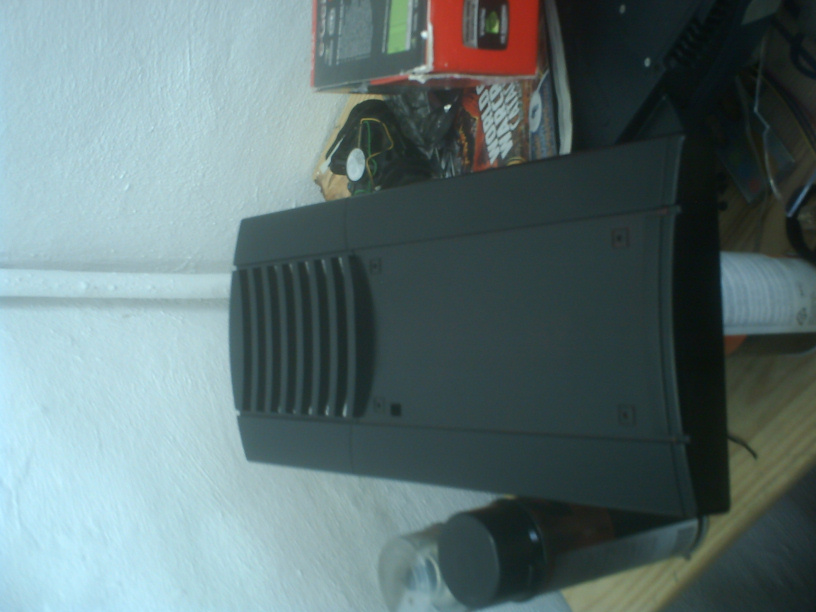
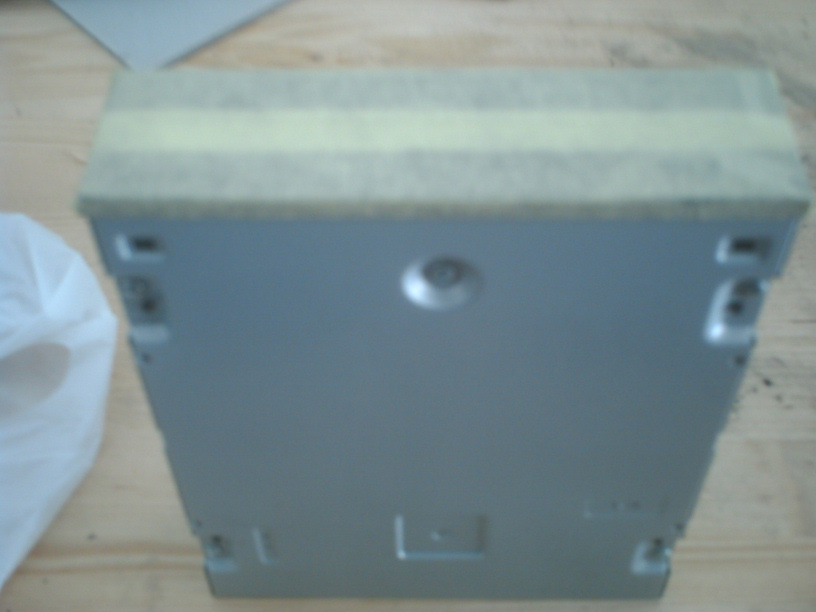
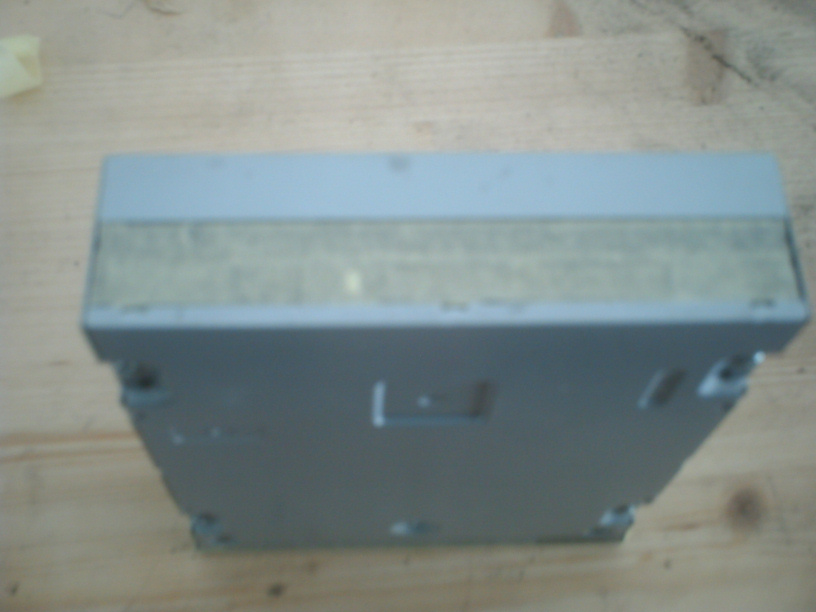
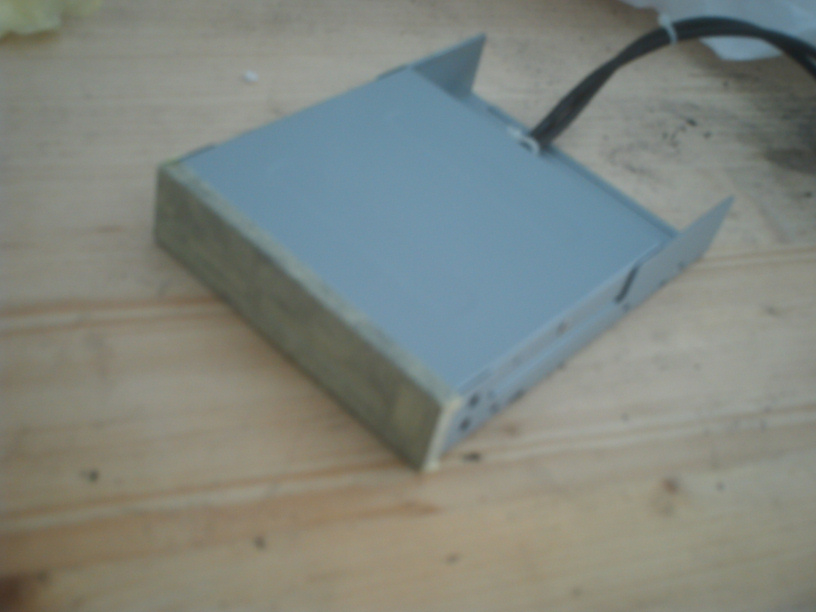
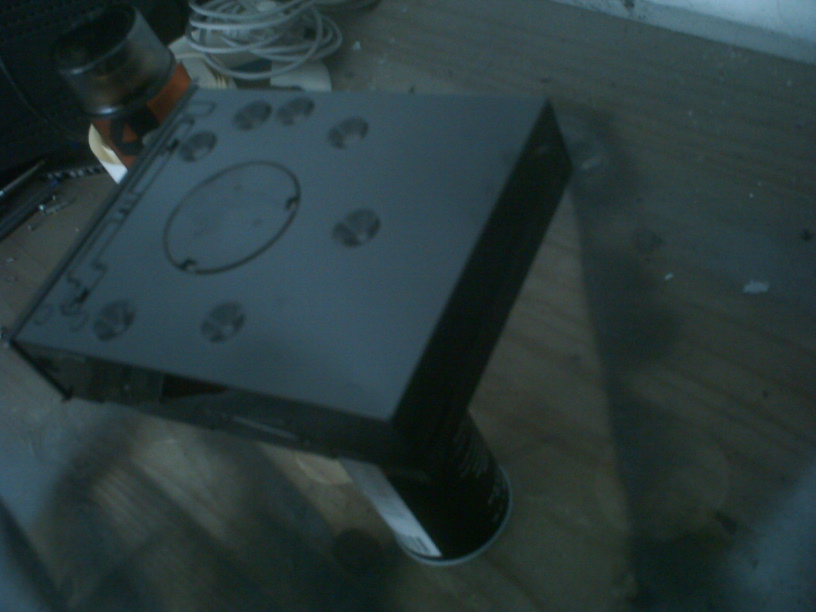
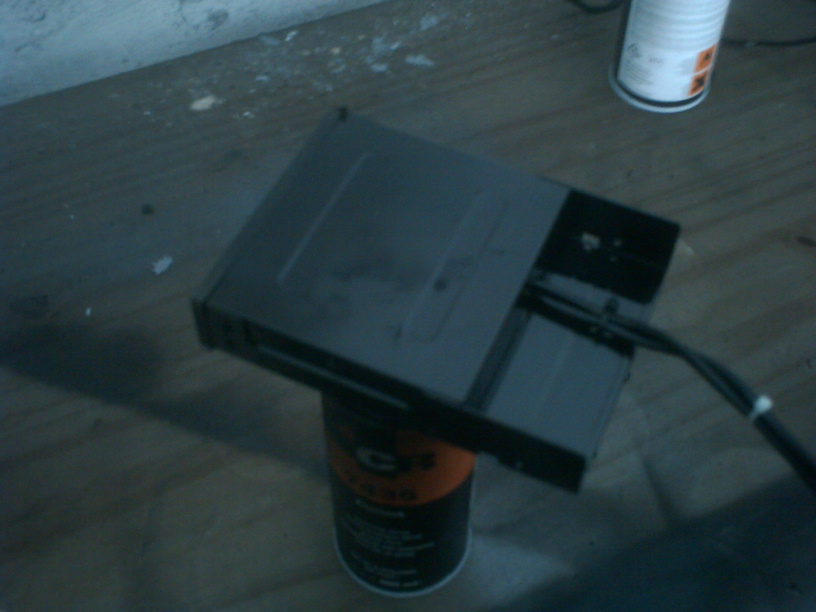
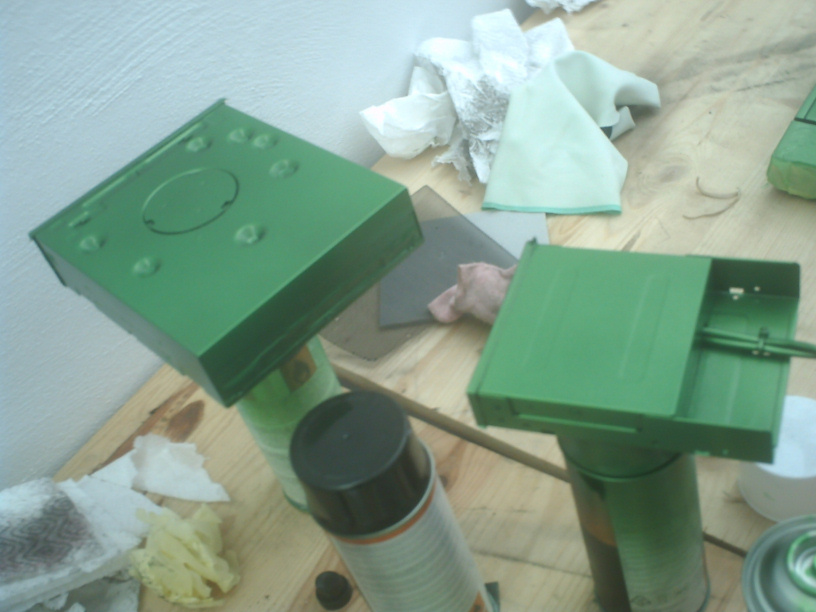
I´ve now prepped and base-coated 2 of the devices in the case, the dvd rewriter and the memory card reader (with bluetooth, because, everything is better with bluetooth).
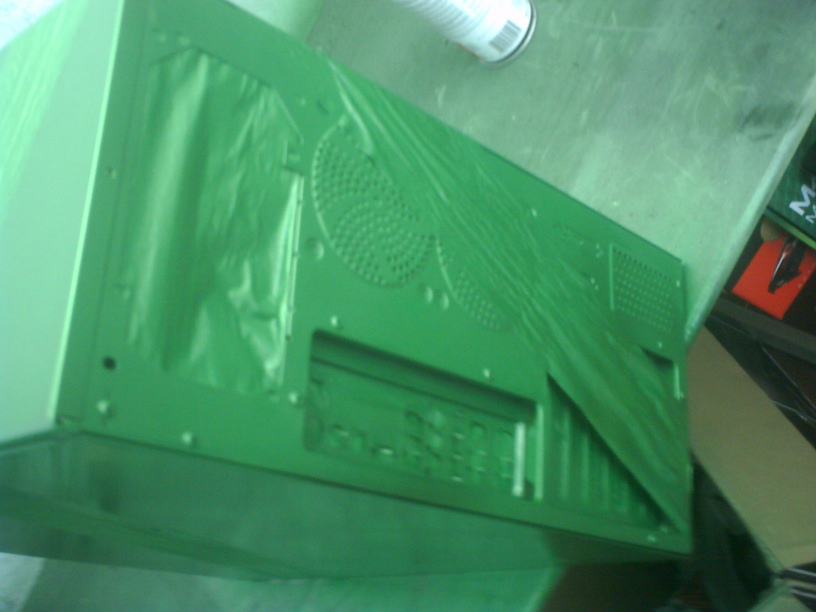
I am currently preparing the case, as a whole for exterior painting (using masking tape from the inside on any holes so paint does not get inside the case).
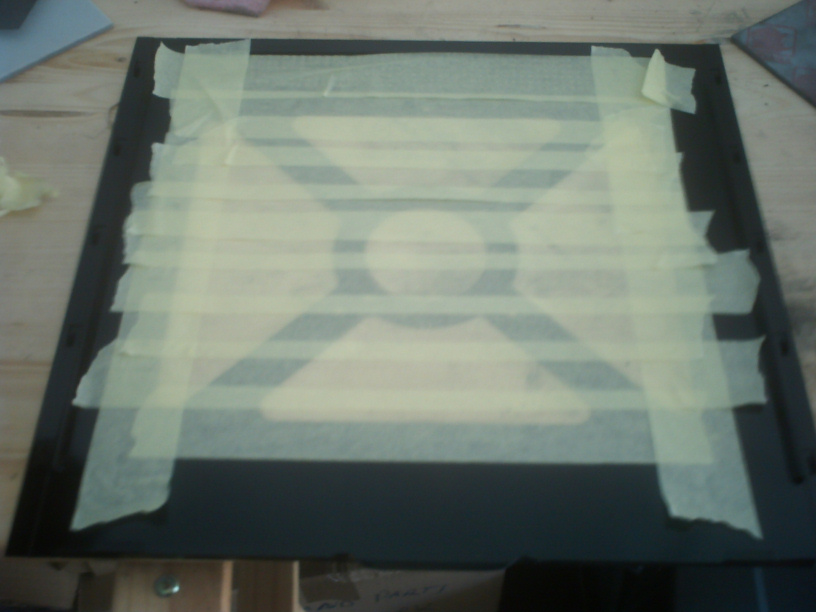
Short update due to me having to come up for the backplate of the mobo, might as well paint it with the case since I´m at it (rather than having to paint it seperately later).
//
It´s 16.30pm,
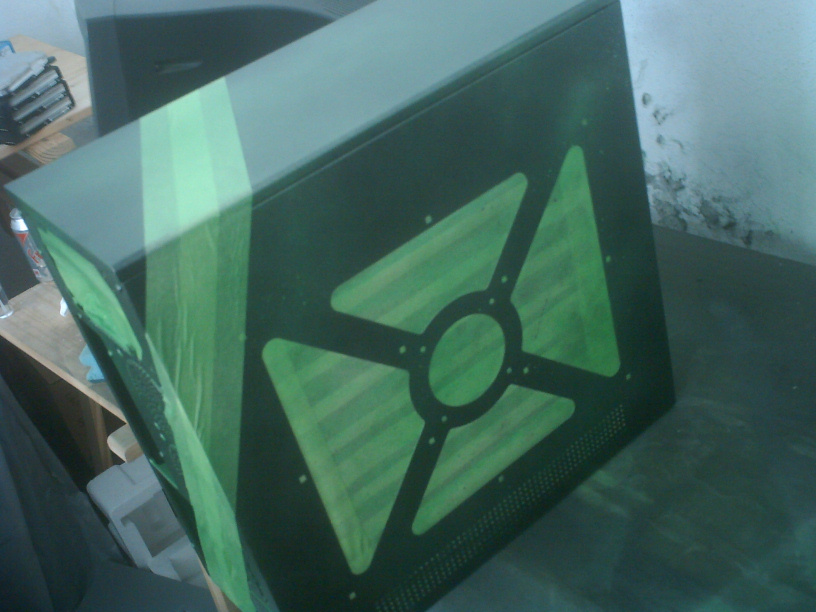
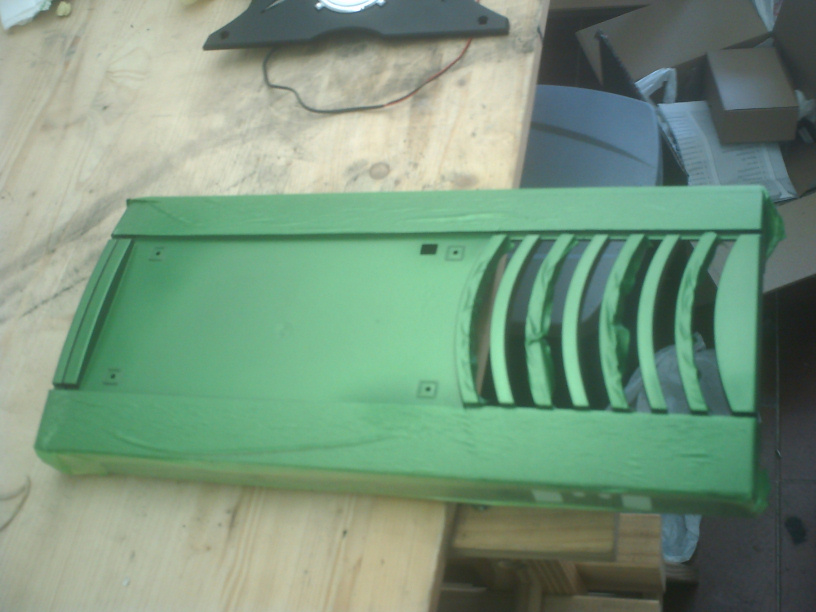
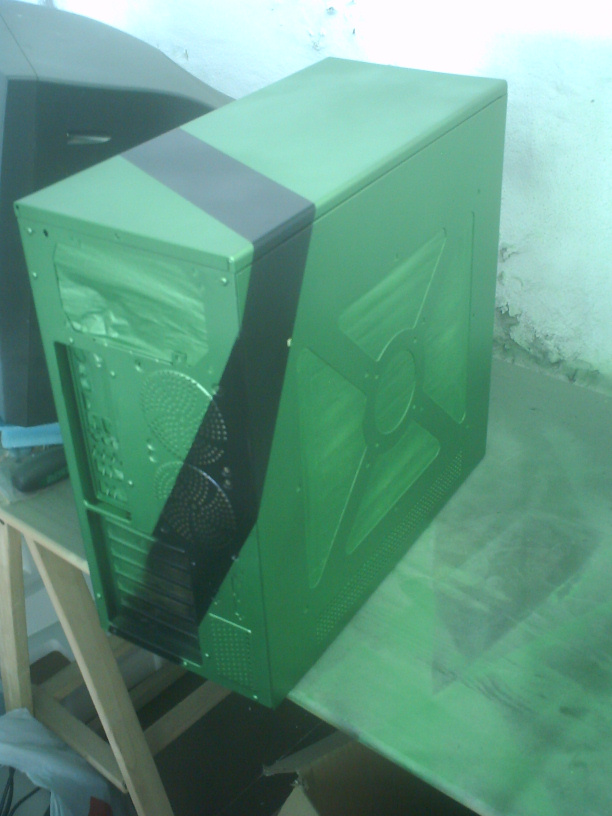
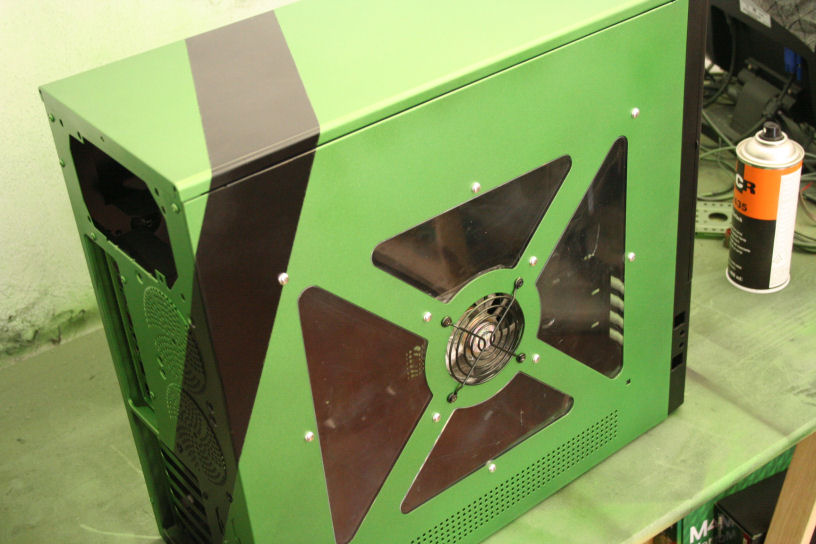
I have assembled the case, taped the stripes I want to remain black (more on that at a later point),

and given 2 coats of the radioactive green (surprise! or not if you guessed due to the mobo design, if so, kudos!), here´s the first coat, to which I, before anything, added a few loose drops (squirter cap) of alloy silver, and while the pictures, due to ****ty camera just show blobs of paint, I assure you, the end result is random drops of extra shiny radioactiveness.
//
And the second coat:
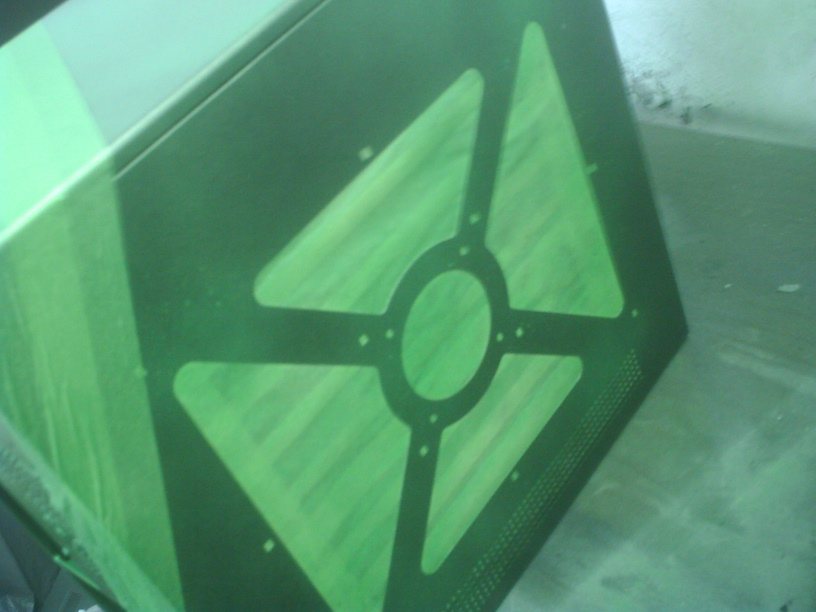
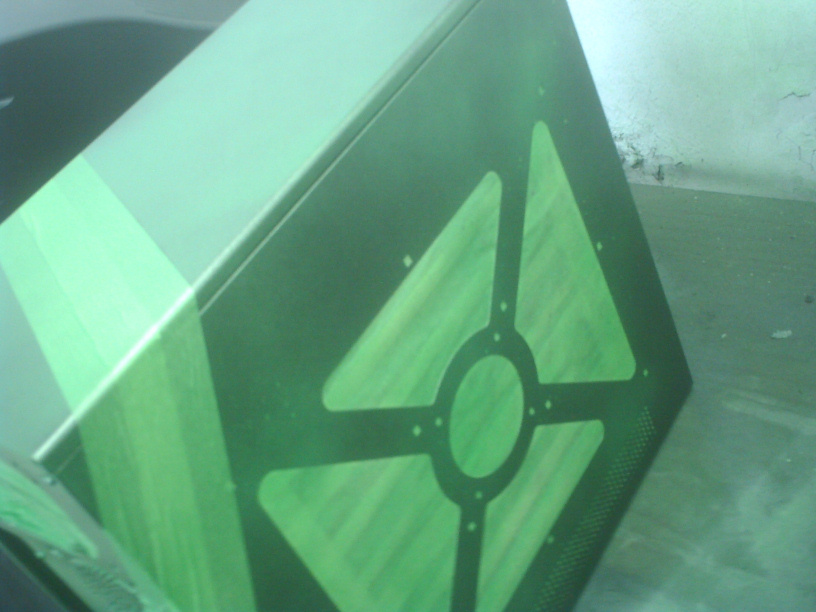
As you can see, this is why I used a black undercoat, because if I had used white, it would look pale and matt as seen on the masking tape. However the problem with this is that, also as you can see, it still has a few coats to go, acrylic paint needs loads of coats to become one solid (or like I´m aiming for here, almost solid color, and since it´s a dual layer color (this color includes an extra base coat and the color itself) it takes twice as long to dry, so 25 min between coats.
//
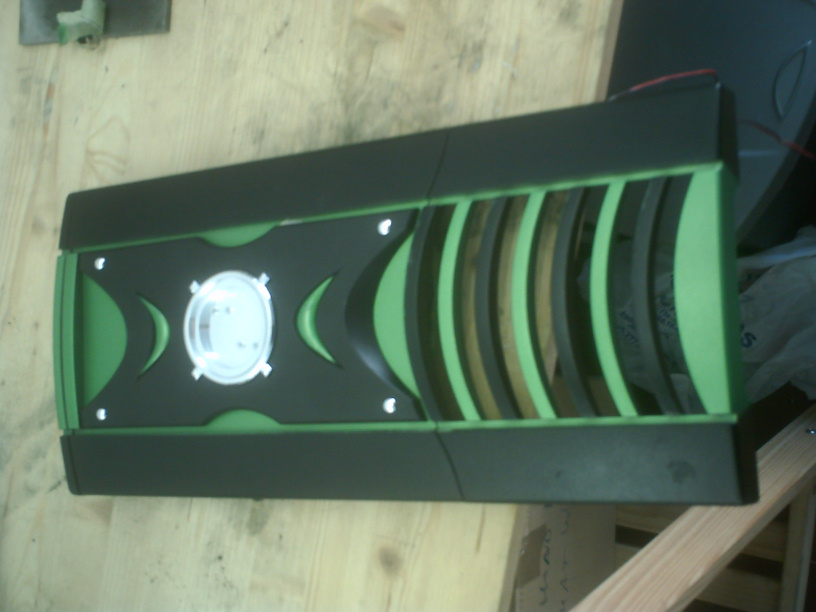
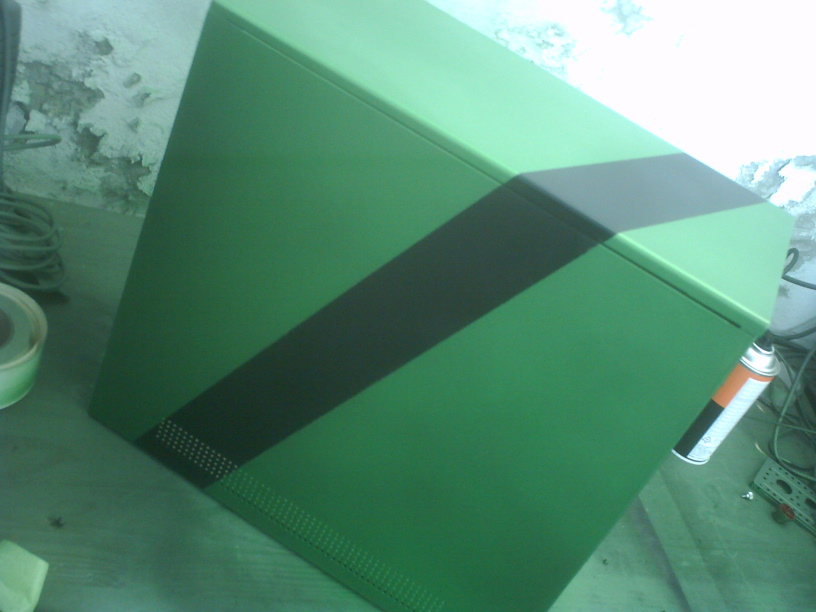
It´s 17.45pm
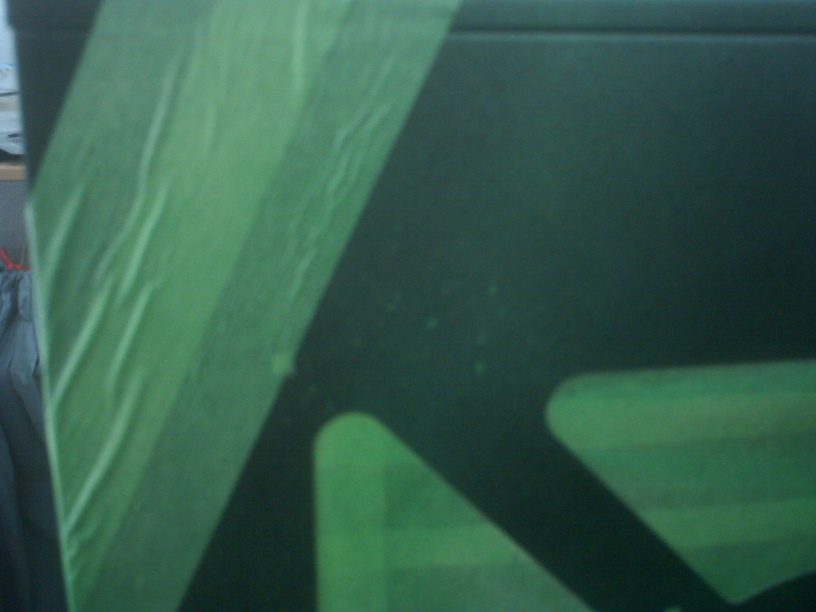
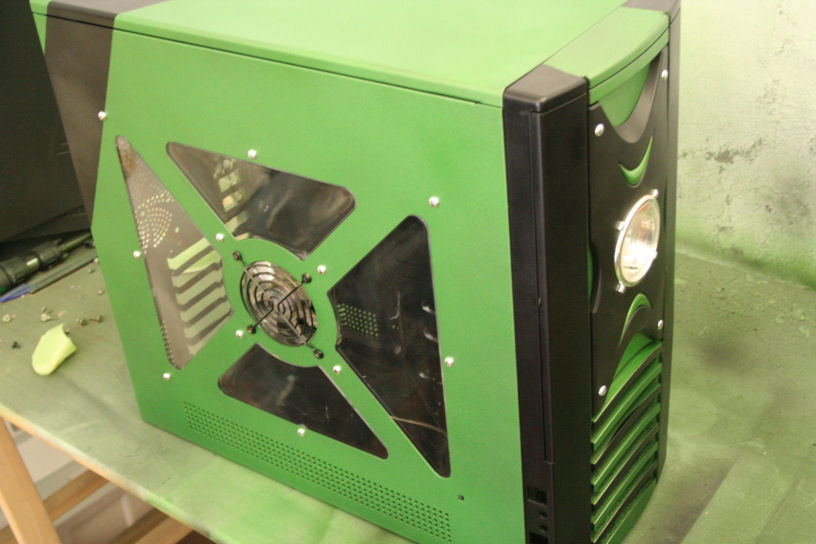
I have now given everything 7 coats (yup, 7) I can´t believe it took that much to actually get to the final color in an even way (I decided to go fully even, as the shades I tried didn´t quite live to my expectations with this color).
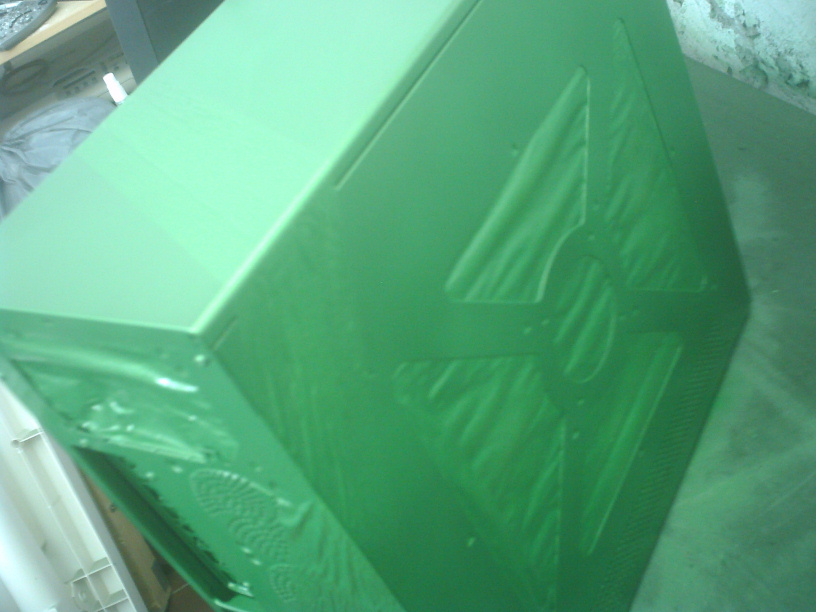
I really hate how this camera doesn´t do it justice, it kind of makes it look matt, when it´s completely metallic but ok.
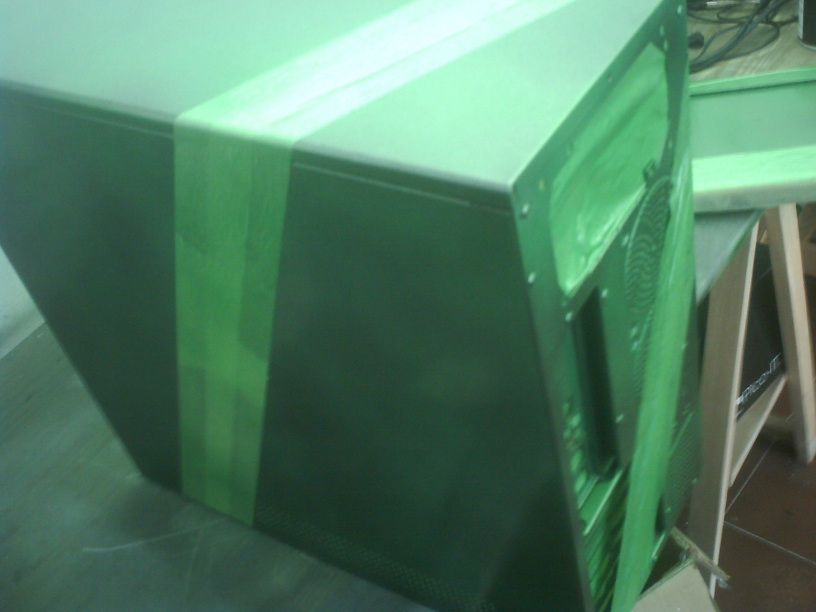
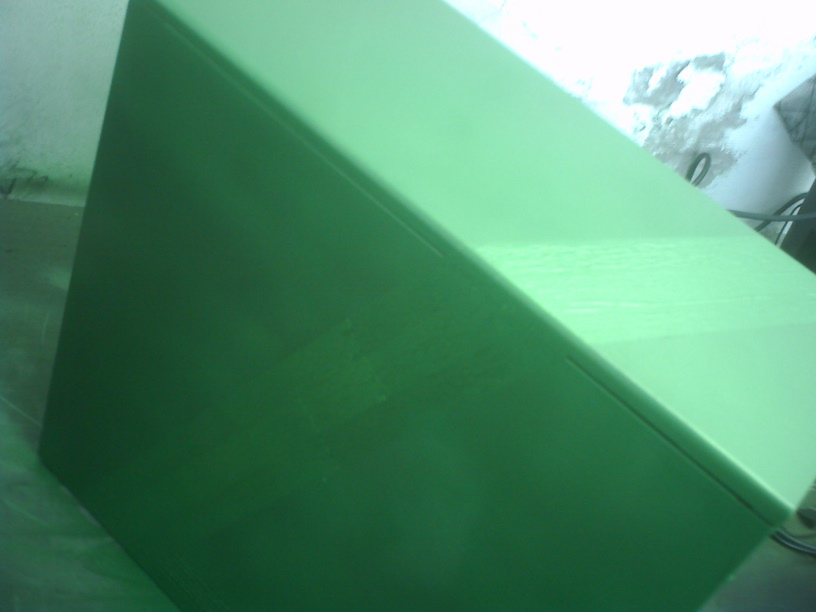
I will now give it one hour to settle, I will then proceed to give it 3 coats of clear lacquer, normally I will only give it two, but considering the ammount of coats it needed, I feel it really needs a third, this whole process should take about an hour, once dried (another 30 minutes on top) I will remove all the masking tape and take pictures with a much better camera so you guys can see the real final result on the paint outside. While there´s a few details I want to add on the black parts (the stripes, again, more on that when it´s done) at least you´ll get an idea of the final look of the paintjob side.
If, and I stress the if part, I feel like it, I will begin the cable management and add the mobo.
Things to come:
Cable management
I really should buy green sleeving.
Painting the GPU casing in that same green (remember, the interior remains black, so it will give a nice contrast).
Re-assemble the front panel, I have decided to keep the original black X on the front as a nostalgia part of the original case, however, since the logo is gone, I will find out where I can order a new one (different one from the original).
Buy 2 led flat green bulbs to replace the blue ones in the frontal detail.
Painting the Water Cooling pump and radiator.
Buy an acrylic cpu waterblock
Buy an acrylic mcp waterblock
I had though on painting the ram coolers but because I can´t detach them of the ram itself, I´m not going to risk it, they will have to remain silver.
Paint the top half (the safe part) of the 3 hdds.
More cable management (yay).
Paint the casing of the SB X-Fi
I´m proably forgetting something (oh right, more cable management) but this is all I can think of right now, do make suggestions.
Thanks again for watching/reading about this fun, but hectic, project.
-
It´s 14.00pm
It´s taken me a while to update as I had a crysis, it seems that a part of the masking tape on the front side hadn´t stack down well so paint got under, so i had to re-do the coats on the surroundings + lacquer in order to fix it, but all well now!
And the rest of the parts:
Time for lunch and I have to go out afterwards, but for this evening I will get rid of all the masking tape on the case, assemble it, and do cable management + mobo.
/////
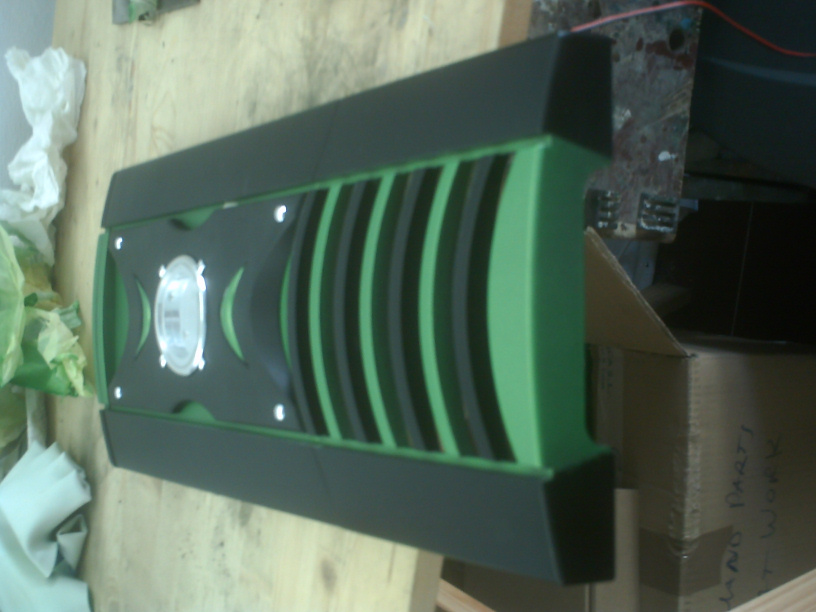
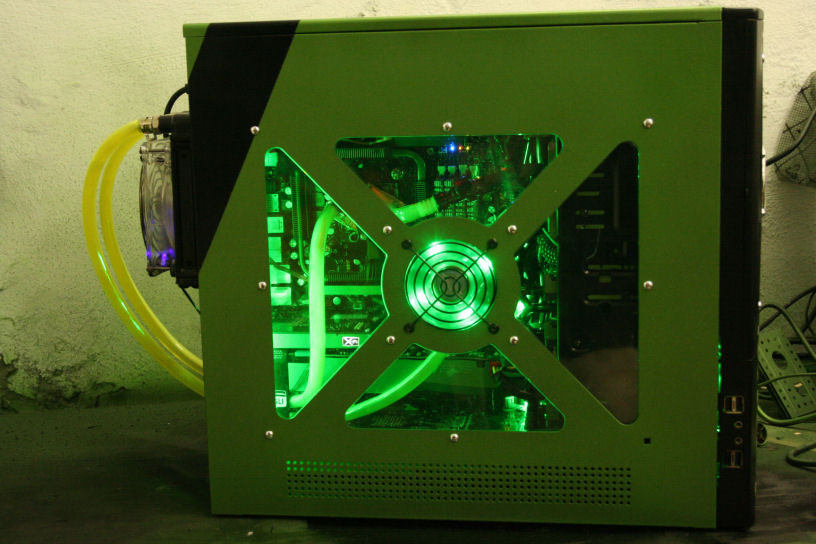
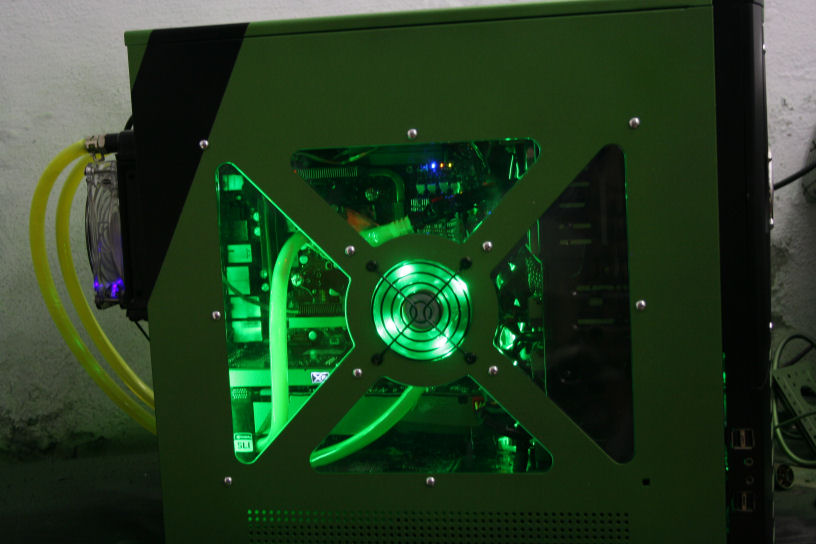
It´s 22.00,
The exterior of the case, aside from a couple of details, is done and all pictures from now on are taken with the better camera, notice the difference? Also, the inside of the case is NOT stained, that´s just a reflection, don´t worry : )
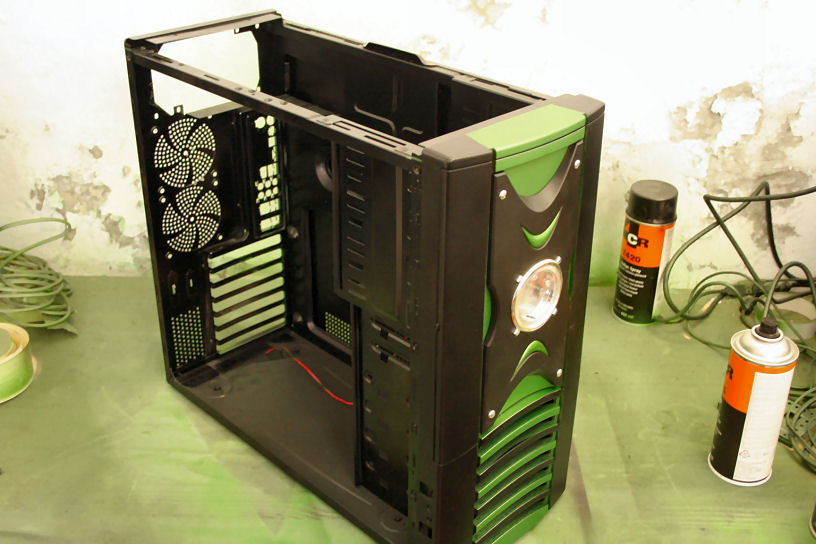
I´ve managed to save the plexy for now, until I can order a new one (using heat to clean really hard stains and fix most scratches).
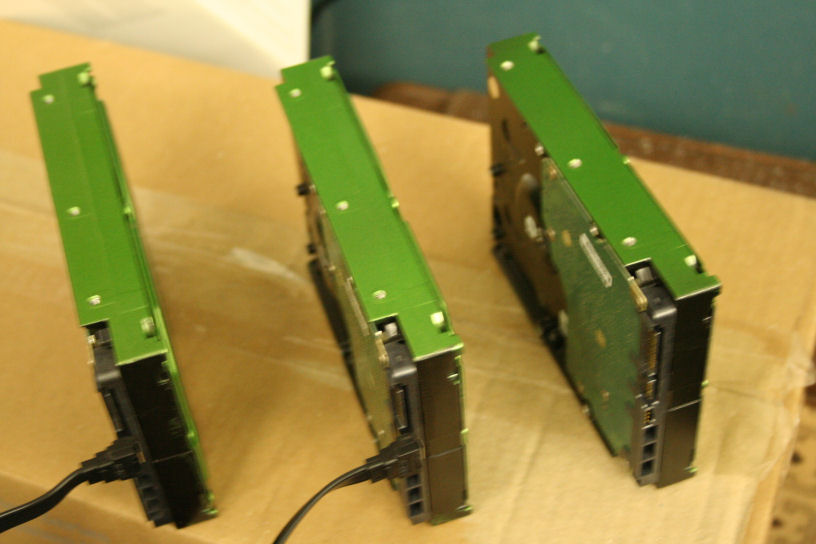
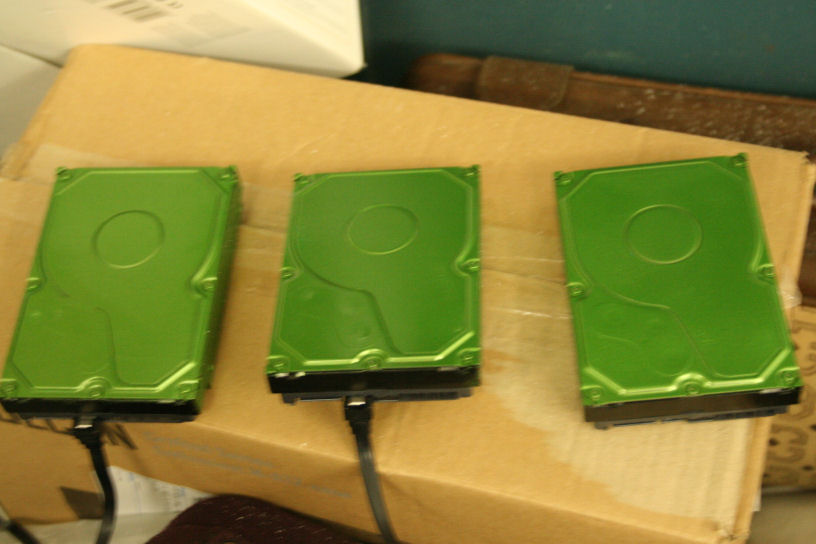
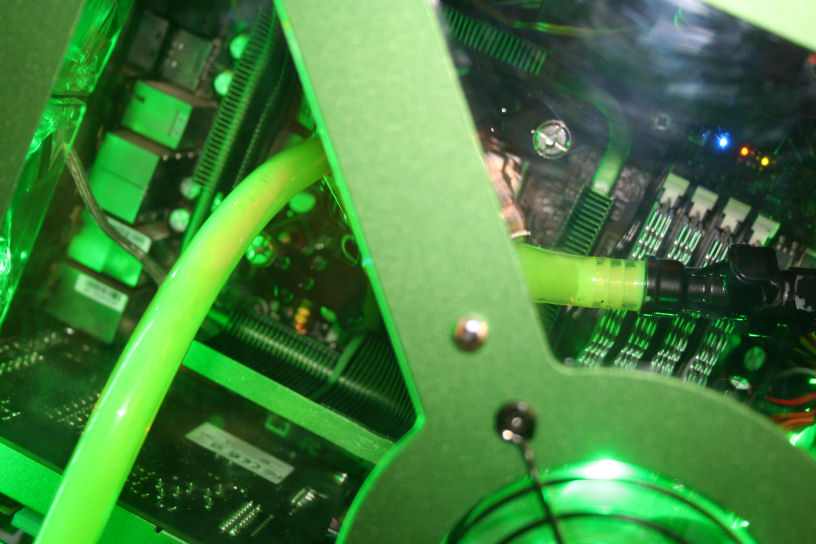
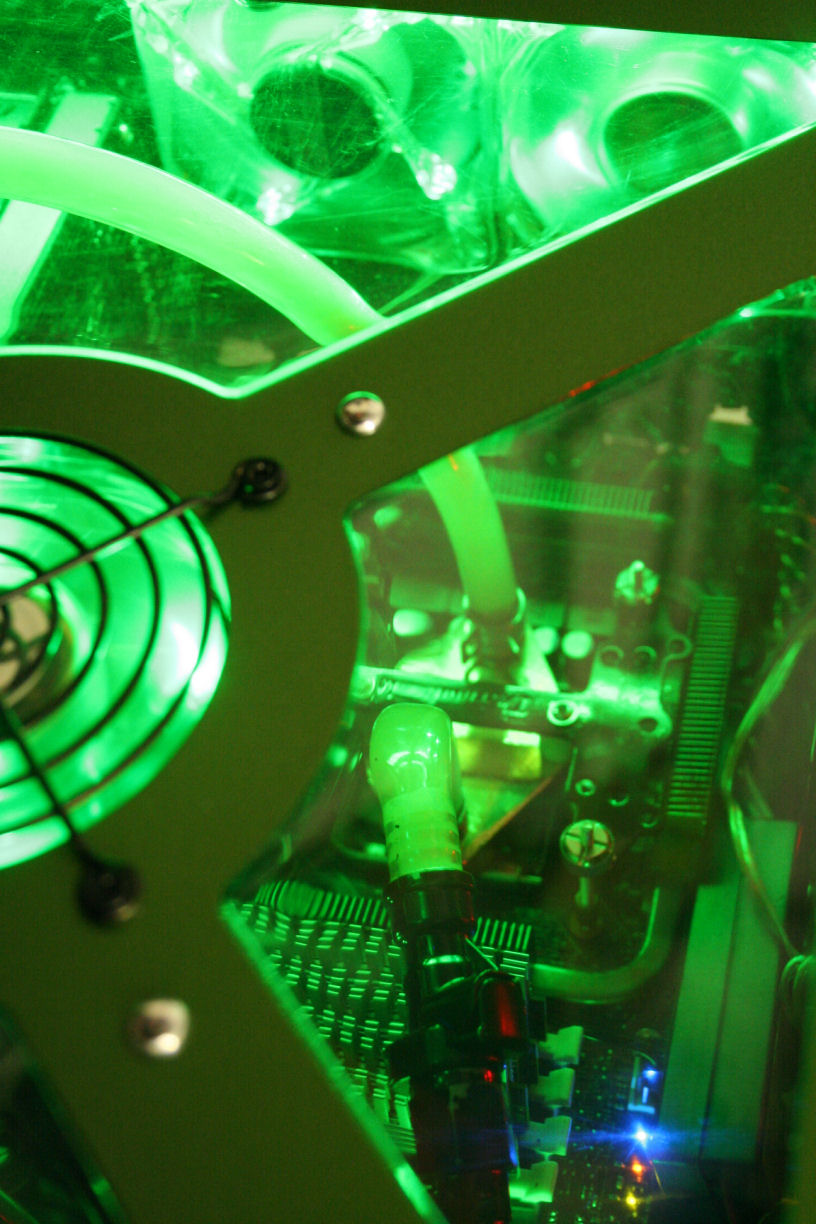
Now painting the 3 HDDs (again, just the safe side), the casing for the front end of the x-fi, the casing for the WC pump and the mobo heatsink.

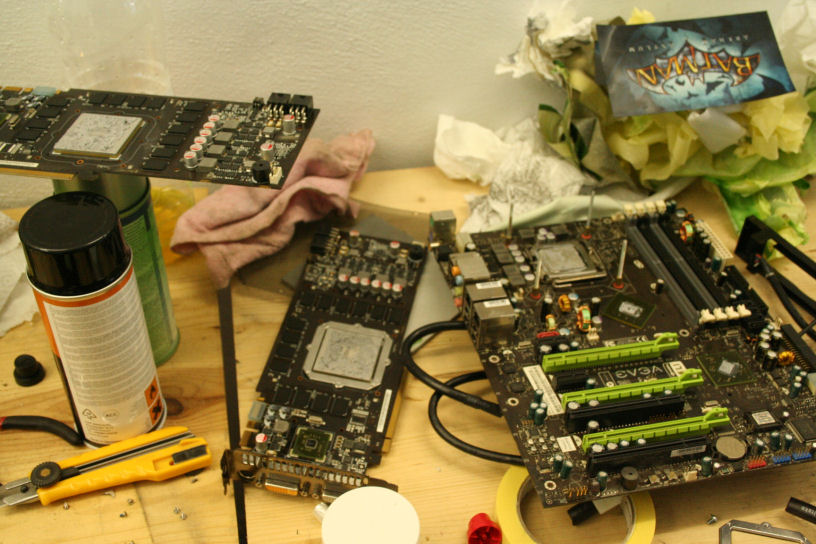
Also, the current look of the gpus without cooler (being painted), one of the GPU coolers and the mobo without mobo heatsink (being painted).
Feeling tired but I think I´ll prob do a bit more before dinner, it seems I´ll be using the laptop tonight.
//
It´s 00.25am
A quick update before I get some dinner and go to bed.
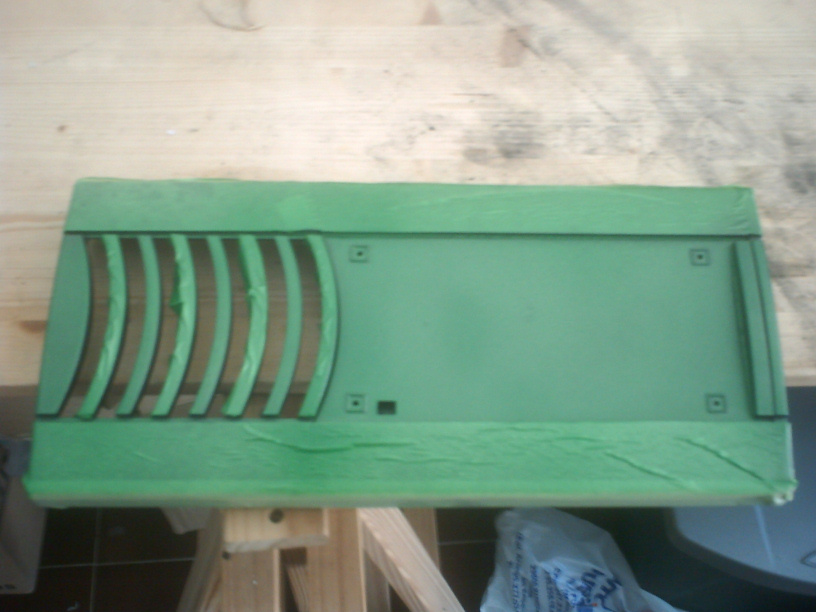
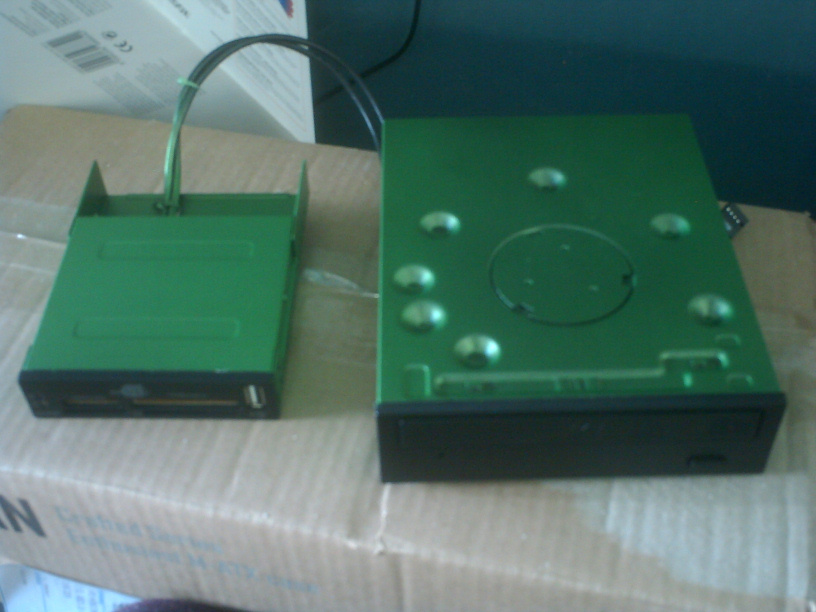
HDDs are finished.
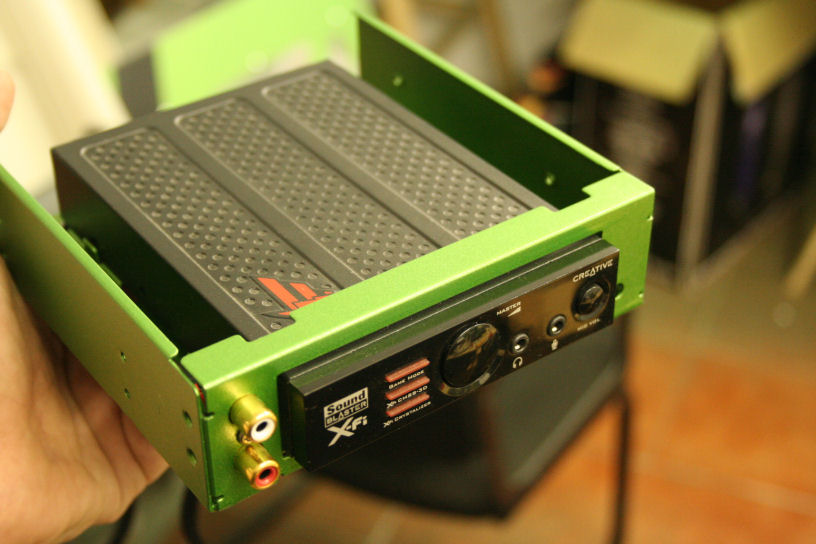
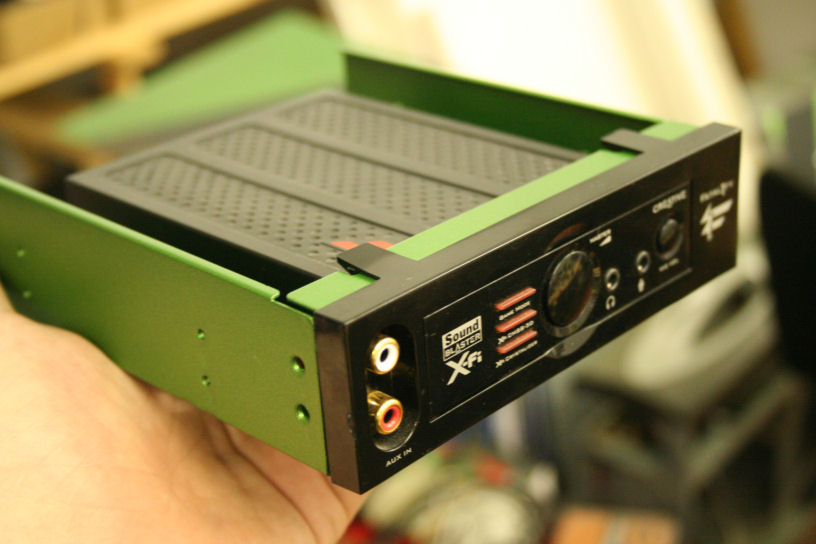
So is the sound card frontal unit.
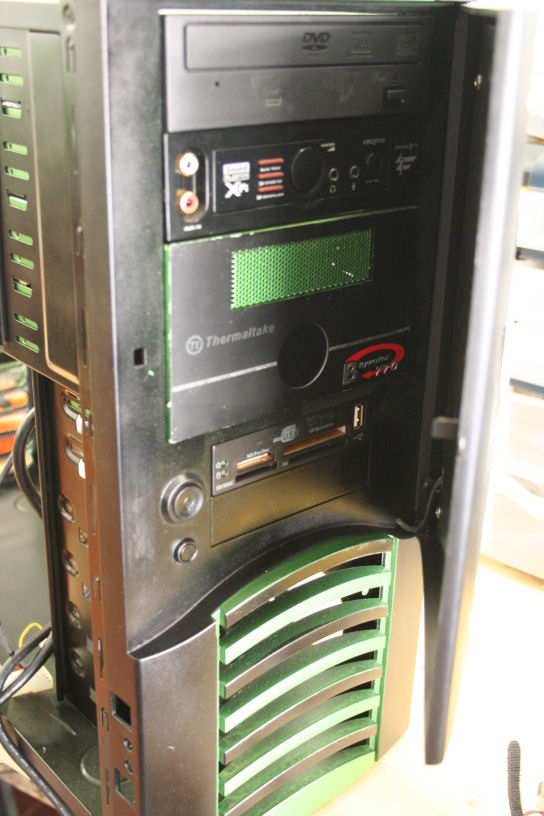
And here a preview of how the case looks with the psu, dvd rewriter, memory card reader and sound card frontal unit in it.
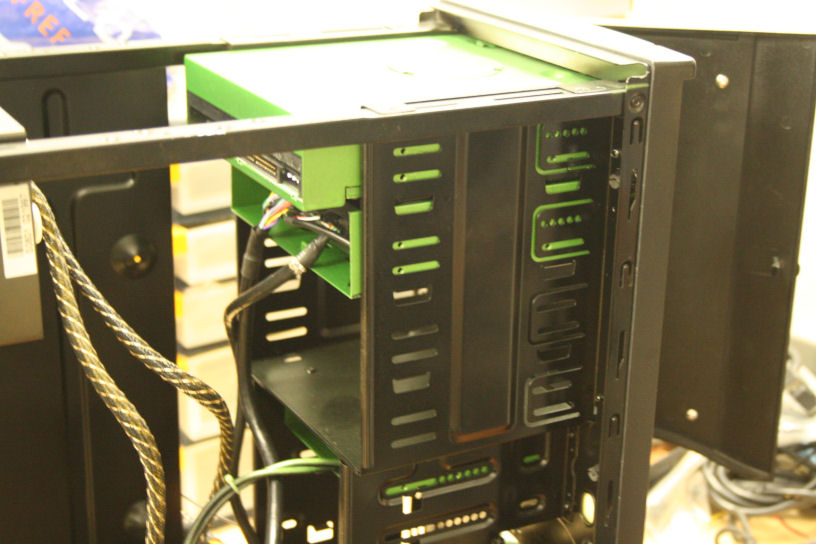
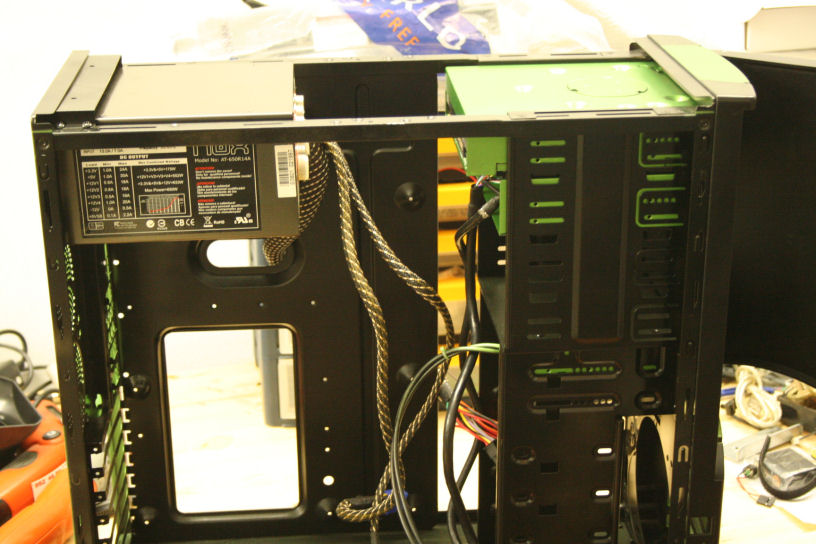
See you tomorrow!
//
It´s Wednesday the 1st of June (White Rabbits!) 13.00
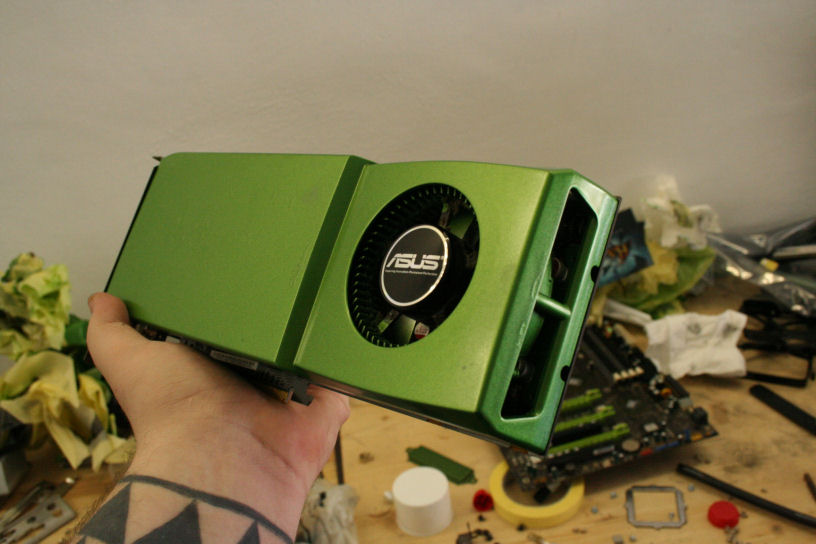
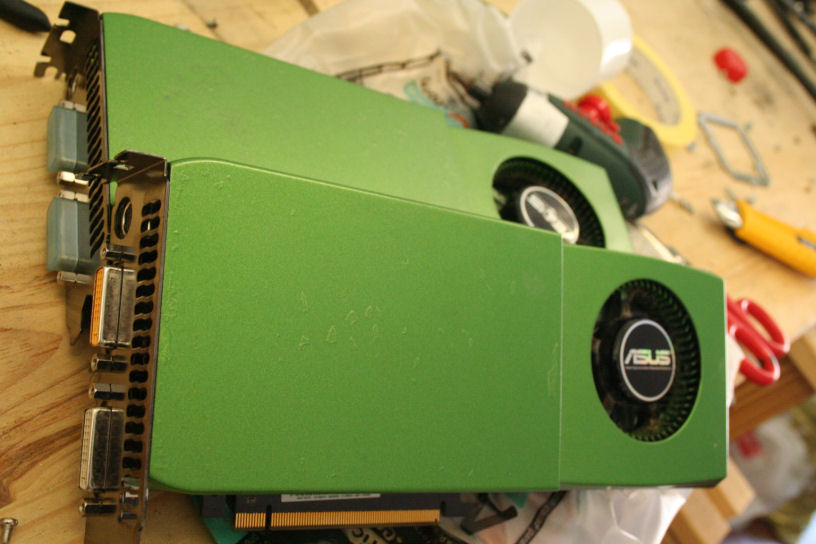
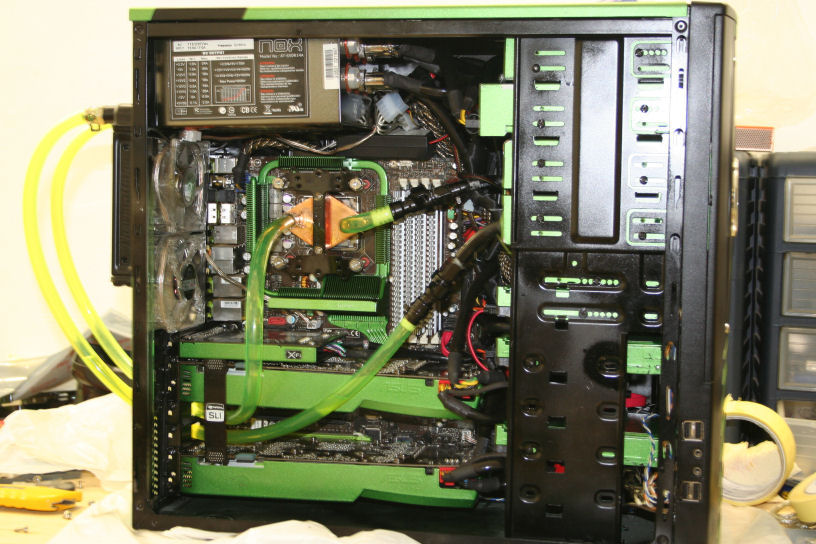
Today, after a day withouth sleep and another falling KO way to early and therefore waking up at 6.00am, I finally had a good night sleep. So I woke up at 11 and went straight to business. In the last 2 hours, I have finished all the painting in this project, now all that´s left is putting it all togueter in the case!
First, the ASUS EN GTX 275:
The Sound Blaster X-Fi Platinum Fatality
The eVGA 790i Ultra SLI nForce motherboard
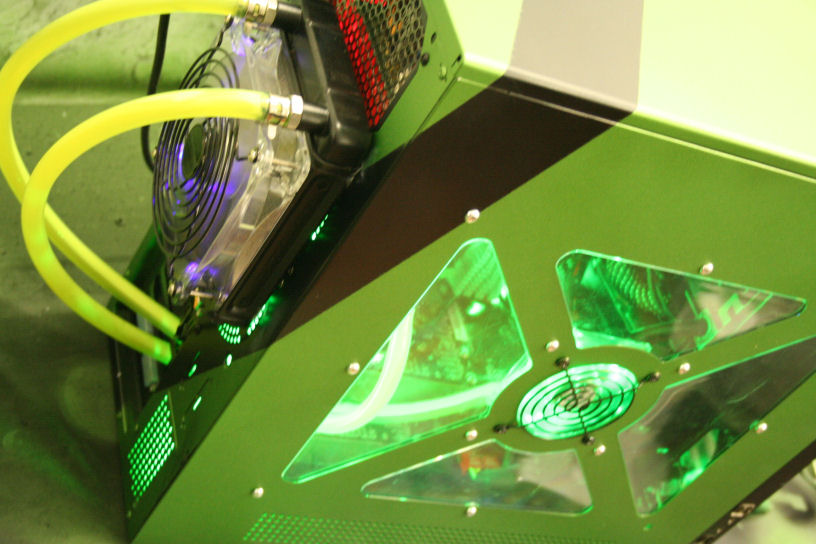
The water pump in it´s frontal casing
And finally for now, what´s behind the front door of the case.
That´s it for now, see you in a couple of hours with more updates, if nothing bad happens, I think I could finish the project today, so really it should be "Mod in 3 days" : )
//
It´s 18.00
Things are starting to take final shape... (in order of progress)


Cable management in a case that´s 10 year old, not designed for this or this hardware or liquid cooling is a complete and utter

 , also, wish I had cable sleeves.
Next update, should be the final picks (if all goes well that is)
-
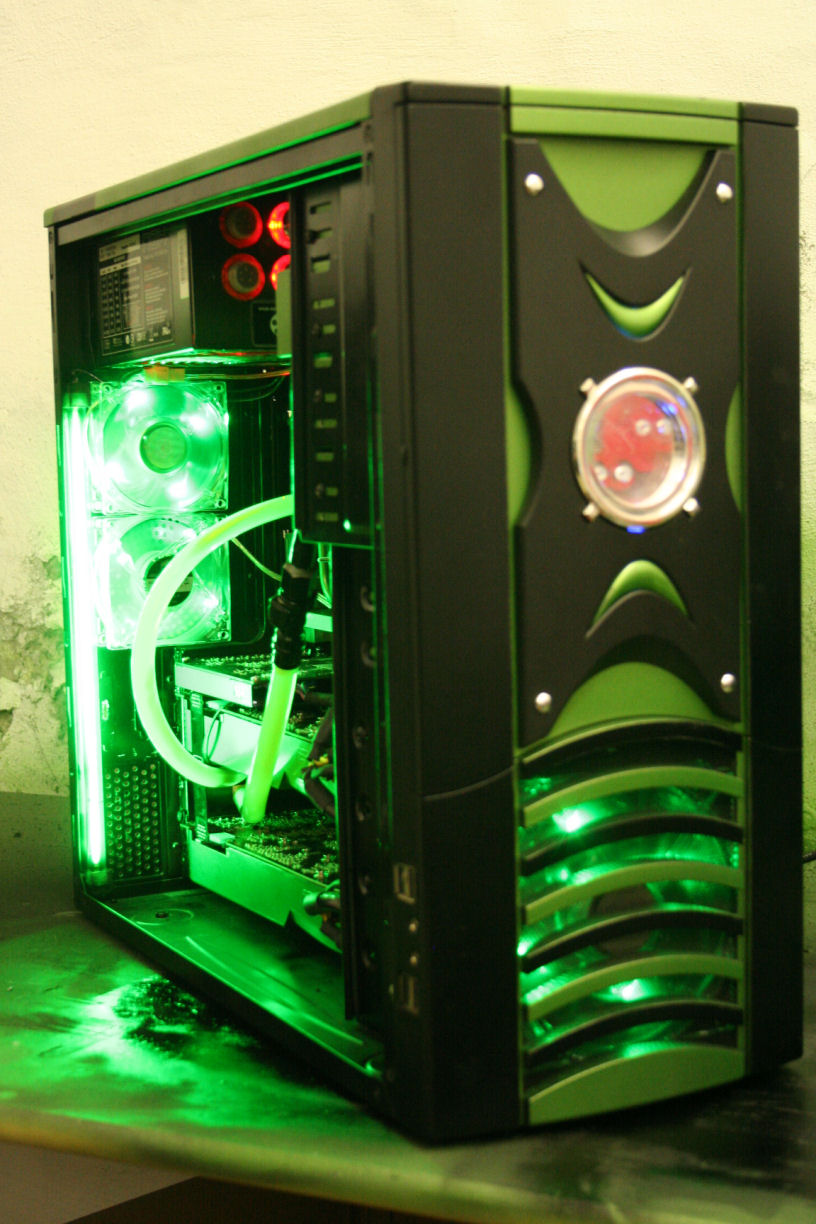
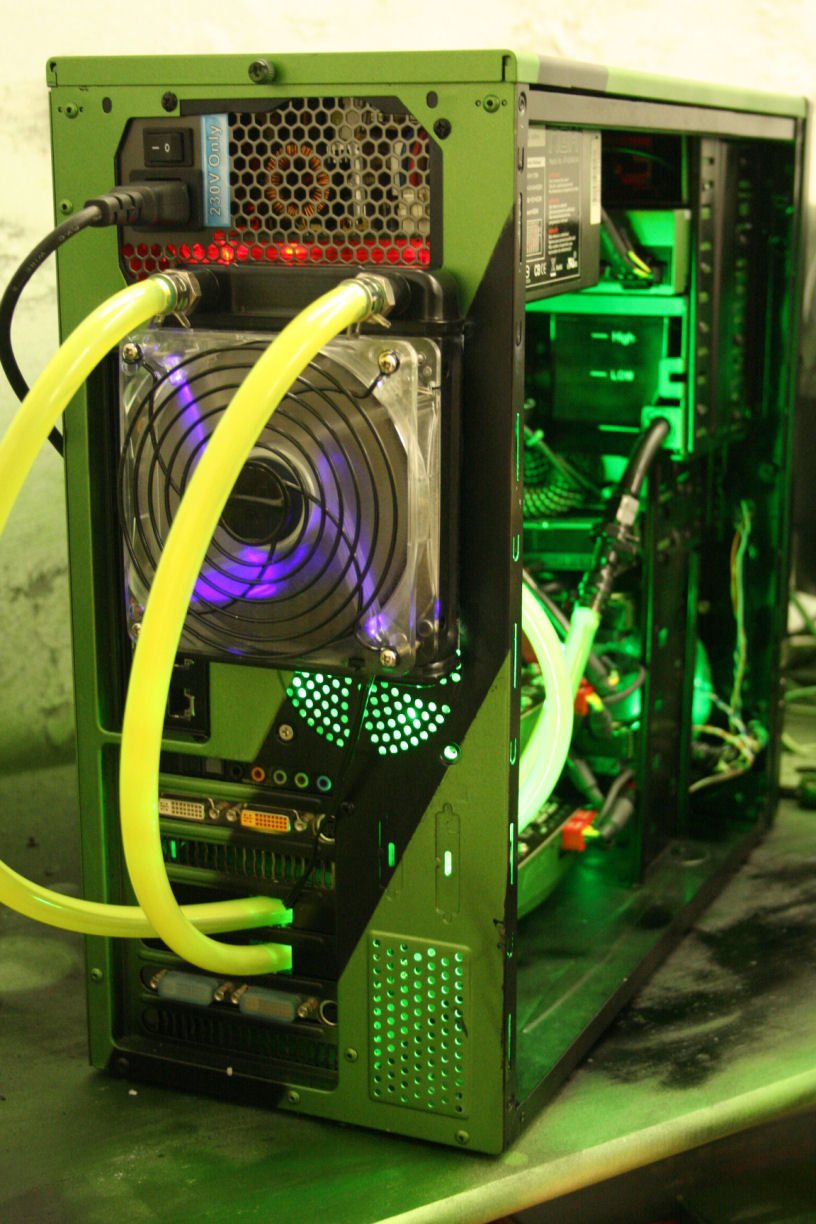
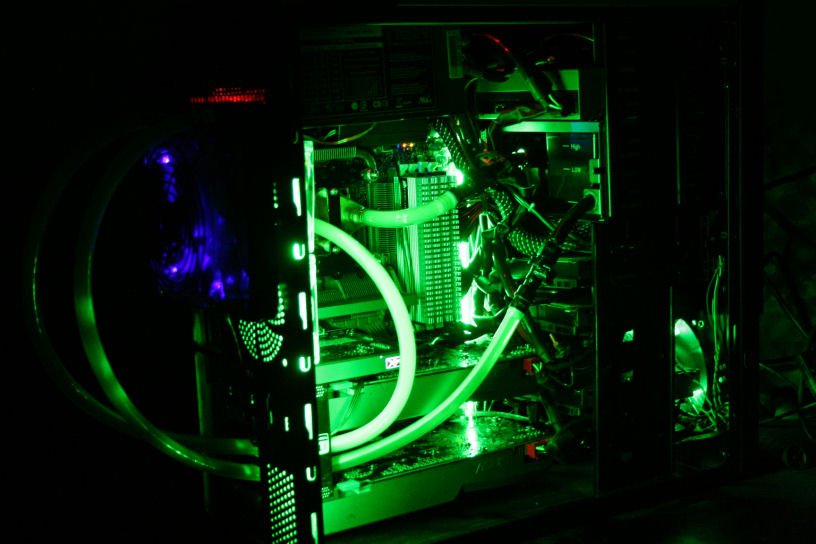
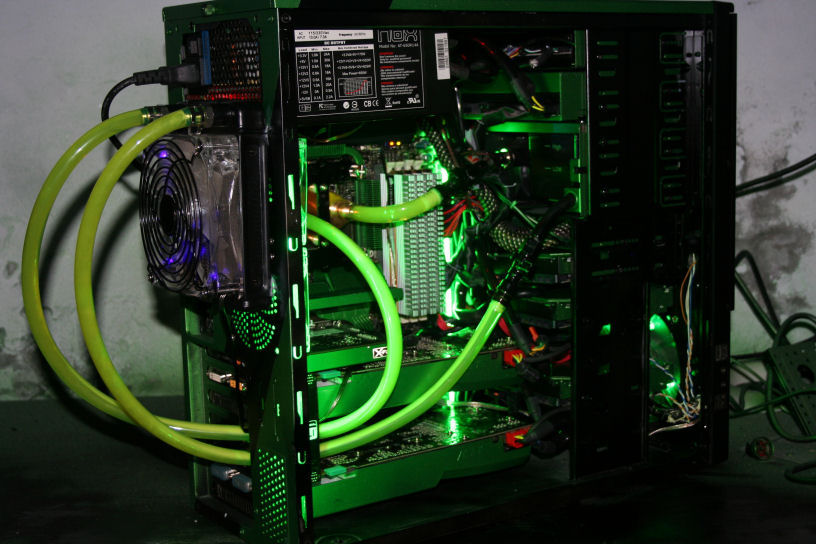
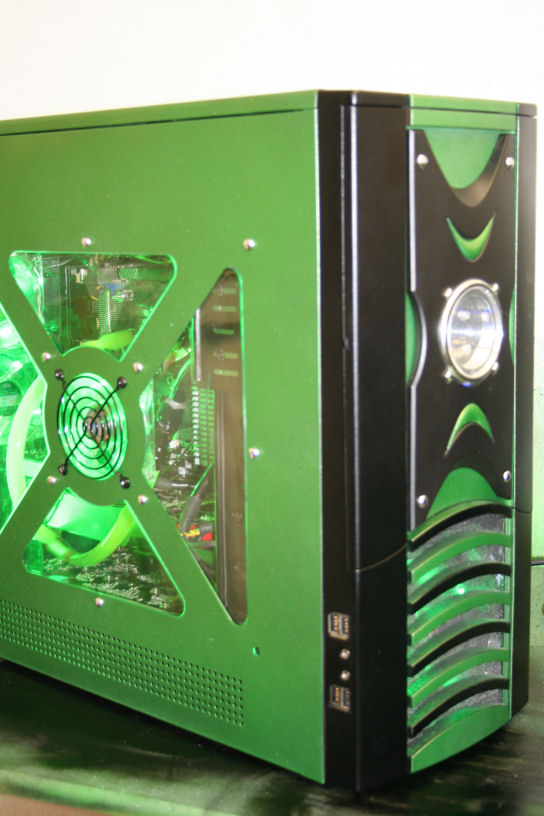
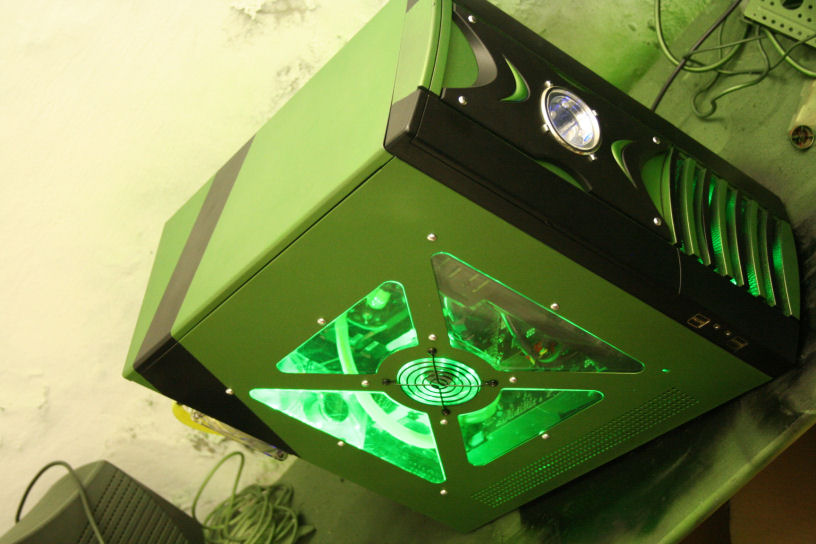
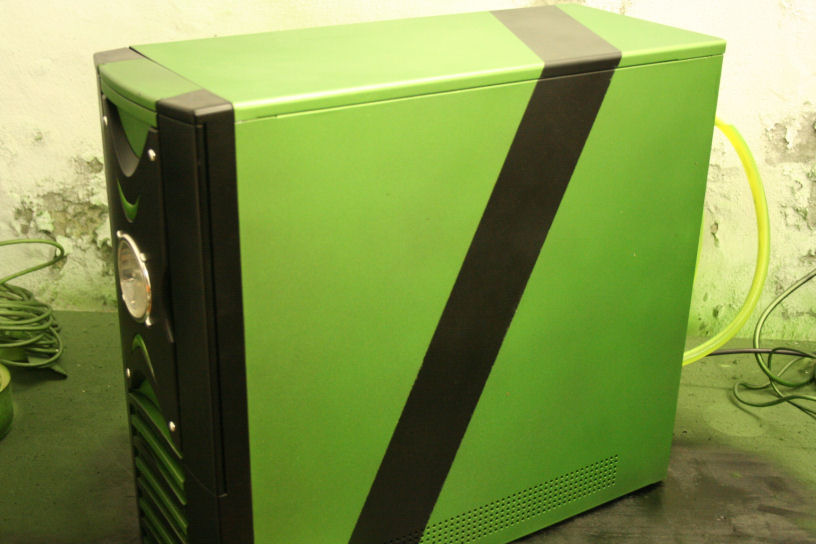
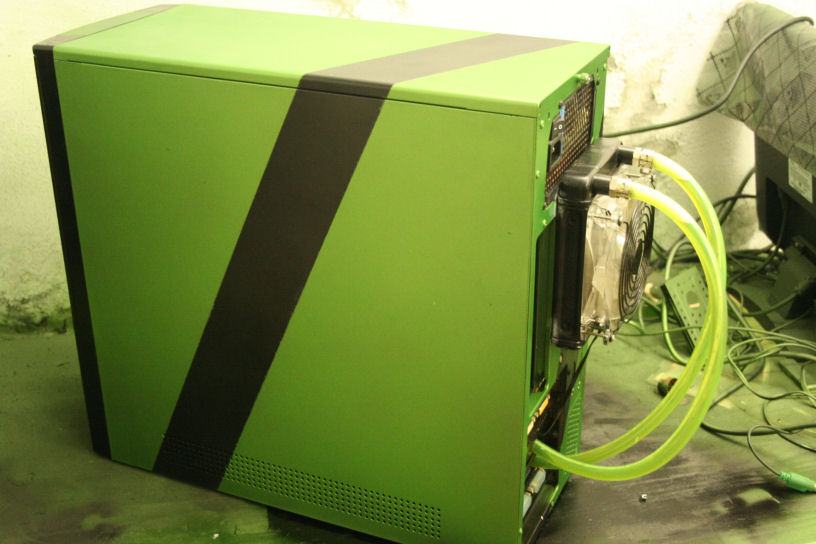
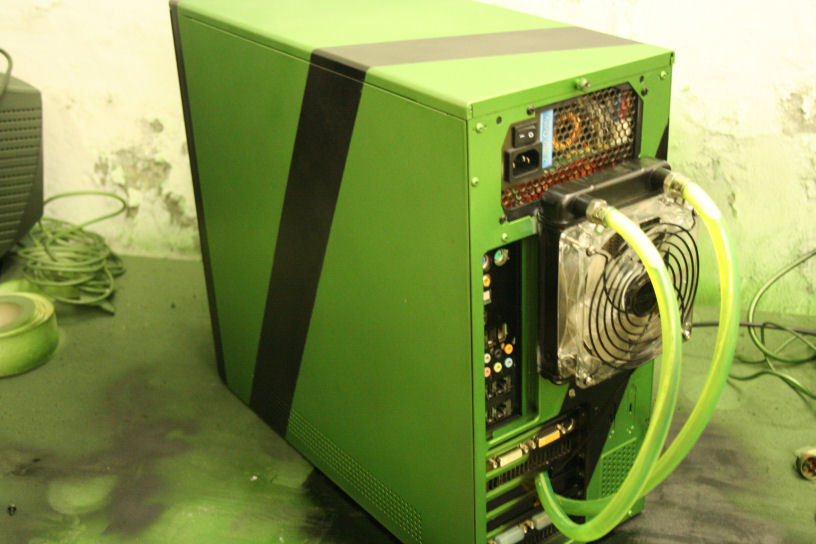
Project is finished, and while it was a week project, somehow managed to do it in 3 days.
Ladies and Gentlemen, I give you the Mod in a Week // Giving new life to and old mod, newly renamed to "Acid Burn", enjoy.
PS: You´ll notice that depending on the pick, it´s one shade or another, this is because in some I didn´t use the flash so the leds would show up, so the real color are the ones with flash (i.e. the greener green).


Thank you all for reading and watching as the mod went from start to finish, I hope you enjoyed it as much as I did doing it and I´ll be happy to answer any questions about it and the process.
I will at some point post new picks are the are some minor alterations I will eventually do when I can get to it, for now, my feet hurt to much
-
a tribute to Nvidia

-
I honestly didn´t have nvidia in mind when I was doing it, but several people mention it, it´s also the last chipset nvidia did for motherboard and I´m using nvidia gpus on this mod and the color scheme fits so I guess so yeah! : )
-
 obviously
 -

what method did you use to paint the motherboard's heatsinks?
-
Acrylic paint (water based, with no disolvente), because they are mostly water, they do not prevent the heat from spreading out (like plastic or synthetic paints do) so it does not affect the performance of the heatsinks.
-
nice a have some main to try this method
-
good luck! And if you need any help send me a private message : )
-
Luciel ha scritto:
good luck! And if you need any help send me a private message : )
-
Nice!
-
thanks!
-
Good Work

Ciao! Sembra che tu sia interessato a questa conversazione, ma non hai ancora un account.
Stanco di dover scorrere gli stessi post a ogni visita? Quando registri un account, tornerai sempre esattamente dove eri rimasto e potrai scegliere di essere avvisato delle nuove risposte (tramite email o notifica push). Potrai anche salvare segnalibri e votare i post per mostrare il tuo apprezzamento agli altri membri della comunità.
Con il tuo contributo, questo post potrebbe essere ancora migliore 💗
Registrati Accedi